 Thingiverse
Hypercube 300 Lite Carriage for Precision Piezo Orion and E3D V6
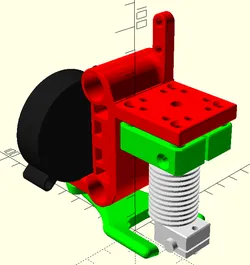
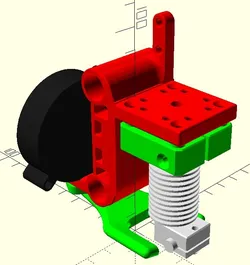
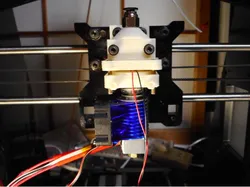
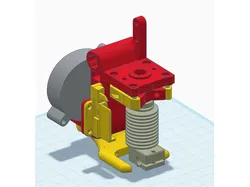
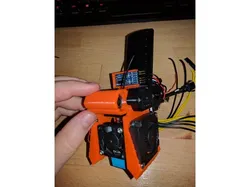
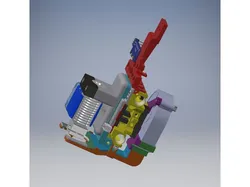
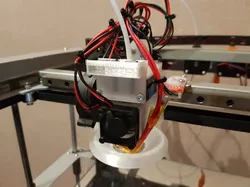
I have a Precision Piezo Orion sensor on the way for my Hypercube 300 build. The Piezo Lite Carriage is designed for the older Piezo20 sensor. This remixes the Piezo Lite Carriage for compatibility with the Orion sensor.I've also included the other parts (sourced from the originating projects) needed to fully assemble the carriage. Print all of the STLs, with these exceptions: Hypercube_300_Piezo_Carriage.repaired.stl is the carriage for the Piezo20 sensor and is modified and integrated in my designOrion_Screw_Top.stl is integrated in my designPick either Orion_Groove_Clamp_3 (no support).stl or Orion_Groove_Clamp_3 (integral support).stl; you only need onePick either Hypercube_300_Orion_Piezo_Carriage.stl or Hypercube_300_Orion_Piezo_Carriage_Igus.stl, depending on whether you want the integrated bushings or Igus bushings.(In the renders, the carriage is red and the other needed parts are green.)This belt tensioner looks like it should work with this carriage: https://www.thingiverse.com/thing:2092237Update (24 Jan 19): shrunk the hole at the top to thread in a pneumatic fitting with an M5 thread, and added an Igus bushing variant, as I don't want to lose another two hours to sanding new bushings to fit the rods in my printer.Update (5 Feb 19): added a 4mm i/d x 4mm recess under the pneumatic fitting mount to hold one end of a 40-mm piece of Teflon tubing that extends into the hotend. When assembling the hotend, you won't need the collet and retainer clip that go on top of the heatsink to hold the tubing in place. I'd recommend cutting the tubing slightly long and trim it to fit.Update (10 Feb 19): the dimensions of the Igus-bushing variant are dialed in for printing on my Anet A8 with PETG filament. A new file, igus-sleeve-sizing-test.scad, is included so you can more quickly iterate through different sizes to find what's right for your printer and filament.Update (30 Jul 20): drill out the Igus bushing bores to 12.5 mm after printing. Also, it didn't take long to figure out that splitting the tubing path at the coupling was a bad idea; in addition to adding friction to the path, it makes unloading filament almost impossible. I've enlarged the hole in the top of the carriage to take the PC4-M10 (?) fitting bundled with the E3D V6 so that the tubing will pass all the way through to the heatbreak; I need to upload the revised files when I get a chance.
Direct link to the original creator's page
Also Available On
More from salfter
 Printables
 Thingiverse
 Thingiverse
 Thingiverse
 Thingiverse
 Thingiverse
Similar Models
 Printables
 Thingiverse
 Thingiverse
 Thingiverse
 Thingiverse
 Thingiverse
 Thingiverse
 Thingiverse
Model Specifications
Frequently Asked Questions
How do I download Hypercube 300 Lite Carriage for Precision Piezo...?
Click the "View on Thingiverse" button above to visit the original model page on Thingiverse. You can download the STL file directly from the creator's page for free.
What 3D printer can I use for this model?
This model is compatible with most FDM 3D printers (Creality Ender 3, Prusa MK3S+, Bambu Lab, etc.) and resin printers (Elegoo, Anycubic). Check the original page for recommended print settings and materials.
Is this 3D model free to download?
Yes, this model is available as a free download on Thingiverse. Some creators accept tips or donations.
Can I modify this file?
Check the license (see original page) on the original Thingiverse page. Most STL files can be modified using free software like Blender, TinkerCAD, or Meshmixer.