UP! mini temp mod
thingiverse
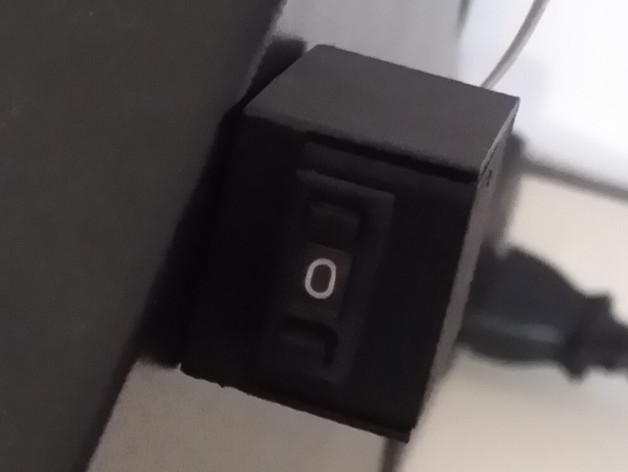
To decrease temperature on your UP! mini or Plus printer, adjust the wheel for a cooler print head. Each number increase results in a 5°C decrease up to -45°C at setting 9. You'll need a printed STL file for the mod case, a Cherry PAAA3000 decimal switch (Farnell SKU 1180017), JST BXH-001T-P0.6 crimp terminal (Farnell SKU 1516301), 1.8 ohm resistors (0805 or 0603), and some cable for the modification. Wire the resistors in series on the push wheel, connecting one wire from the thermistor to pin 0 and another from common to the printer. The common lead selects the respective number depending on the chosen setting. Find a wiring diagram and additional details at http://www.pp3dp.com/forum/viewtopic.php?f=28&t=23922, where the inspiration for this mod came from. To install, first remove one terminal from the connector and replace it with a wire (soldered end) and heat shrink tube or use electrical tape. Test the device with a multimeter before installation. Secure the mod to the UP! enclosure using two 3mm diameter magnets in two 3mm deep holes on the case side.
With this file you will be able to print UP! mini temp mod with your 3D printer. Click on the button and save the file on your computer to work, edit or customize your design. You can also find more 3D designs for printers on UP! mini temp mod.
