UNIVERSAL JOINT ASSEMBLY
grabcad
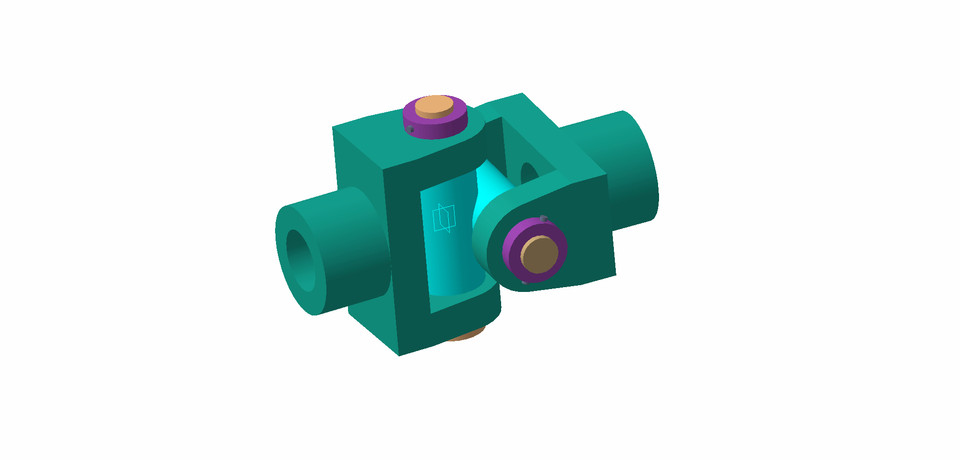
In CATIA V5 software, the Universal Joint (U-joint) assembly is typically created by following these steps: Open CATIA V5 and create a new product file.In the Product Structure, right-click on the "Product" item and select "New Part..." to create a new part file for the U-joint assembly.In the new part file, create the individual components that make up the U-joint assembly. These components usually include the yoke, cross, and bearing cups. You can use various sketching and modeling tools in CATIA V5 to create these parts.Once the components are created, position them correctly relative to each other using assembly constraints. This ensures that the U-joint assembly behaves accurately during motion.To assemble the components, use the Assembly Design workbench. Go to "Start > Mechanical Design > Assembly Design" to activate the workbench.In the Assembly Design workbench, click on the "Constraints" toolbar to access various assembly constraint options.Apply appropriate constraints to the components to define their relative positions and orientations. For example, you can use "Coincidence" constraint to align the bearing cups with the yoke, and "Revolute" constraint to define the rotational motion between the yoke and cross.Continue applying constraints until all components are properly positioned and the U-joint assembly is fully constrained.Verify the assembly by checking for any interference or clearance issues between components. You can use the "Clash Analysis" tool in CATIA V5 to identify and resolve any conflicts.Once the U-joint assembly is complete and verified, you can save the product file.Remember to use the appropriate units and measurements while creating the U-joint assembly components in CATIA V5. Additionally, CATIA V5 offers a wide range of tools and functionalities, so you can further enhance the U-joint assembly by adding additional details, materials, animations, or performing simulations as per your requirements.
With this file you will be able to print UNIVERSAL JOINT ASSEMBLY with your 3D printer. Click on the button and save the file on your computer to work, edit or customize your design. You can also find more 3D designs for printers on UNIVERSAL JOINT ASSEMBLY.