Universal cable fix splice boxes
thingiverse
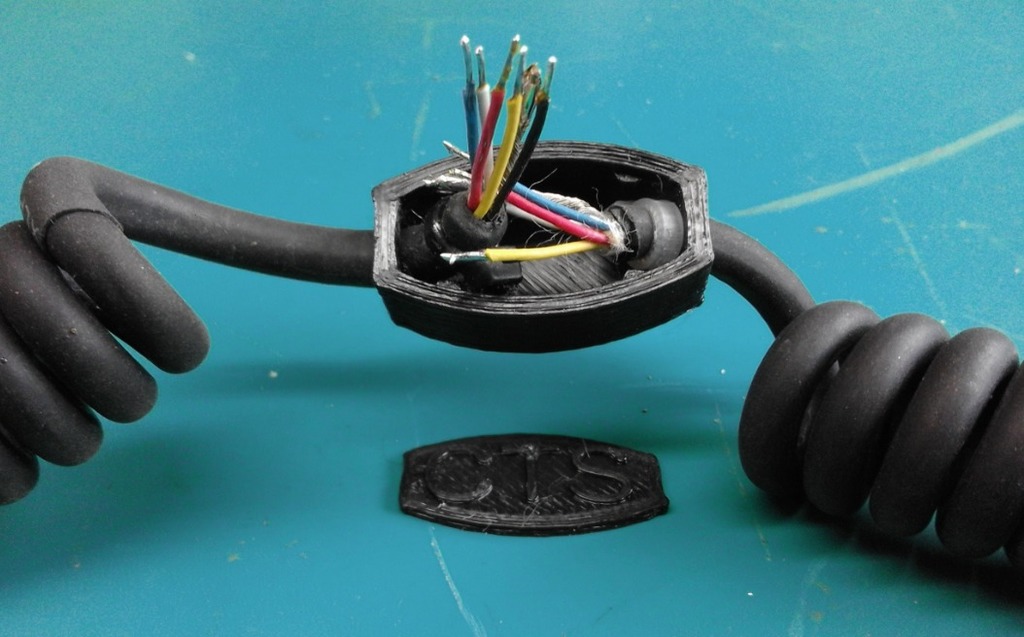
In February 2018, I entered the hackaday.com Repairs You Can Print competition with my 3D printed universal cable fix project. The project received widespread acclaim and ultimately took first place among the top 20 projects on the $100 Tindie credit winning list. As a follow-up to this project, I thought it would be a great idea to design additional splice boxes in various shapes and sizes. This all began when I needed to repair a Jenal microphone cord that had been severely damaged by a rat in the PNG rainforest. The fix required a solution that was waterproof, mechanically strong, and more durable than simple heat shrink or insulating tape. The previous project can be found at: https://hackaday.io/project/46069-3D-printed-universal-cable-fix https://www.youtube.com/watch?v=5iomIrLjF_0 Instructions: 1. Insert both sides of the cable into the box and prepare them for connection. 2. Secure the cable inside the box using 2mm or thinner cable ties. 3. Use heat shrink tube to cover the wires before soldering, then heat the tubes to seal them after joining the wires. 4. Apply hot melting glue to fill the box and space between the wires, injecting it until it squeezes out through the holes. Do not overfill past the lid level. 5. Place the lid on the box while the glue is still liquid. For more detailed instructions and step-by-step guidance, check the project page or YouTube video.
With this file you will be able to print Universal cable fix splice boxes with your 3D printer. Click on the button and save the file on your computer to work, edit or customize your design. You can also find more 3D designs for printers on Universal cable fix splice boxes.