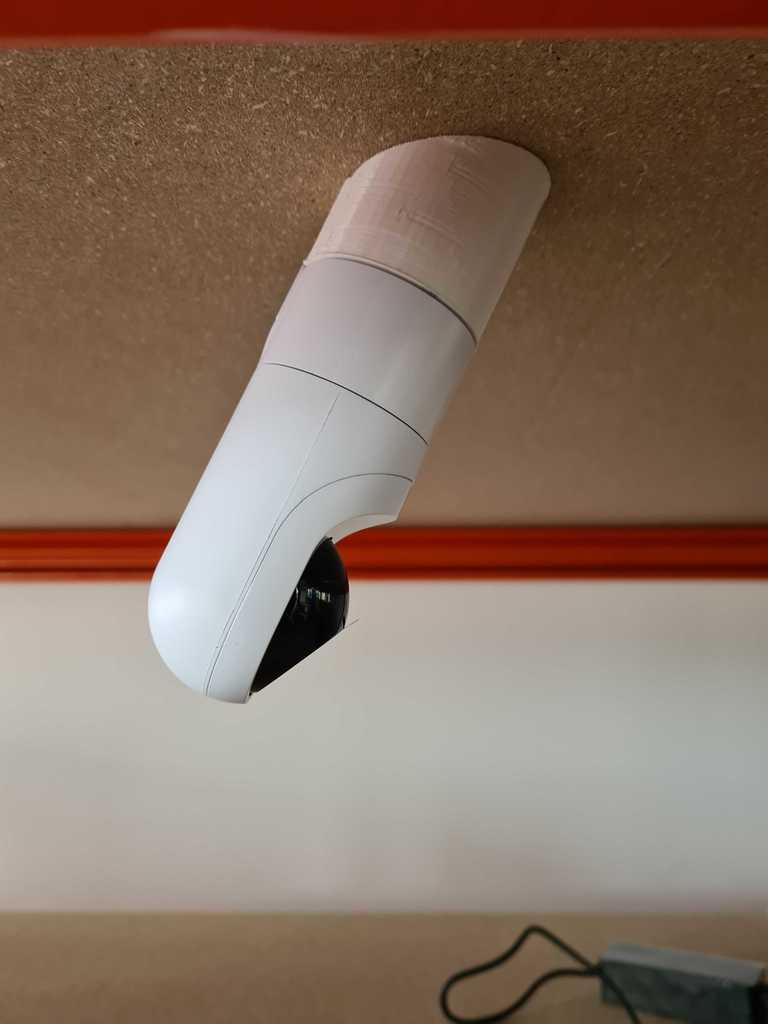
UniFi G3 Flex tilted mount (25°)
thingiverse
I wanted to film an enterance but the ceiling was too high and the camera in the G3 Flex didn't tilt enough to get everything in shot. So I designed this mount. This mount angles the camera 25° more. Mounting the baseplate of the camera to the tilted mount should be done with the screws that come with the camera. There are several mounting options: 1. Two screws from the top (if you have access to the top of surface you're mounting the camera to): If you want a fixed position you can attach the part from the top on the 2 holes on the side (holes go 30mm into the part and are 2.5mm in width, choose your screws accordingly). 2. One screw from the top (if you have access to the top of surface you're mounting the camera to): If you want to be able to turn the part, only use the middle hole. Do not overtighten! there is only 6mm of plastic before the hole gets larger to accomodate a screwdriver if you want to mount it from the bottom. 3. One screw from the bottom (if you do not have access to the top of the surface you're mounting the camera to): You'll have to mount the part before screwing on the bottomplate of the camera. Using this method you'll be able to turn the camera a bit (depending on the hole for your cable). I recommend printing with a shell thickness of at least 1.2mm so you'll have enough plastic for the screws to grab onto. This way you'll also be able to drill out the holes a little bigger if needed. V3: No room to turn the part once mounted because the cable will snag. V4: Room for the cable to move after mounting. V5: Room for the cable to move and a cut our for cables that run on a surface. (Photo's only show V3 at the moment, might update them...)
With this file you will be able to print UniFi G3 Flex tilted mount (25°) with your 3D printer. Click on the button and save the file on your computer to work, edit or customize your design. You can also find more 3D designs for printers on UniFi G3 Flex tilted mount (25°).
