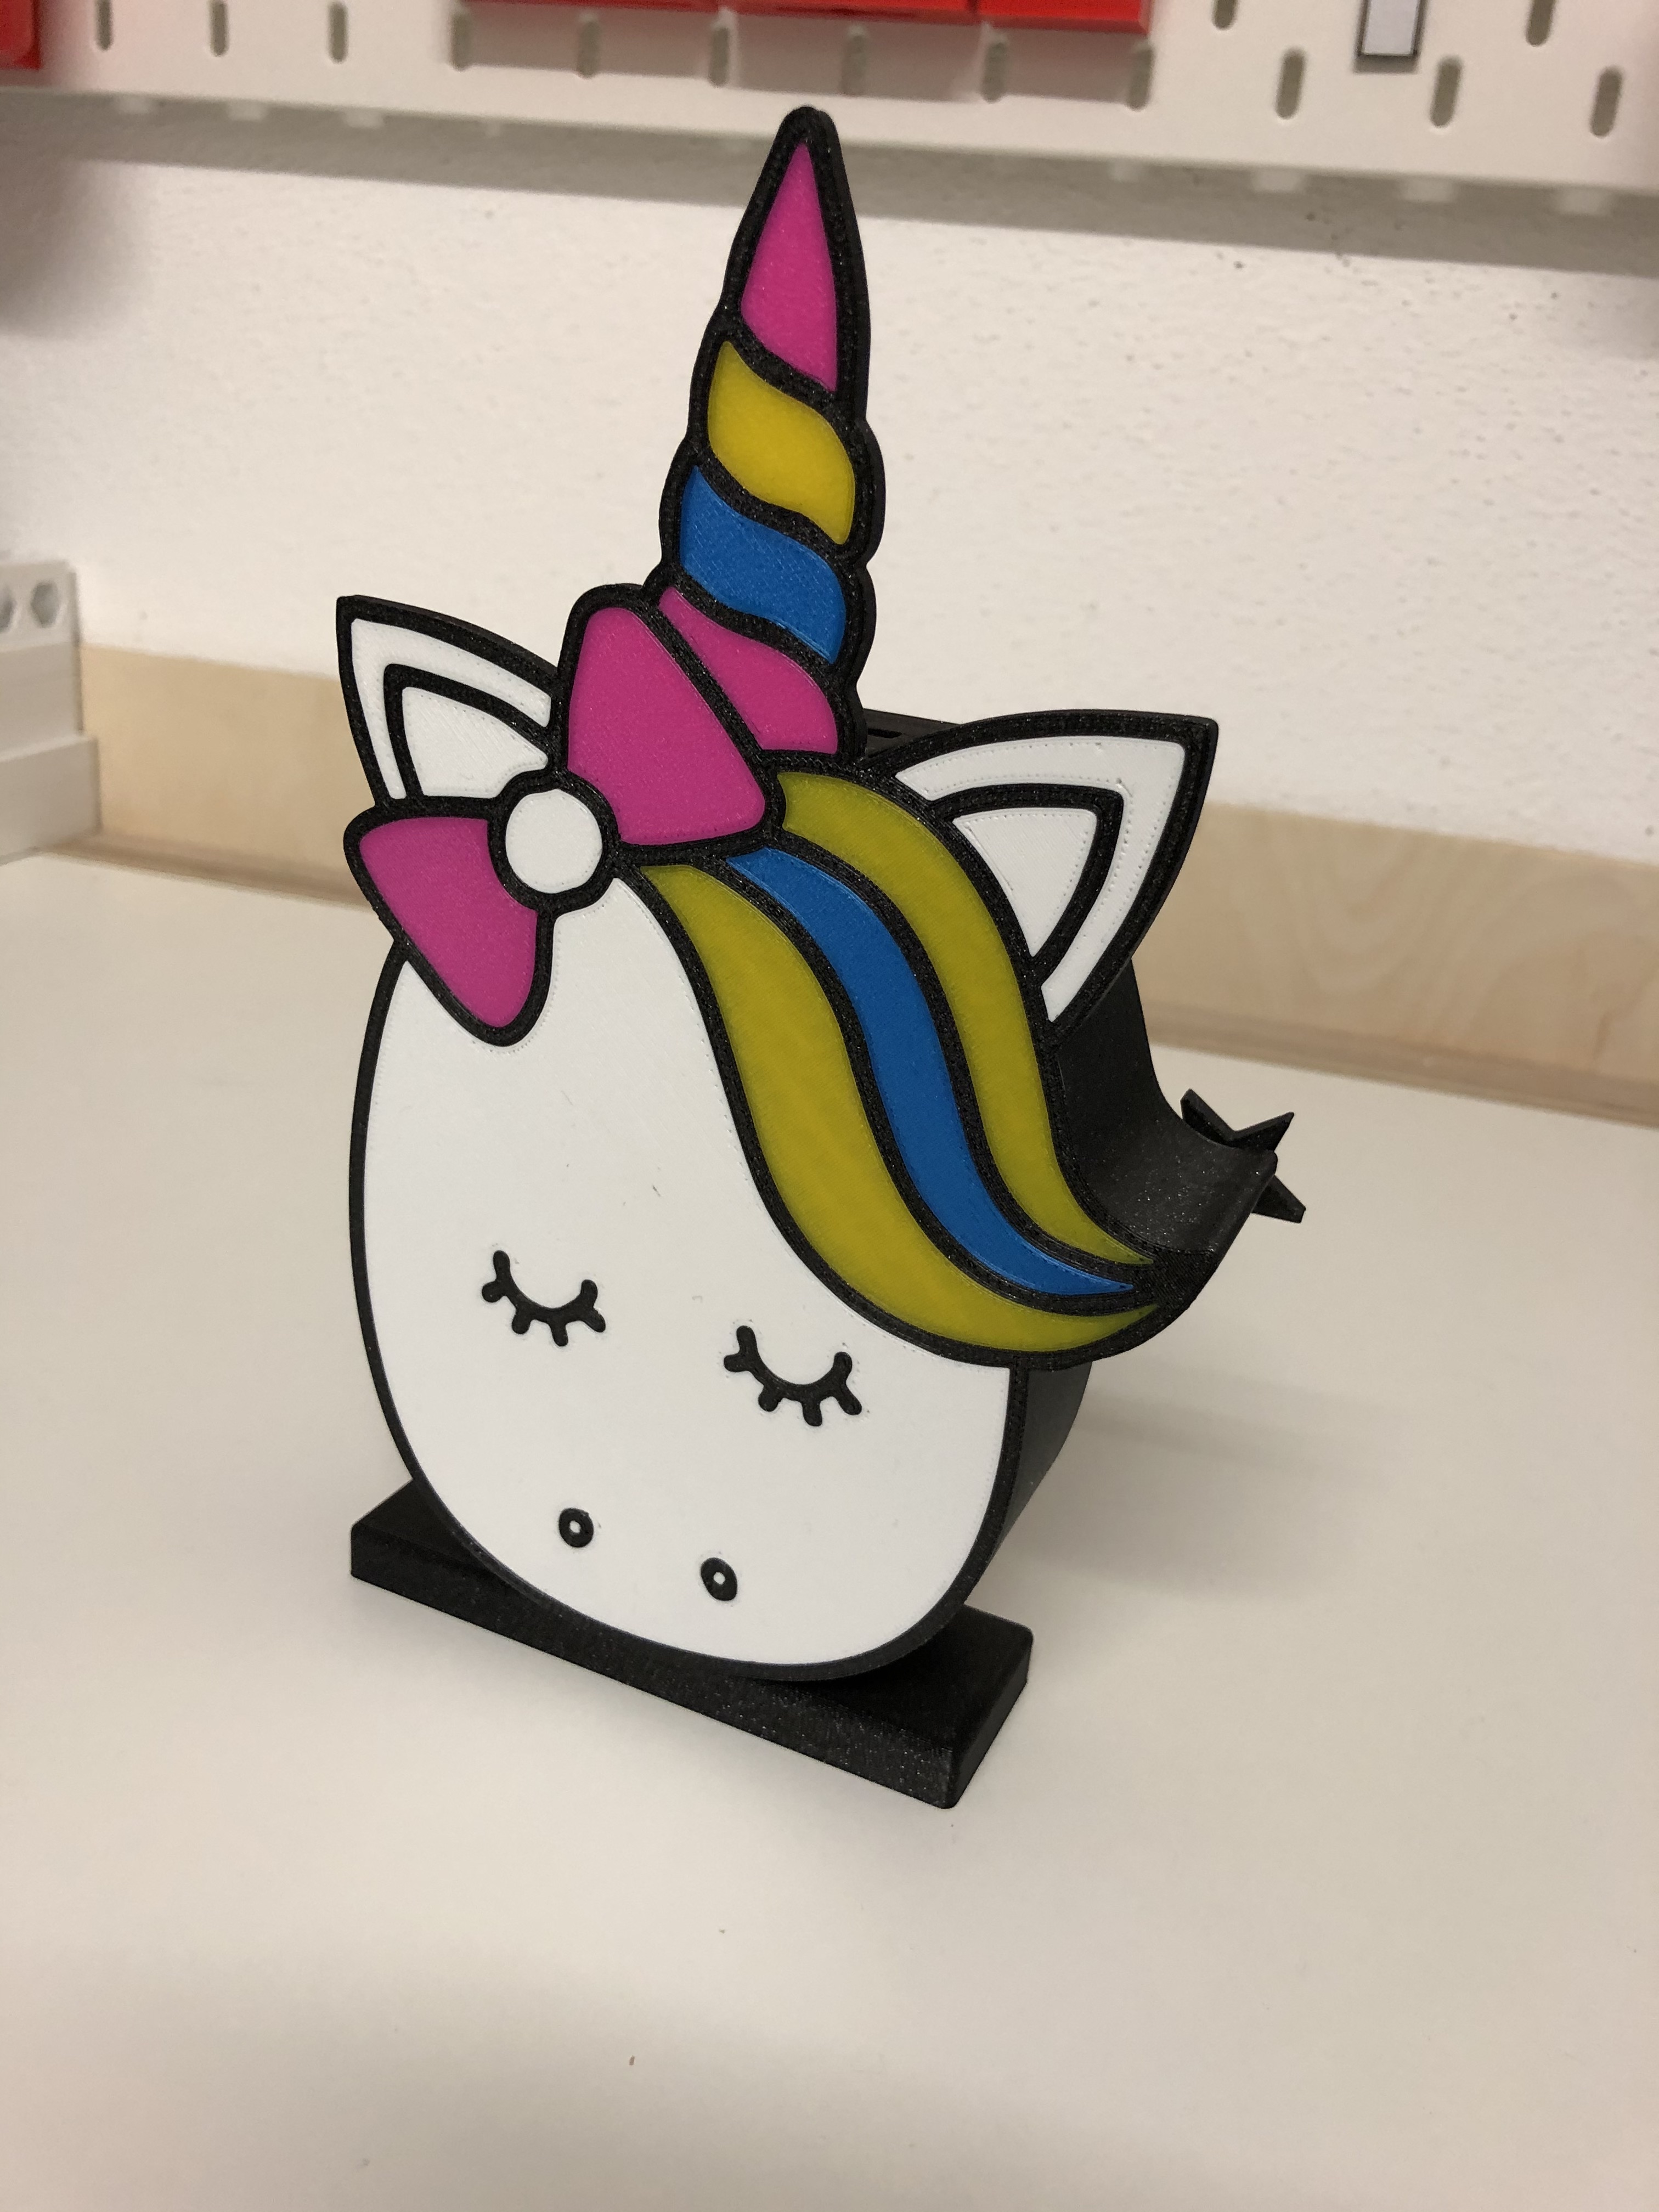
Unicorn Piggy Bank MMU (Multi-Material)
prusaprinters
<p>My daughter wanted a piggy bank for all her money :-)</p> <p>Suprisingly, she likes unicorns, so I created a unicorn piggy bank for her.</p> <p>The main body is MMU (Multi-Material) ready and already split up in several parts.<br/> I used a Prusa MK3s with MMU2s attached to it.<br/> The colors I used are described in the print settings.</p> <p>The slot for the coins is 4x32mm wide. Therefore, it should be big enough for all currencies.</p> <p>If you print one I would be happy to see the makes of it and which colors were used.</p> <h3>Print instructions</h3><p>Filaments Used:</p> <p>Prusament - Galaxy Black<br/> Prusament - Azure Blue<br/> Polymaker - True Yellow (Polyplus)<br/> Fillamentum - Traffic White<br/> colorfabb - Fluorescent Pink</p> <p>Print Settings used</p> <p>Slicer</p> <p>Prusaslicer 2.1.0 RC1</p> <p>Profiles</p> <p>I only used the standard profiles that came with Prusaslicer.<br/> They work very good for me and I did not have problems with my MMU2s setup at all.</p> <p>Files</p> <p>Unicorn Piggy Bank - Back-Cover</p> <p>Layer Height: 0.2 mm<br/> Infill: 10%<br/> Perimeters: 2<br/> Note: I added a modifier box in prusa slicer to make the parts around the screws solid.</p> <p>Unicorn Piggy Bank - Stand</p> <p>Layer Height: 0.2 mm<br/> Infill: 10%<br/> Perimeters: 2<br/> Note: Although the base has a round opening the main body fits pretty well. It is not needed to use 0.15 layers, but feel free to do so.<br/> The hole for the M4 screw is big enough to hold a nylon washer.</p> <p>Unicorn Piggy Bank - Screw Cover</p> <p>Layer Height: 0.2 mm<br/> Infill: 10%<br/> Perimeters: 2<br/> Note: As noted in the post-printing comments, the screws fit in very tight. This part is not needed to have a functional piggy bank, it is just for optical reasons and would probably look even better when printed in color.</p> <p>Main Body</p> <p>Files:</p> <p>"Unicorn Piggy Bank - Blue" - used for middle hair and part of the horn<br/> "Unicorn Piggy Bank - Black" - used for outline and side of the main body<br/> "Unicorn Piggy Bank - Pink" - used for horn and parts of the bow tie<br/> "Unicorn Piggy Bank - Traffic White" - used for the face, ears and middle of the bow tie<br/> "Unicorn Piggy Bank - Yellow" - used for hair and horn<br/> Layer Height: 0.2 mm<br/> Infill: 10%<br/> Perimeters: 2<br/> Note: The files need to be imported into Prusaslicer at the same time when in MMU Mode. Prusaslicer will automatically put together the complete body and lets you chose the color.<br/> It also makes sense to create modifier boxes around the parts for the threads to ensure that it does not melt trough the perimeters and fits nicely.</p> <p>Post-Printing</p> <p>Threads</p> <p>I used M4 threads which I "melted" into the printed body. I wanted to be able to open and close the piggy bank without losing the stability of the screws.</p> <p>For the three main threads I used three M4X8X6 brass threads. To connect the base I used one M4x6x6 thread.</p> <p>NOTE: You will not be able to fix the back without threads. If there is demand I could upload a version with smaller holes in the main body to fit M4 screws directly without threads.<br/> Feel free to comment if you want this version of the file.</p> <p>Screws</p> <p>To match the threads I also used M4 screws to connect to the them.<br/> If you plan to use the star screw-covers please note that the opening is quite narrow. You need to use a lot of force to get the screw head in there (I actually used a hammer). But afterwards it will not come out.<br/> Also, I used nylon washers between the screws and the back cover.</p>
With this file you will be able to print Unicorn Piggy Bank MMU (Multi-Material) with your 3D printer. Click on the button and save the file on your computer to work, edit or customize your design. You can also find more 3D designs for printers on Unicorn Piggy Bank MMU (Multi-Material).
