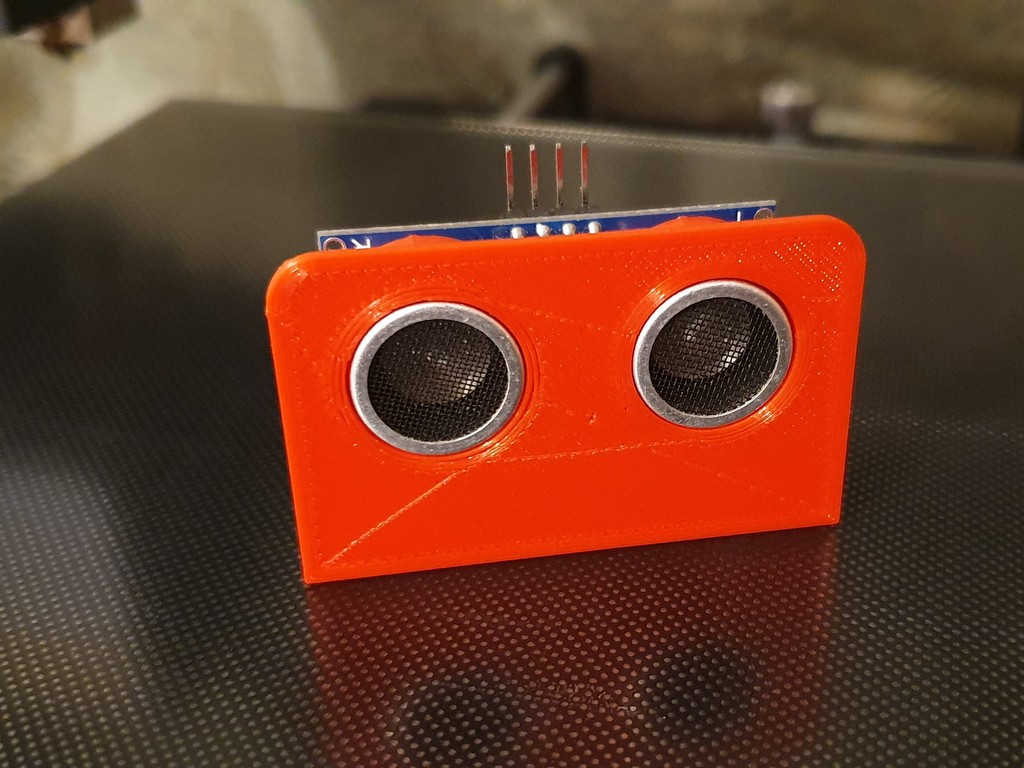
Ultrasonic Sensor Mount
thingiverse
Mounting an ultrasonic sensor is a relatively straightforward process that requires some basic tools and knowledge of electronics. To begin, choose a suitable location to attach the sensor, ensuring it has a clear line of sight to the area being monitored. Next, gather the necessary materials, including a mounting bracket or adhesive strips specifically designed for attaching sensors. Some ultrasonic sensors come with pre-attached brackets or screws, so check your device's documentation first. Locate the mounting holes on the back of the sensor and align them with the holes on the bracket or surface where it will be attached. Secure the sensor firmly using screws or adhesive strips according to the manufacturer's instructions. If necessary, trim any excess wire from the sensor to prevent tangles or electrical interference. Finally, power up your system and verify that the ultrasonic sensor is functioning correctly by checking for a valid reading on your device.
With this file you will be able to print Ultrasonic Sensor Mount with your 3D printer. Click on the button and save the file on your computer to work, edit or customize your design. You can also find more 3D designs for printers on Ultrasonic Sensor Mount.
