Ultimaker Z-tilt adjustment
thingiverse
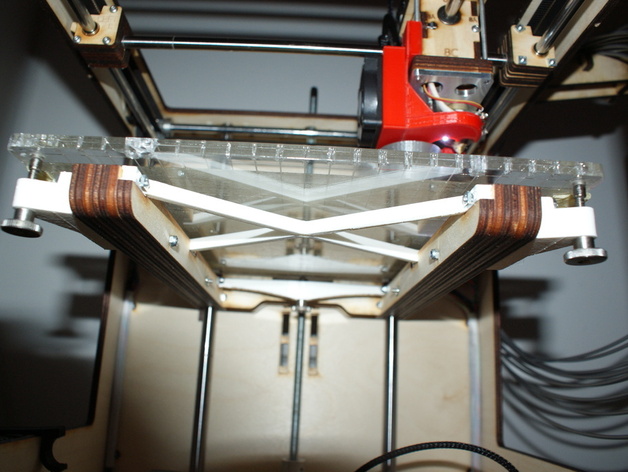
This variant features an adjustable Ultimaker Z-stage, providing height and tilt control for optimal printing. The platform rests on three support screws, offering a level print surface. Although stability is slightly compromised, you gain a stable print platform. To install, print the (4) parts and tap M4 threads into the (adjustment) holes. Replace the original Z platform and XY stabilizer with brackets secured by M3x40 screws. Then, attach three M4 adjustment screws and glue magnets on each screw and the platform's underside. Adjust the platform height with the screws, reposition the upper Z endswitch, and update your start.gcode for correct print height.
With this file you will be able to print Ultimaker Z-tilt adjustment with your 3D printer. Click on the button and save the file on your computer to work, edit or customize your design. You can also find more 3D designs for printers on Ultimaker Z-tilt adjustment.