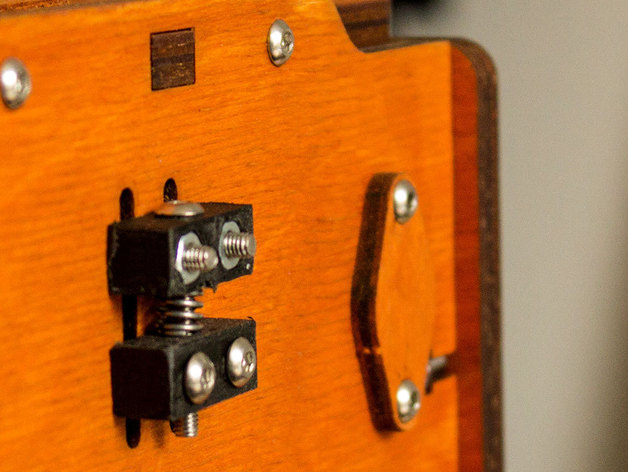
Ultimaker Z axis adjuster 4 bed leveling
thingiverse
To enhance bed leveling, print both top and bottom parts; you may need to mirror the Z for printing. Remove the top Z endstop and secure the top using 2 M3x16 screws and nuts from inside. Attach the bottom with 2 M3x20 screws through the frame onto the switch. Assemble a spring, nut, and another screw (M3x30mm) between top and bottom parts. Adjust Z-level by turning the vertical screw clockwise or counterclockwise.
Download Model from thingiverse
With this file you will be able to print Ultimaker Z axis adjuster 4 bed leveling with your 3D printer. Click on the button and save the file on your computer to work, edit or customize your design. You can also find more 3D designs for printers on Ultimaker Z axis adjuster 4 bed leveling.
