Ultimaker X(2X), Y(2X), Z
thingiverse
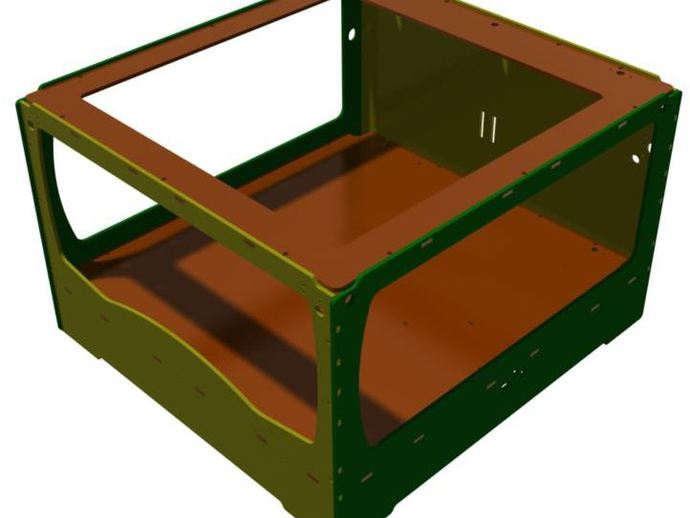
To enhance Ultimaker's build area, you can increase its X and Y axes dimensions while maintaining the standard Z axis. You are working from the Original REV 3 Ultimaker Laser Cut Drawings found at http://www.thingiverse.com/thing:13571. Your plan includes having a panel made with 4mm birch ply and 1mm aluminum on both sides, cut out on a CNC router using a 3mm cutter. The DWG, DXF file has rounded internal corners, which you'll refine after cutting. The panel is set to be cut on April 15th, and assembly should begin that weekend. You're considering an aluminum heated base and adding a Perspex panel to the side panels. Purchasing the Laser-less Ultimaker Kit will be your next step. You plan to request Ultimaker to supply customized X and Y parts at an extra cost. You don't require funding but seek advice on affordable base options.
With this file you will be able to print Ultimaker X(2X), Y(2X), Z with your 3D printer. Click on the button and save the file on your computer to work, edit or customize your design. You can also find more 3D designs for printers on Ultimaker X(2X), Y(2X), Z.
