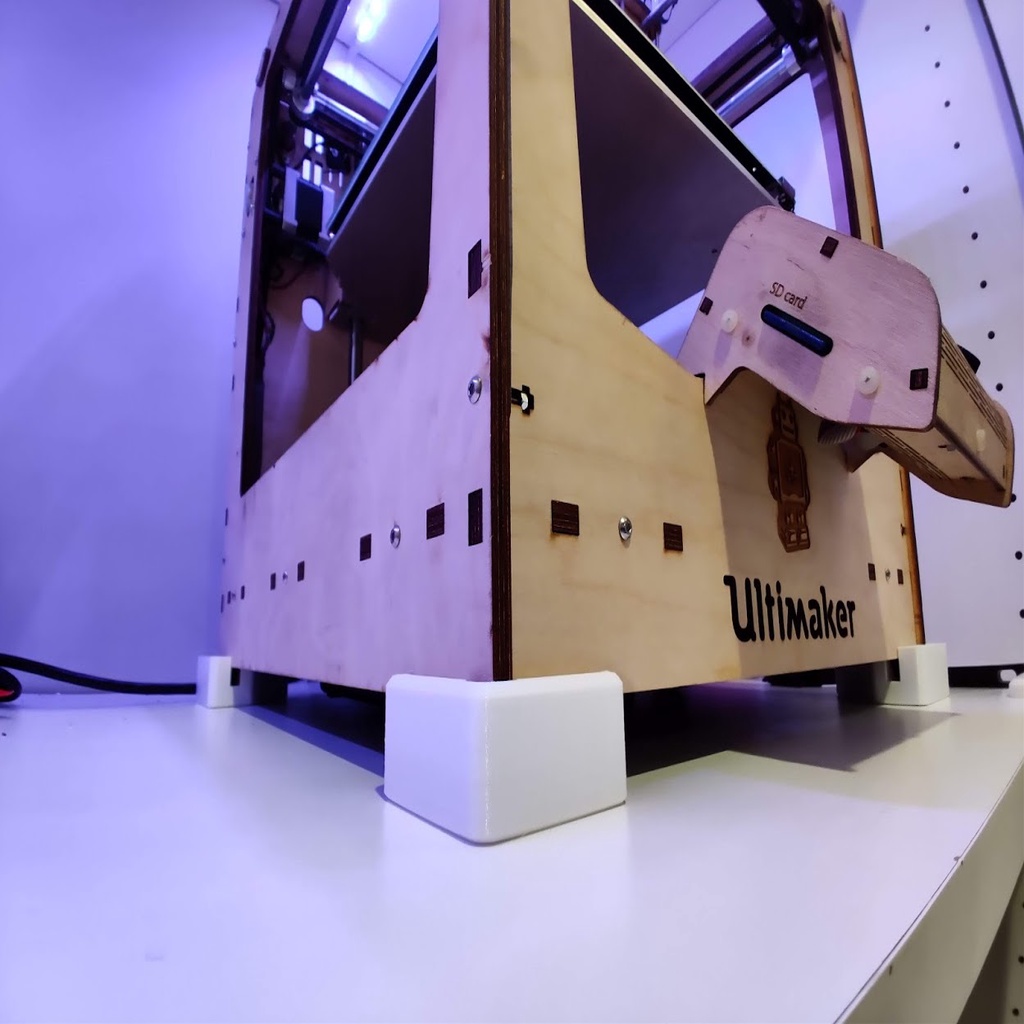
Ultimaker Original + Standoffs / Feet
thingiverse
Snap on these standoffs to your Ultimaker to keep your work surface and printer safe from scratches. They also provide enough height to mount the power supply to the bottom of the machine, greatly reducing its overall footprint. These guys are quick to print, and have been hollowed out as much as possible to minimize filament consumption. Designed with a tight tolerance, they ensure they stay snapped onto the printer base when the machine is lifted. I've tested them on my Ultimaker Original +, and they fit the Original as well. They should work just fine on other Ultimaker families of printers too. To print a set of standoffs on a single or multi-material printer: 1. Download the file, which comes in two variants - one with tight tolerances (recommended) and one with looser tolerances. 2. Import the file into your slicer, keeping the part flat on the bed. I recommend printing a single part to test before printing the other three required parts. If it's too tight to fit, choose the looser tolerance model. 3. Slice the file using 0.200mm layer heights or thicker for faster print time. I used 4 top and bottom layers, and 3 perimeters, at 15% infill. 4. Print with MatterHackers Build PETG. 5. Install them - this is a simple step that requires some basic skills. If you end up printing a set of standoffs, post a Make so I can see how they turned out! Or don't, and I'll be very disappointed for days. -Brent
With this file you will be able to print Ultimaker Original + Standoffs / Feet with your 3D printer. Click on the button and save the file on your computer to work, edit or customize your design. You can also find more 3D designs for printers on Ultimaker Original + Standoffs / Feet.
