ultimaker original mk8 hotend J-Struder direct Extruder
thingiverse
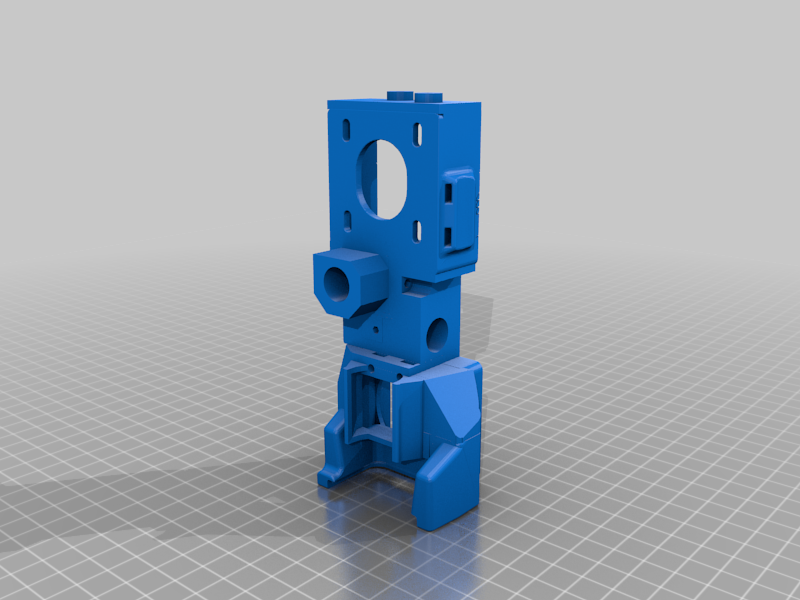
Designing a Custom Hotend for the Ultimaker Original MK8 with a Direct Extruder Mount The Ultimaker Original's versatility is its greatest strength, and modifying its hotend can unlock new possibilities. The addition of a direct extruder mount, specifically the J-Struder 1.75mm Bowden setup, presents an exciting opportunity to upgrade this iconic 3D printer. Key Components: * **J-Struder 1.75mm Bowden Direct Extruder:** This is the primary component that will be integrated into the Ultimaker Original's hotend design. * **Ultimaker Original MK8 Hotend:** The original hotend of the Ultimaker, which will serve as the base for our custom design. Design Objectives: 1. **Integration:** Seamlessly integrate the J-Struder 1.75mm Bowden direct extruder into the existing Ultimaker Original hotend. 2. **Functionality:** Ensure that the modified hotend maintains or improves upon the original's functionality, including temperature control and print quality. 3. **Aesthetics:** Preserve the sleek design of the Ultimaker Original while incorporating the new components. Step-by-Step Design Process: ### Step 1: Assessing the Current Hotend Carefully disassemble the original hotend to gain a deeper understanding of its internal mechanisms and how they can be modified to accommodate the J-Struder 1.75mm Bowden setup. ### Step 2: Mounting the Direct Extruder Design a custom mount that securely attaches the J-Struder 1.75mm Bowden direct extruder to the Ultimaker Original's hotend. This mount must provide precise alignment and minimize any potential sources of vibration or misalignment during printing. ### Step 3: Modifying the Hotend for Compatibility Modify the original hotend to accept the new J-Struder 1.75mm Bowden direct extruder. This may involve adjusting the hotend's internal components, such as the heating element and temperature sensor, to ensure they work seamlessly with the new extruder. ### Step 4: Testing and Calibration Assemble the custom hotend and conduct thorough testing to ensure that it operates flawlessly with the J-Struder 1.75mm Bowden direct extruder. This will involve calibrating the extruder's temperature, flow rate, and other parameters to optimize print quality. ### Step 5: Refining the Design Based on the results of the initial testing, refine the custom hotend design as needed to achieve optimal performance. This may involve making adjustments to the mount, modifying the internal components, or exploring alternative materials for improved durability and thermal efficiency. The end result will be a cutting-edge, high-performance 3D printing system that combines the versatility of the Ultimaker Original with the precision and reliability of the J-Struder 1.75mm Bowden direct extruder.
With this file you will be able to print ultimaker original mk8 hotend J-Struder direct Extruder with your 3D printer. Click on the button and save the file on your computer to work, edit or customize your design. You can also find more 3D designs for printers on ultimaker original mk8 hotend J-Struder direct Extruder.