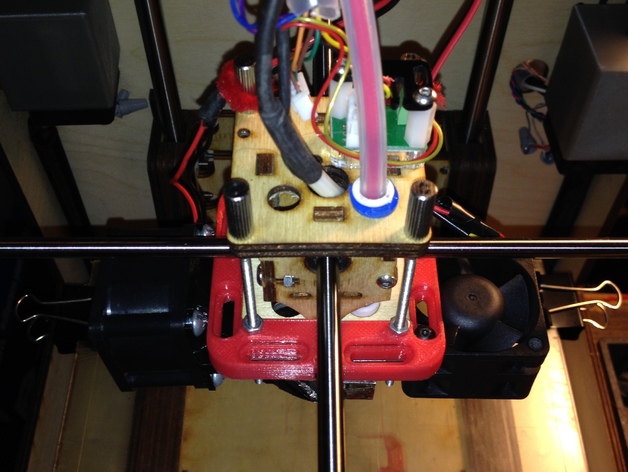
Ultimaker Hot End Accessory Mount
thingiverse
This two-part mount wraps around your Ultimaker hot end, featuring recessed slots for easy attachment of items like 40mm and 50mm fans, positioned to align perfectly vertically alongside the hot end's edges. It won't hinder existing stock or most custom fan brackets. To install, first print the parts, ensuring you use support as they have overhangs close to the work surface. Deburr and smooth everything for a snug fit. The inner holes in each part should be tapped with a #6 tap or similar metric size. Remove any prior fan mount, then take out the two long bolts on the left side of the hot end, adding extra nuts before reassembling with one of the parts in place. Lightly tighten these new nuts to secure. Replicate this process on the right side and use two small #6 screws to join the two pieces. Finally, mount your fan, now benefiting from four adjustable attachment points. Most 40mm fans can be secured using #6 screws, so long bolts aren't required for this. Low-profile buttonhead screws are recommended as they won't interfere with the sliding blocks.
With this file you will be able to print Ultimaker Hot End Accessory Mount with your 3D printer. Click on the button and save the file on your computer to work, edit or customize your design. You can also find more 3D designs for printers on Ultimaker Hot End Accessory Mount.
