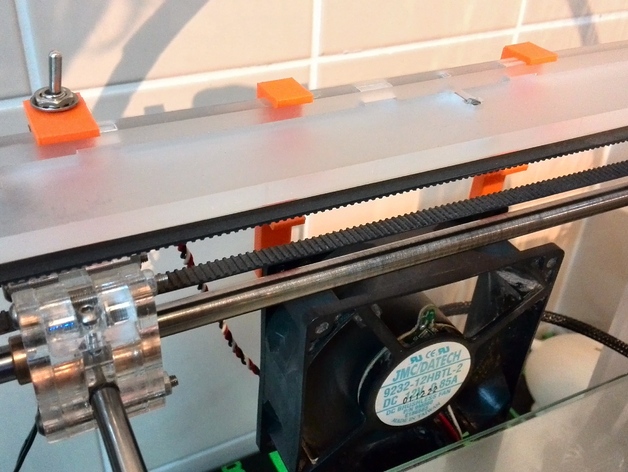
Ultimaker fan
thingiverse
I designed this device with the primary goal of cooling down our heated bed quickly after printing. This innovation could significantly speed up the printing process by efficiently dissipating excess heat. Update: I conducted an informal yet intriguing scientific study, consisting of a single experiment, and observed that the printbed rapidly dropped from 70 to 30 degrees in merely seven minutes. Conversely, without the aid of this cooling fan, the same temperature reduction would take approximately twenty-six minutes. This project was arguably my quickest endeavor from conception to completion. I mentally envisioned it, then swiftly brought it into being by sourcing necessary components, and even managed to solder the electrical connections while another print job ran continuously for one and a half hours on our 3D printer. To everyone's surprise, the innovative bracket designed to connect all components functioned exceptionally well in its first attempt. Amazingly, this entire project was completed within two hours! Instructions To create this device, you will need: a high-powered fan two standard screws used for fans an optional switch for control a reliable 12-volt power supply minimal skills and experience with soldering
With this file you will be able to print Ultimaker fan with your 3D printer. Click on the button and save the file on your computer to work, edit or customize your design. You can also find more 3D designs for printers on Ultimaker fan.
