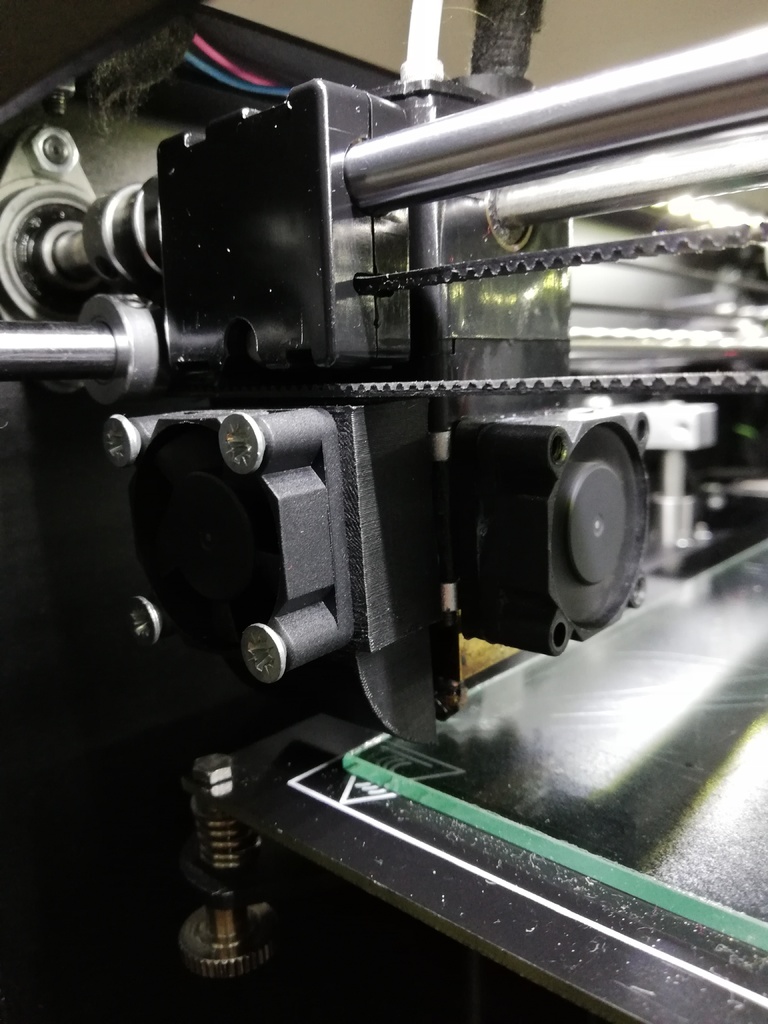
ultimaker fan um2 cover
thingiverse
Modifying and covering an Ultimaker extruder fan can be a straightforward process that enhances its performance. The first step is to identify the type of fan currently installed on your machine, as this will determine which replacement parts you'll need to acquire. Once you've determined the type of fan, disconnect the power supply to ensure your safety while working with electrical components. Next, locate the screws holding the fan in place and remove them using a screwdriver. Gently pull the fan away from the extruder, taking care not to damage any surrounding components. Now that the old fan is removed, it's time to install the new one. Begin by attaching the new fan to the extruder using the screws you removed earlier. Make sure they're securely tightened to prevent any vibration or movement during operation. With the new fan in place, reassemble everything and reconnect the power supply. Finally, test your modified extruder fan to ensure it's working correctly. If you've encountered any issues during this process, consult the user manual for further assistance.
With this file you will be able to print ultimaker fan um2 cover with your 3D printer. Click on the button and save the file on your computer to work, edit or customize your design. You can also find more 3D designs for printers on ultimaker fan um2 cover.
