Ultimaker 3 Door
thingiverse
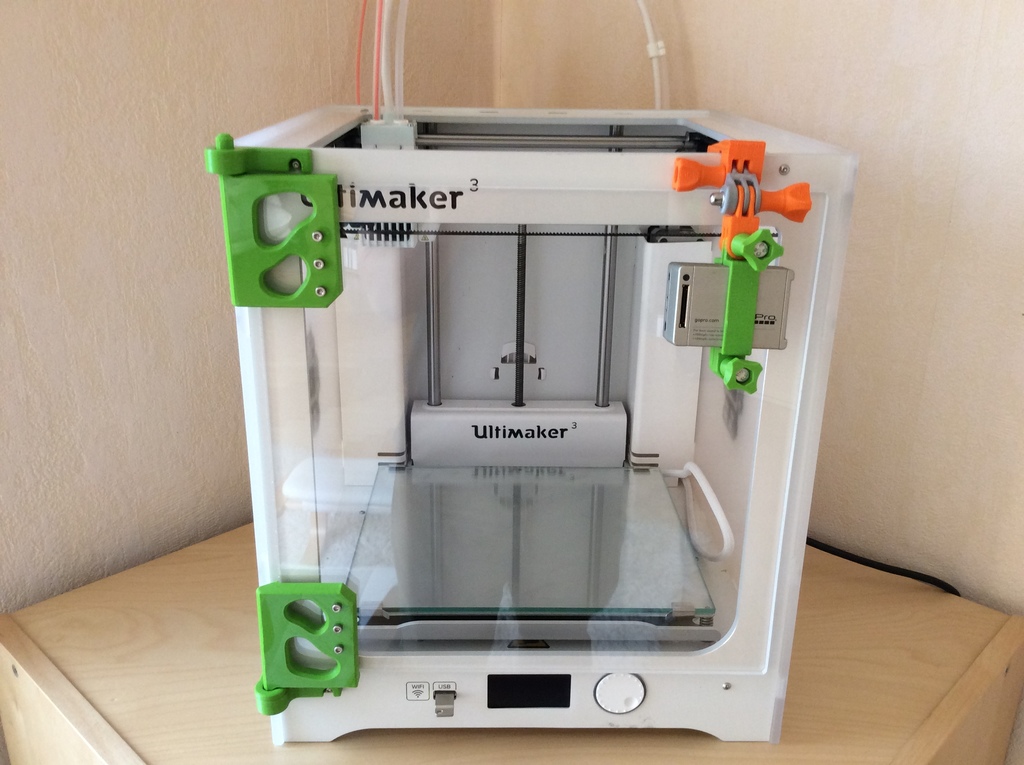
I designed this door to fit seamlessly onto my Ultimaker 3 without requiring any modifications to the 3D printer itself. I aimed to create a door that operates flawlessly without necessitating drilling, gluing or taping directly onto the machine. The door hinges cleverly utilize existing bolts that hold the Ultimaker together. Each component prints effortlessly without support and boasts a remarkably simple design. The door itself is a sturdy 6mm thick square piece of acrylic measuring 31cm by 31cm. The hinges are precision-crafted to ensure this acrylic sits flat and flush with the machine, thereby maximizing seal efficiency. Considerably thinner sheets of acrylic might be used, but they would not sit flat as intended. To achieve optimal results, a solid 6mm sheet is essential for maintaining the desired seal. **Hardware Used:** * M3x22 Bolts (Qty:6) - sourced from McMaster at https://www.mcmaster.com/#91292a801 * M3 Nuts (Qty:6) - available at https://www.mcmaster.com/#91828a211 * 6mm (~1/4") Thick 31cm x 31cm acrylic (Qty:1) - sourced from McMaster at https://www.mcmaster.com/#8560k357 Please note that the specified link on McMaster is quite pricey. A more budget-friendly option might be to source it locally. The door requires a latch, which I have yet to design. For now, I simply employ my GoPro hook to keep it securely closed. If you appreciate my door design, feel free to share your suggestions for an effective latch. **Update:** The "C" shaped spacer plays a crucial role in positioning the lower mount and lower door hinge correctly. It ensures the door swings open smoothly and effortlessly.
With this file you will be able to print Ultimaker 3 Door with your 3D printer. Click on the button and save the file on your computer to work, edit or customize your design. You can also find more 3D designs for printers on Ultimaker 3 Door.