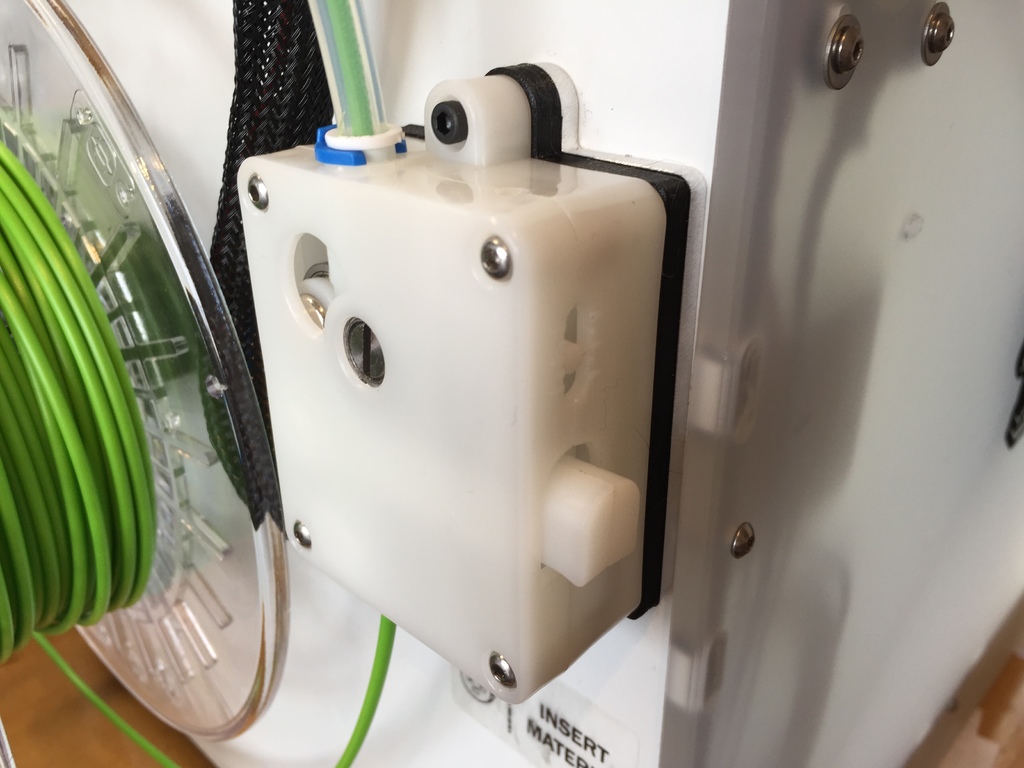
Ultimaker 2 to 2+ Feeder Spacer
thingiverse
This adapter spacer frame is essential if you want to fit the Chinese Ultimaker 2+ feeder to the Ultimaker 2, as some stepper shafts are too long on certain Ultimaker 2 models. Instead of cutting the shaft, which can be a bad idea, use this adapter to get it right. You will also need an alloy mounting plate and some m3 bolts; I shortened my m3 bolts with a Dremel to achieve the correct lengths. Some feeder steppers on the UM2 do not have the necessary D-shaped shaft to fit the new plastic gear, so you will need to file or grind a flat spot to accommodate it. Set the tension on the feeder to about halfway by turning the hex bolt on top anti-clockwise, like loosening it, but actually increasing the spring tension. Install Tinkergnome firmware using Cura because you will need to change the feeder E steps to around 738; Tinkergnome has a feeder calibration to extrude 100mm of filament. To do this, remove the bowden tube from the feeder and insert a piece of filament into the feeder until it's level with the top. Now use Tinkergnome to extrude 100mm and measure how much you get; if you get 103mm, just calculate the desired number by dividing 100 by 103 times the E steps it's set on. So I got 103mm, so I calculated the desired number by dividing 100 by 103 multiplied by the E steps it was set on - which is 716. So I set the E steps to 716 and now I get 100mm of filament. I added the 3Dsolex TFN couple and my Ultimaker 2 is printing very nicely! Additional setup with Tinkergnome involves PID Autotune your nozzle and heated bed, setting the target temp to what you normally print at, which helps a lot. And don't forget to do a bed level with a new install on Tinkergnome!!!
With this file you will be able to print Ultimaker 2 to 2+ Feeder Spacer with your 3D printer. Click on the button and save the file on your computer to work, edit or customize your design. You can also find more 3D designs for printers on Ultimaker 2 to 2+ Feeder Spacer.
