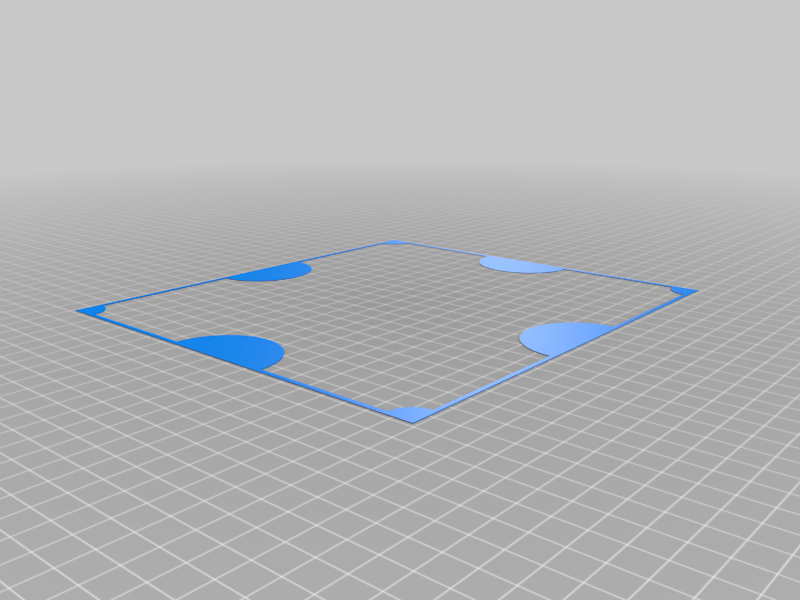
Ultimaker 2 fast leveling
thingiverse
Leveling the Ultimaker 2 is a straightforward process that requires no special tools beyond a feeler gauge and a screwdriver. Begin by removing the build platform from its cradle, then locate the eight leveling screws located along the edges of the platform. Turn each screw clockwise until it bottoms out against the aluminum plate below, taking care not to overtighten the screws. Next, use a feeler gauge to measure the distance between the nozzle and the build surface at the center of the platform. This reading should be in the range of 0.2-0.3 mm; adjust the Z-axis screw as needed to achieve this setting. Finally, re-check the leveling by measuring the distance again and making any necessary adjustments to the screws until a consistent reading is achieved.
With this file you will be able to print Ultimaker 2 fast leveling with your 3D printer. Click on the button and save the file on your computer to work, edit or customize your design. You can also find more 3D designs for printers on Ultimaker 2 fast leveling.
