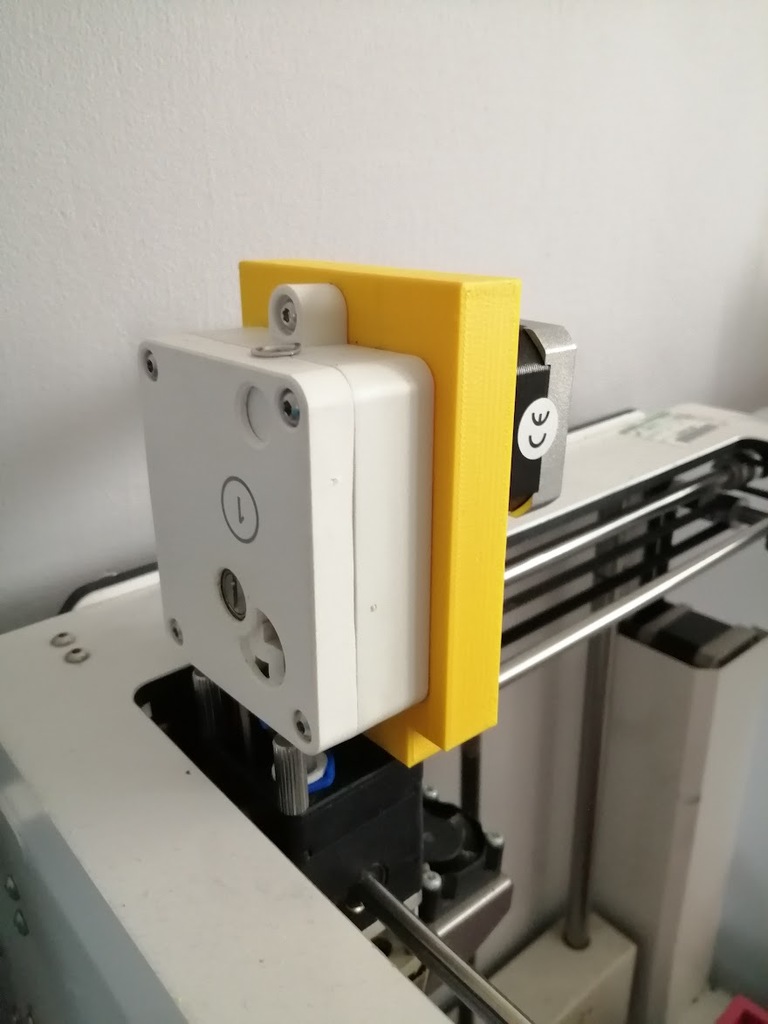
Ultimaker 2+ direct drive extruder conversion, Nantgaredig
thingiverse
This conversion allows for overcoming Ultimaker's extrusion design challenges due to "push through bowden tube" filament extrusion and friction involved leading to grinding the filament. With this arrangement the filament is pulled through and only pushed through a short 7.7mm bowden tube piece vertically with no friction involved. I normally leave the filament in the original spool holder threaded through the filament runout sensor/alarm as per photos. The printing detail is very good. The filament run out sensor is using an existing frame screw to be attached to the side as per photos using a longer screw (3mm diameter). The battery alarm comprises a cheap Magnetic Door and Window Alarm with an endstop limit switch inserted by cutting one of the cables (remove magnet not needed). This arrangement allows the filament spool to untangle itself in the event of a knot forming (ie when the spool winding becomes loose), which is quite a common fault with these machines. In addition I have developed a tools tray which might be useful (again remove a screw from the frame to secure to the side. Adjust the Esteps to 352. I changed firmware to Tinker-MarlinUltimaker2-19.03.1 (ie to be able to change Esteps). Tip for plate adhesion: Use a dilute mix of PVA glue with water (PVA:water 1:5) and apply a thin layer to the bed, then heat to dry. The plate adhesion results are astonishing.
With this file you will be able to print Ultimaker 2+ direct drive extruder conversion, Nantgaredig with your 3D printer. Click on the button and save the file on your computer to work, edit or customize your design. You can also find more 3D designs for printers on Ultimaker 2+ direct drive extruder conversion, Nantgaredig.
