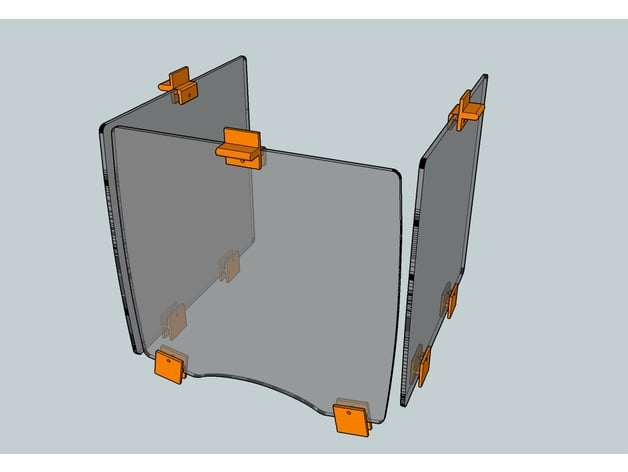
Ultimaker 1 / Original / Original+ PMMA doors
thingiverse
This is a complete set of doors designed specifically for the Ultimaker Original, Original +, and Ultimaker 1 printers. To create these doors, you will need access to a laser cutter for cutting PMMA sheets and a 3D printer for printing the clips that secure them in place. Fortunately, installation and removal of these doors do not require any drilling on the Ultimaker itself, making them easy to switch between printing and accessing your workspace. To ensure compatibility with your existing Ultimaker setup, the PMMA sheets used for these doors should be precisely 4mm thick, matching the standard thickness of the original Ultimaker wood parts. To facilitate this process, detailed Sketchup 2017 files are provided for securing clips and PMMA doors, as well as DXF exports for lasercutting and STL files for 3D printing. If you don't have a laser cutter at your disposal, consider visiting your nearest Fablab to have the required parts cut out. The details of these settings can be found below: Print Settings - Printer Brand: Ultimaker - Printer Model: Ultimaker Original - Rafts: Doesn’t Matter - Supports: Doesn’t Matter - Resolution: 0.2 - Infill: 20% Post-Printing The clips, which feature a convenient handle, should be attached to the doors using M3X16 screws. To secure everything properly, ensure that these clips are positioned in such a way that they face upwards.
With this file you will be able to print Ultimaker 1 / Original / Original+ PMMA doors with your 3D printer. Click on the button and save the file on your computer to work, edit or customize your design. You can also find more 3D designs for printers on Ultimaker 1 / Original / Original+ PMMA doors.
