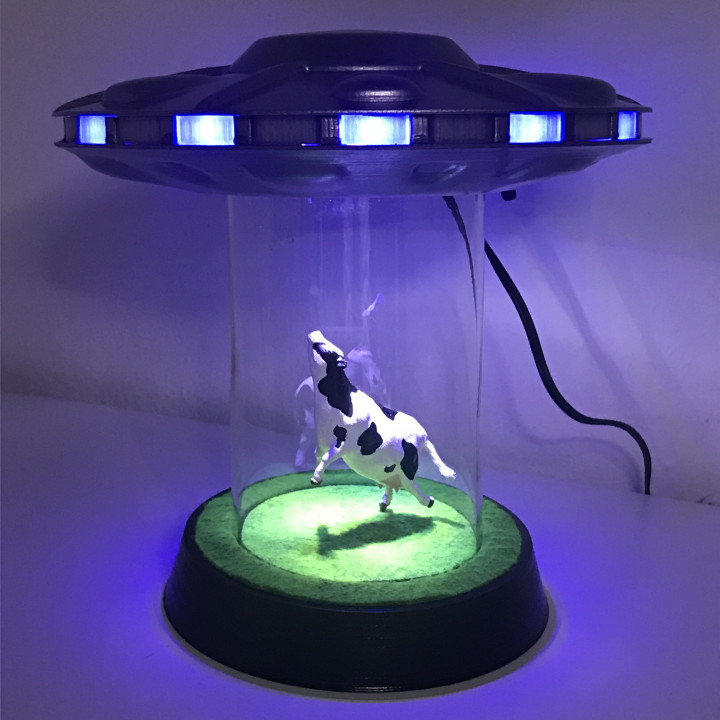
UFO Abduction Lamp with blinking lights
myminifactory
To assemble this project, you will need a glass cylinder with both ends open that measures approximately 80mm in width, as well as several electronic components and materials. The cylindrical piece should be around 27x in size to accommodate the various LEDs and other electronics. First, gather 30 200-ohm resistors, which will be used to regulate the current flowing through the LEDs. Alongside these resistors, you'll also need four 2k ohm resistors, which will be utilized for different purposes within the circuit. Additionally, four 2N2222 transistors are required for amplifying or switching electronic signals. A compact Arduino nano board is essential for programming and controlling the various components in this project. The board is connected to a 5M ohm potentiometer that allows users to adjust certain parameters. A stable power supply of 7 volts is also necessary for powering the circuit, which is comprised of multiple LEDs. These LEDs include 27 blue units and 3 white ones, providing a visually striking display. To complete this project, you will need some fabric with a green color. This fabric serves as a decorative element or possibly as part of the structure's enclosure.
With this file you will be able to print UFO Abduction Lamp with blinking lights with your 3D printer. Click on the button and save the file on your computer to work, edit or customize your design. You can also find more 3D designs for printers on UFO Abduction Lamp with blinking lights.
