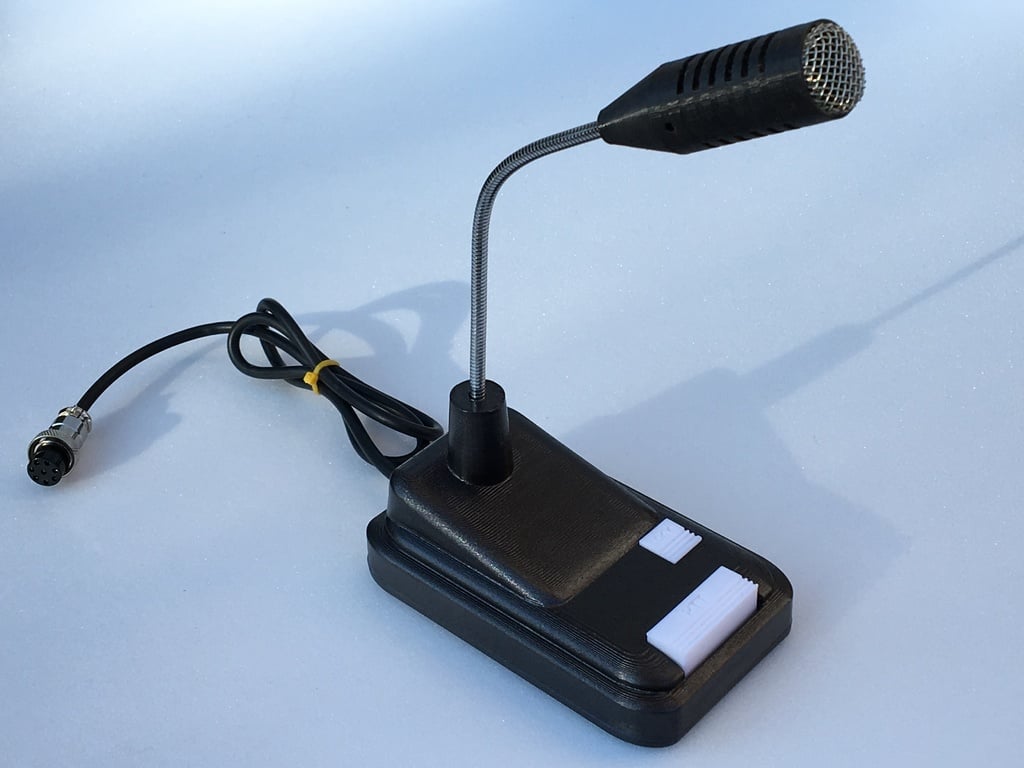
uBITX Desk Microphone
thingiverse
This is a custom desk microphone I designed specifically to complement my uBITX enclosure project. The microphone component itself is an electret type that comes packaged with the uBITX QRP kit, but you can also use it on any device capable of working with an electret mic. Electrets require a bias voltage to function effectively. To assemble this desk microphone, you will need to gather the following additional materials: * 2 x 3mm hex keys to secure the gooseneck at each end - or simply glue them in place * 2 x 3mm nuts and bolts for the cable clamp * 4 x 3mm machine screws to join both halves of the base * An 8x8mm pushbutton switch with momentary contacts (for the PTT function) * Another 8x8mm pushbutton switch, but this one with latching contacts (for the PTT Lock function) * A USB laptop lamp featuring a 5mm gooseneck - I obtained mine from a dollar shop and similar items are listed on eBay for around the same price * A mesh strainer to serve as the mic grille - again, I picked up mine at a dollar shop Only two pins per switch are needed. To make mounting the switches easier, you can cut off any unneeded pins. Next, solder the wires to the remaining pins and while inserting the wires/switch on its mount, pull on the wires to spread the legs wide. Ensure that the switches are seated all the way down. I have included a mesh plug designed to facilitate the formation of the grille. To use it effectively, employ the flat side of the disc to measure and cut the mesh, then flip it over and use the opposite side featuring a bump to shape the grille. Once you've formed the grille, simply slide it into the open end of the mic enclosure.
With this file you will be able to print uBITX Desk Microphone with your 3D printer. Click on the button and save the file on your computer to work, edit or customize your design. You can also find more 3D designs for printers on uBITX Desk Microphone.
