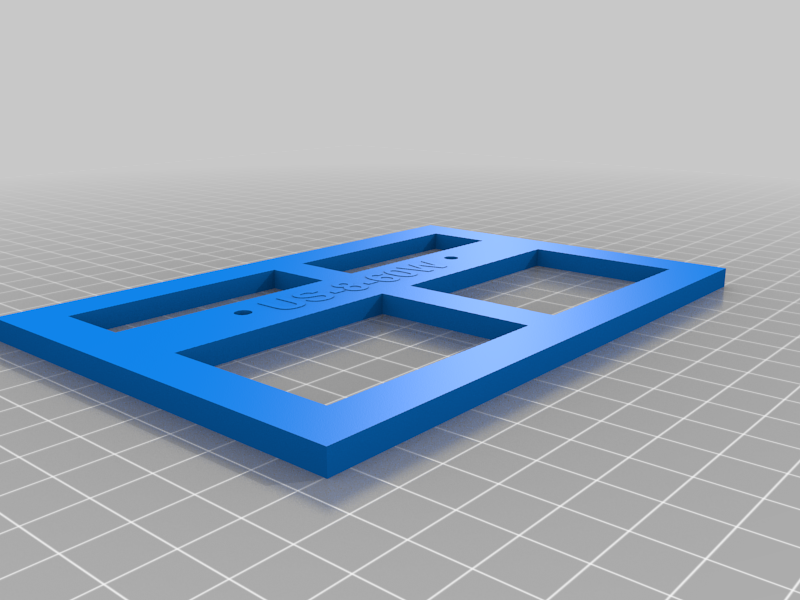
Ubiquiti US-8-60W screw hole template
thingiverse
Mounting a US-8-60W Ubiquiti Switch: A Step-by-Step Guide to Secure Screws Placement To ensure a secure and stable installation of your US-8-60W Ubiquiti switch, it's essential to identify the correct screw placement locations. Below is a detailed template for mounting screws on this particular model. **Switch Mounting Template** The US-8-60W Ubiquiti switch features a compact design with a sturdy metal casing. To mount this device securely, you'll need to place screws in specific areas. Here are the designated screw placement points: * **Top-Screw Placement**: Place two screws (M3 x 6mm) on either side of the top panel, about 1 inch from the edge. Make sure these screws are tightened firmly but avoid over-tightening. * **Bottom-Screw Placement**: Install four screws (M3 x 8mm) evenly spaced across the bottom panel. Two screws should be placed near each mounting hole, about 1/2 inch from the edge. Ensure these screws are securely fastened to prevent any movement. * **Mounting Hole Alignment**: Align the mounting holes on your switch with the screw placement points on your mounting bracket or enclosure. Securely attach the bracket or enclosure using the designated screws. **Additional Tips for a Secure Installation** To ensure a stable and secure installation, follow these additional guidelines: * Use a level to guarantee even spacing between screws. * Avoid over-tightening screws, as this can damage the switch's casing or surrounding components. * Verify that all screws are securely fastened before powering on your switch. By following this template and adhering to these guidelines, you'll be able to mount your US-8-60W Ubiquiti switch securely and efficiently.
With this file you will be able to print Ubiquiti US-8-60W screw hole template with your 3D printer. Click on the button and save the file on your computer to work, edit or customize your design. You can also find more 3D designs for printers on Ubiquiti US-8-60W screw hole template.
