Ubiquiti Flex G3 Camera Mount and Cover
thingiverse
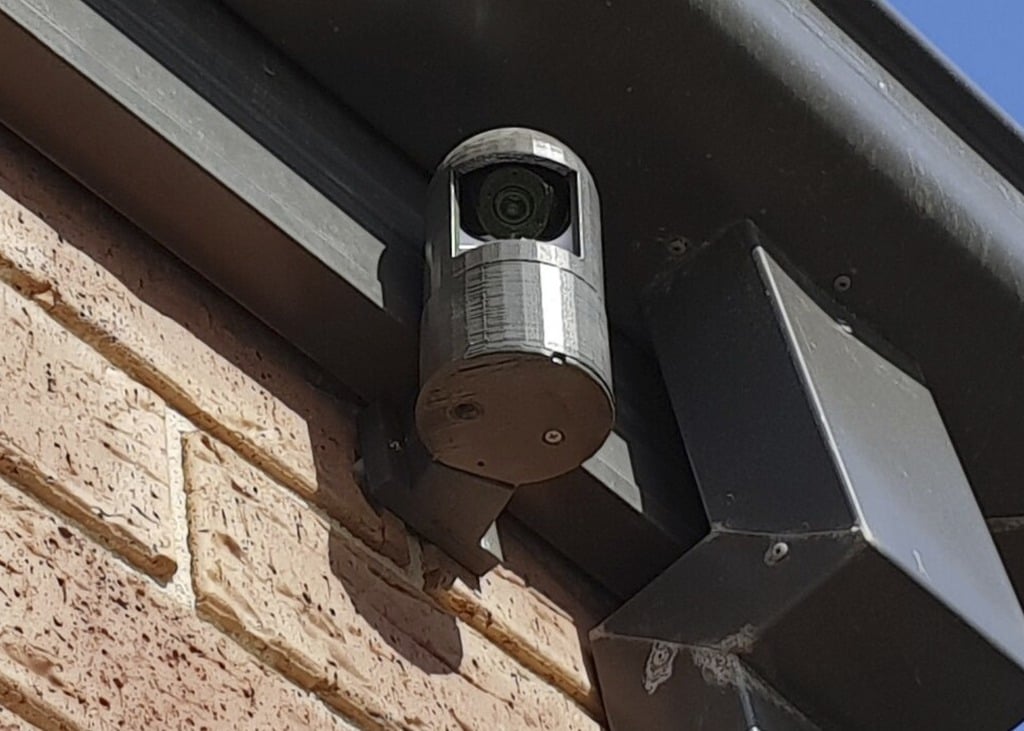
Not really feeling confident with the weather-proofing of the Ubi Flex G3 camera, I created this cover to shield it from direct rain and intense sunlight. The angled mounts incline sideways and slightly downwards so that the camera clears the fascia on the house. The tube simply fits into the rebate on the base, and when the dome is pushed on top, it tightens the tube down securely. There's a slot and a hole in the base for drainage purposes, just in case water seeps inside. The opening in the dome allows enough light to pass through without causing any vignetting, even if the lens is angled downwards to its minimum setting. The dome swivels with the camera for side-to-side adjustment. Some bonus angle mounts are included for the camera alone. I found that the camera itself needed to be angled down by 30 degrees to capture things directly below it. I used these under covered areas where a full dome cover setup wasn't necessary. To assemble this cover, you'll need to print: * The base * One of the three variants of angle mounts (left, right, straight) * The tube * The dome Assembly Instructions: * Feed the cable through and attach the wall mount to the wall using masonry screws or similar. The hole in the wall mount fits a RJ45 connector without a boot through. * Screw the printed base to the printed wall mount, using two screws (the vertical two above the RJ45 hole). * Remove the ubi-supplied wall mount from the bottom of the camera, then use the ubi-supplied screws to attach the ubi-supplied mount to the printed wall mount. These are the two small screw holes under the RJ45 hole. * Plug in the RJ45, then place the camera on the ubi-mount. It slides on two tracks, so you'll need some vertical room (approx 20mm) above the top of the camera to allow this. * Screw in the ubi-supplied screws into the bottom of the printed base, through the ubi-supplied mount into the camera itself. Ubiquiti refers to these as 'security screws'. One is visible in the photo attached to this thing. * Place the tube on the printed base, sliding it down around the camera * Push the dome down over the tube rebate. This causes the tube to tighten on the base and grip it securely.
With this file you will be able to print Ubiquiti Flex G3 Camera Mount and Cover with your 3D printer. Click on the button and save the file on your computer to work, edit or customize your design. You can also find more 3D designs for printers on Ubiquiti Flex G3 Camera Mount and Cover.