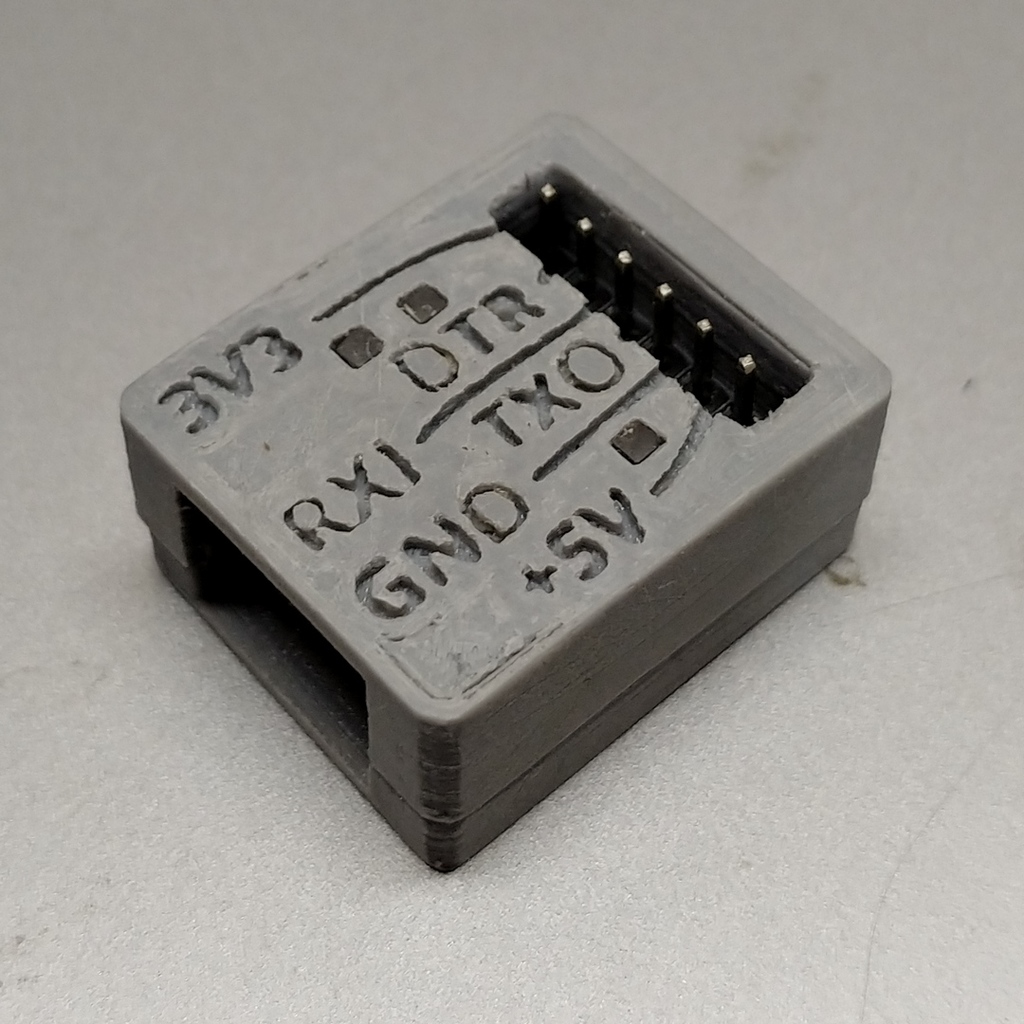
UART TTL Board Enclosure
prusaprinters
<p>This is an enclosure for a UART TTL board like this one [<a href="https://www.aliexpress.com/item/32801557756.html?spm=a2g0s.9042311.0.0.dcd44c4d4fxiCi">https://www.aliexpress.com/item/32801557756.html?spm=a2g0s.9042311.0.0.dcd44c4d4fxiCi</a>].</p> <p>In addition to the 3D printing I went through the trouble of making little "light pipes" for the 3 LEDs on the board. I used the "thick" clear plastic from typical chocolate boxes (e.g. Ferrero Rocher and the likes). Sawed and sanded until it fits in the little square holes in the enclosure. Secured with a bit of crazy glue. Adds a nice touch but by no means necessary.</p> <p>Note that for a result where you can actually read the pin labels, you need a 0.2mm nozzle.</p> <h3>Print Settings</h3> <p><strong>Printer Brand:</strong></p> <p>Anet</p> <p class="detail-setting printer"><strong>Printer: </strong> <div><p>A8</p></div> <p><strong>Rafts:</strong></p> <p>No</p> <p class="detail-setting supports"><strong>Supports: </strong> <div><p>No</p></div> <p><strong>Resolution:</strong></p> <p>0.1</p> <p class="detail-setting infill"><strong>Infill: </strong> <div><p>15% cubic</p></div> <p><strong>Filament:</strong> Overture PLA Grey</p> <p><br/> <p class="detail-setting notes"><strong>Notes: </strong></p> </p><div><p>Use a 0.2mm if you want to be able to read the pin labels. Some sanding required to clears the first layer or so. Seal the enclosure with some epoxy glue.</p></div> </p></p></p> Category: Electronics
With this file you will be able to print UART TTL Board Enclosure with your 3D printer. Click on the button and save the file on your computer to work, edit or customize your design. You can also find more 3D designs for printers on UART TTL Board Enclosure.
