Twisted Wire Jig
thingiverse
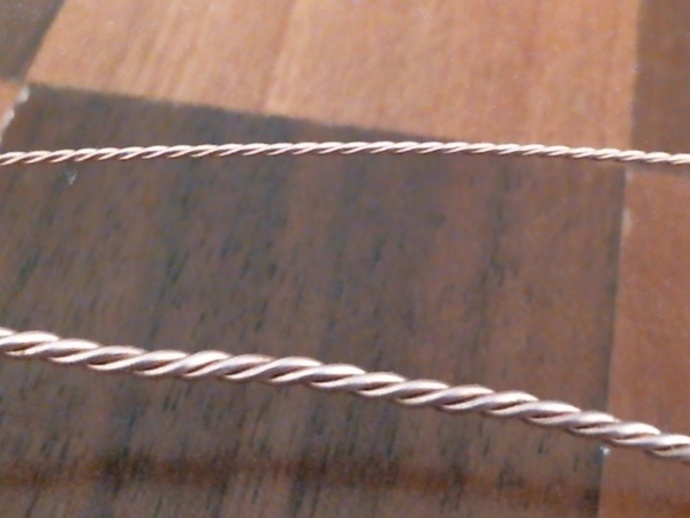
Create a jig for twisting multiple-stranded wires up to 20 AWG. The holes in the jig align the wires during twisting. For optimum results, use a center strand for 5 or 6-strand twisted wire. Three-strand wires are most stable. Photos display 20 AWG and 28 AWG 3-strand twisted copper wires along with 4, 5+c, and 6+c strands in the second image. To use the jig, print it out first. Prepare your wire for twisting. Thread each individual strand through the jig. Hold the strands at the top using pliers while turning the jig. Maintain close proximity to the bottom of the twisted wire and move the anchor point as needed, using cushioning materials to prevent crushing. After twisting, experiment with various applications for your new wire. To prevent counter-wrapping, add weights at the bottom of thin wires. CDs can also be drilled with holes to separate strands further but require weighted anchors. Stretching the twisted wire in short segments post-twisting improves quality and prevents entanglement.
With this file you will be able to print Twisted Wire Jig with your 3D printer. Click on the button and save the file on your computer to work, edit or customize your design. You can also find more 3D designs for printers on Twisted Wire Jig.