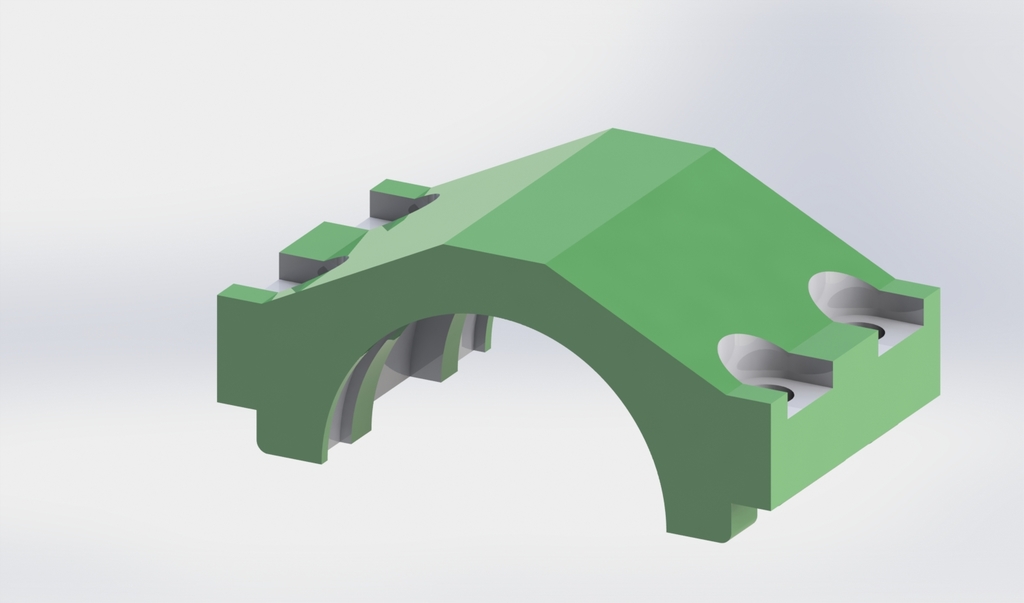
Tutorial
thingiverse
Welcome to our comprehensive tutorial on mastering SolidWorks! In this step-by-step guide, we'll walk you through the basics of using this powerful 3D CAD software. Whether you're a student or a professional, learning SolidWorks can open doors to new opportunities in design and engineering. **Step 1: Setting Up Your Workspace** First things first, let's get started with creating a new project in SolidWorks. Click on "File" and select "New..." from the dropdown menu. This will prompt you to choose a template for your project. Don't worry too much about this step – we'll cover templates in more detail later. Next, give your project a name and location by clicking on the respective fields and typing in your desired values. Make sure to save your file with a descriptive name so you can easily find it later. **Step 2: Creating Your First Part** Now that we have our workspace set up, let's create our first part! Click on "Sketch" from the toolbar and select "2D Sketch" from the dropdown menu. This will open a new sketch environment where you can start creating your design. To begin, click on the "Line" tool and draw a simple line on the sketch plane. Don't worry if it's not perfect – we'll refine our design as we go along. **Step 3: Adding Dimensions** Next, let's add some dimensions to our part! Click on the "Dimension" tool and select the dimension type you want to use (e.g., linear, angular, etc.). Then, click on the relevant sketch element(s) to assign the dimension. Repeat this process for each dimension you need. Remember to keep your dimensions clear and concise – it's essential for accurate design and engineering! **Step 4: Exchanging Your Part** Now that we have our part created, let's exchange it with other parts in our assembly! Click on "Assembly" from the toolbar and select "New..." from the dropdown menu. This will prompt you to choose a template for your assembly. Once you've selected your template, click on "Add Component" and browse to the location where you saved your part file. Select the part file and click "Open." Your part should now be added to the assembly! **Step 5: Assembling Your Parts** Next, let's assemble our parts! Click on the "Assembly" tool and select the components you want to add to your assembly. Then, use the "Move" or "Rotate" tools to position them correctly. Repeat this process for each component until you have all the parts assembled together. **Step 6: Editing Your Assembly** Now that we have our assembly created, let's edit it! Click on the "Assembly" tool and select the components you want to modify. Then, use the "Move," "Rotate," or "Scale" tools to make adjustments as needed. Remember to save your changes regularly – it's always a good idea to work in incremental steps! **Step 7: Exporting Your Design** Finally, let's export our design! Click on "File" and select "Export..." from the dropdown menu. Choose the file format you want to use (e.g., STL, OBJ, etc.) and click "Save." Your design should now be exported successfully! Congratulations – you've completed our tutorial on mastering SolidWorks! With these basic skills under your belt, you're ready to start creating complex designs and assemblies like a pro. Happy designing!
With this file you will be able to print Tutorial with your 3D printer. Click on the button and save the file on your computer to work, edit or customize your design. You can also find more 3D designs for printers on Tutorial .
