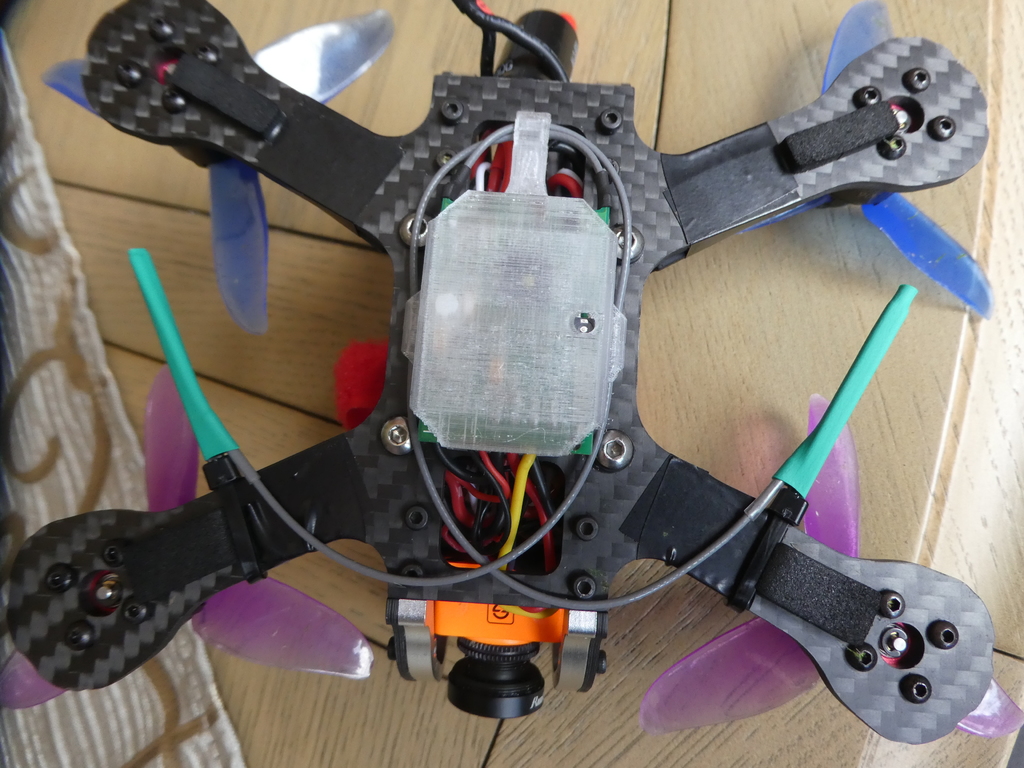
Turnigy - iA6C Receiver
thingiverse
Mounting an enclosure for a Turnigy iA6-C on an Armattan Japalura requires some technical expertise and patience. The first step is to carefully remove any protective covering from the mounting holes of both components, making sure not to scratch either surface. Next, select the correct screws for your particular setup and gently screw them into place through the pre-drilled holes in the Japalura's frame, ensuring they are securely fastened but not overtightened. Once this is done, align the receptacle with the mounting holes on the Japalura's frame, then firmly press down until it clicks into place, providing a snug and secure fit.
With this file you will be able to print Turnigy - iA6C Receiver with your 3D printer. Click on the button and save the file on your computer to work, edit or customize your design. You can also find more 3D designs for printers on Turnigy - iA6C Receiver.
