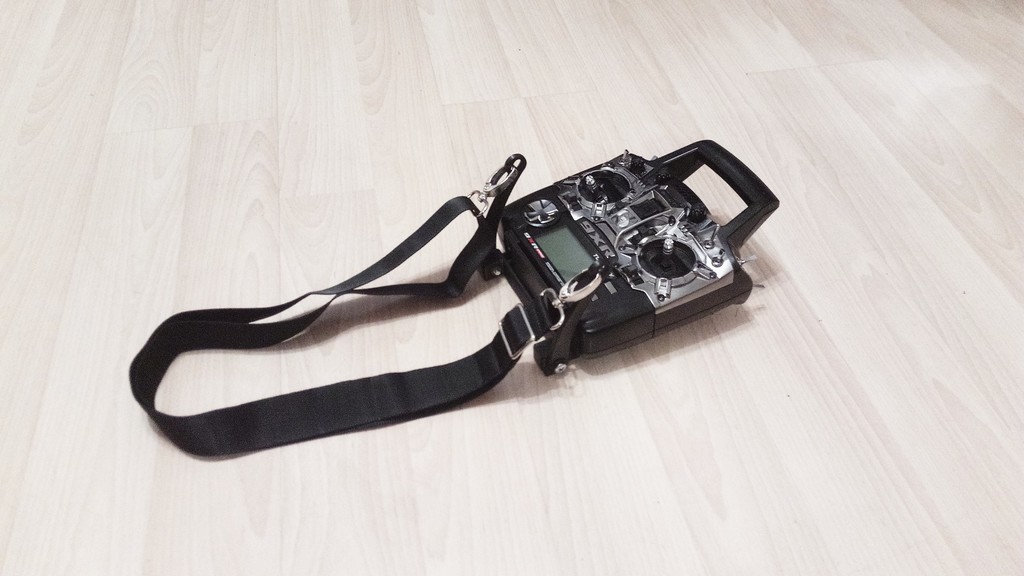
Turnigy 9XR/9XR-PRO Thumb StyleTransmitter Tray
thingiverse
I wanted a custom tray to stabilize my 9XR-Pro, but I didn't want one that would limit my ability to fly thumb-style, so I designed this solution, which offers the best of both worlds without breaking the bank. This DIY project requires just two M6x30mm bolts/screws, two M6 nuts, two M6 washers, and two M3x15mm bolts/screws. First, thread the M3 bolts into the thumb screws and secure them with some CA glue. Next, attach the frame to the back of the radio by using the existing bolt holes in the radio's casing. Add the front plate insert, which holds the edges of the radio's "feet" steady. This requires a gentle touch, so don't overtighten; once in place, a drop of glue on the tabs will keep it solid. Now, attach the arms by threading the M6 bolt and washer through the arm, inserting the M6 nut into the cutout, and screwing them in from the outside in. Be cautious not to over tighten until you've tested the fit – it should hold securely but not be fully tightened. Try out your radio and adjust the angles of the arms to suit your personal preference. Once you're satisfied with the angle, add a drop of glue to the arm-to-tray joint and tighten the bolts down firmly. I used a double-ended neck strap from a tote bag for this project, but any strap with two clip ends will work just as well.
With this file you will be able to print Turnigy 9XR/9XR-PRO Thumb StyleTransmitter Tray with your 3D printer. Click on the button and save the file on your computer to work, edit or customize your design. You can also find more 3D designs for printers on Turnigy 9XR/9XR-PRO Thumb StyleTransmitter Tray.
