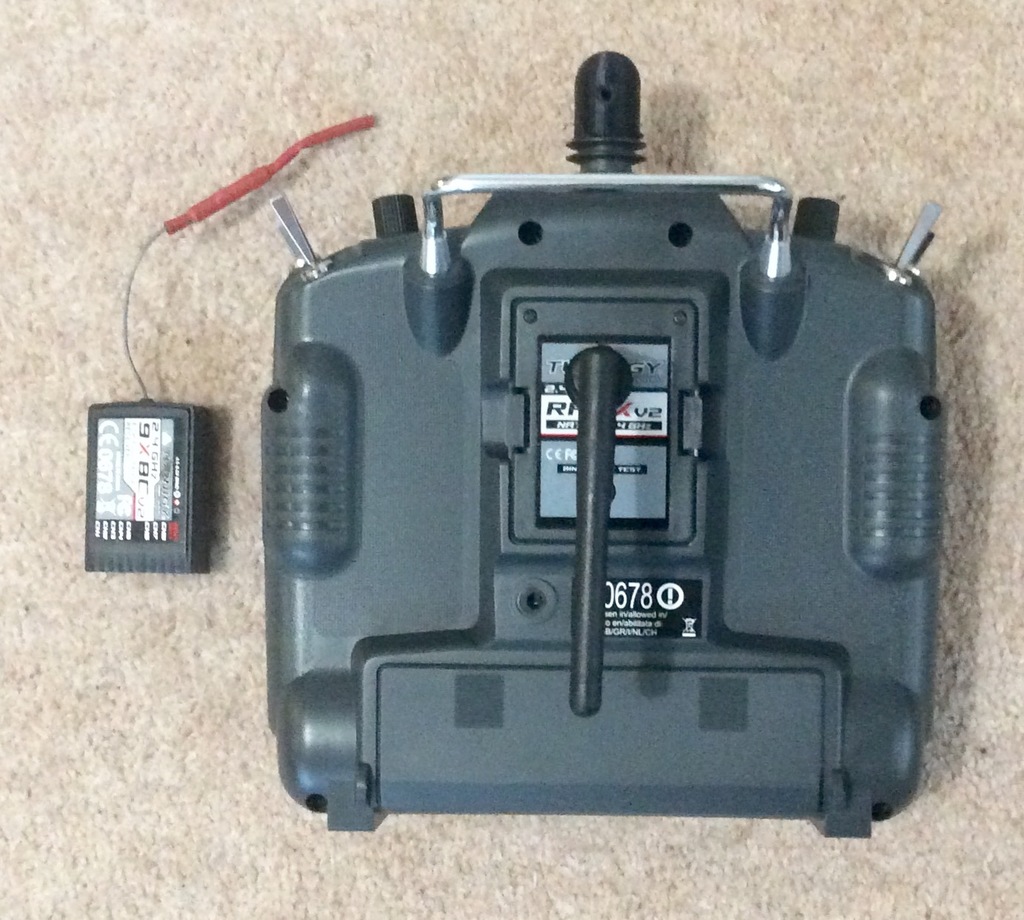
Turnigy 9X Stock Module Mount
thingiverse
You will need to drill two precise holes. The first hole is located in the module lid, approximately 26mm in diameter, allowing this object to pass through seamlessly. A second hole must be drilled into the object itself, accommodating a grub screw from the base of the antenna with ease. Carefully push the object through the hole in the lid from the inside out. Then, reattach the antenna wire to its original spot on the module board by applying a strong solder joint. Reattaching the antenna to the module is also essential, requiring a solid solder connection. Make sure it's securely fastened to prevent any signal loss or damage. For those who want to make adjustments to this design, I've included a Cinema 4D file for modification purposes. Keep in mind that the design might appear cluttered, but I've made an effort to maintain its original integrity as much as possible.
With this file you will be able to print Turnigy 9X Stock Module Mount with your 3D printer. Click on the button and save the file on your computer to work, edit or customize your design. You can also find more 3D designs for printers on Turnigy 9X Stock Module Mount.
