Turn Signal Stem Set - 2002 Kawasaki VN1500 and Others
prusaprinters
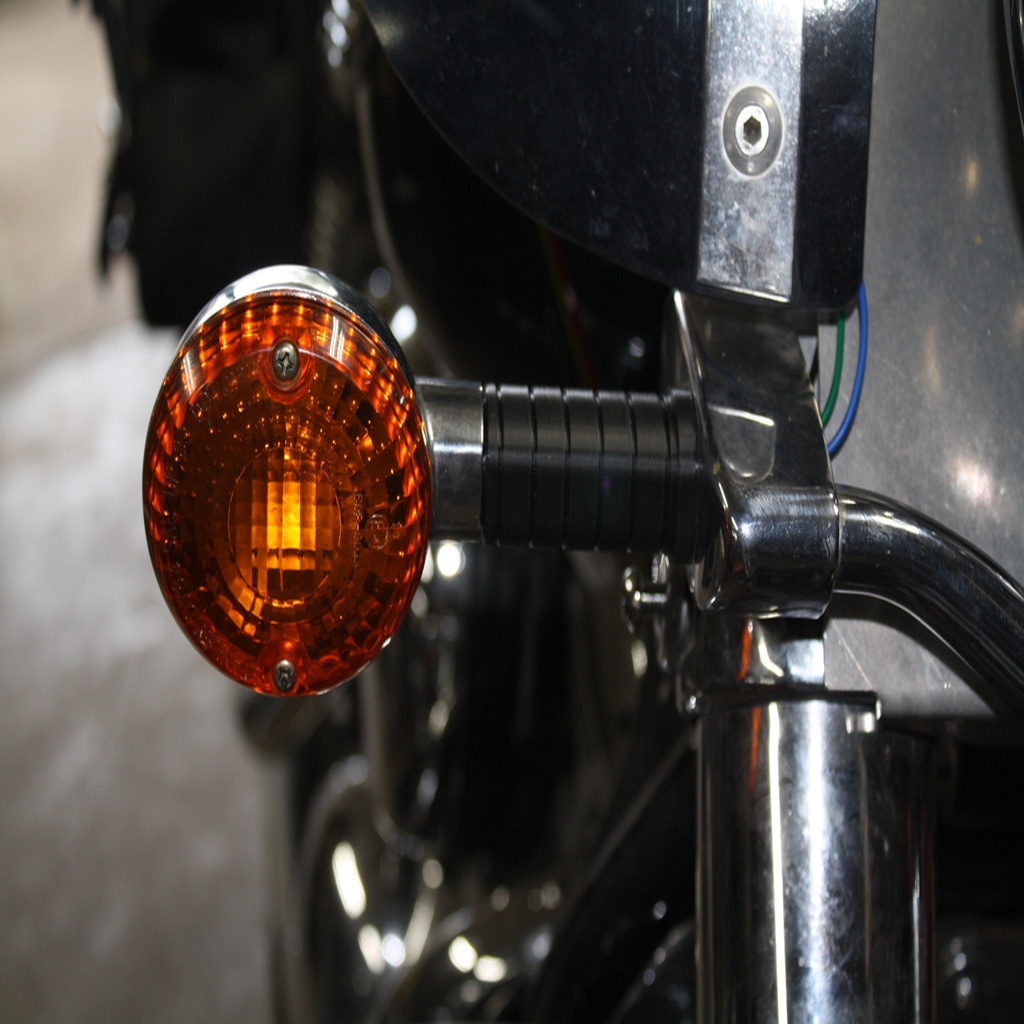
<p>All four turn signals on my 2002 Kawasaki VN1500 Vulcan Classic Fi were in a sorry state - you can see one of them in the photos. I know from previous experience that replacements for these are in the $50 a piece price range. Believe me. I'll do some rigging to save $200!</p> <p>For some reason, you can't even buy just the stems themselves, even though the turn signals are designed to be disassembled into it's individual components. That made designing replacements a<strong>lot</strong> easier. I thought I was going to have to design a complete assembly, but once I took one apart, I found that wasn't the case.</p> <p>These are designed specifically for the Vulcan, but I am sure that these will fit a wide variety of bikes. The stems on the front signals are 50mm long, while the rear stems are 80mm long. In my design, the threaded pipe not only serves as a pass-through for the wires, but it also aids in adding stability to the stem.</p> <p>To assemble these, you will need, from the original turn signal:</p> <ul> <li>the lamp socket (and obviously the lamp itself)</li> <li>the rubber grommet on the wires</li> <li>the clip</li> <li>the reflector</li> <li>the lens (including the gasket and the screws)</li> <li>the head</li> </ul> <p>You will also need to purchase:</p> <ul> <li>1/8" IP brass plated lamp nipple - you'll need 65mm for each stem</li> <li>1/8" IP brass nut for each stem</li> <li>3/16" stainless steel washer for each stem</li> </ul> <hr/> <h3>Print Settings</h3> <p><strong>Printer Brand:</strong></p> <p>TEVO</p> <p class="detail-setting printer"><strong>Printer: </strong> <div><p>Tarantula</p></div> <p><strong>Supports:</strong></p> <p>Yes</p> <p class="detail-setting resolution"><strong>Resolution: </strong> <div><p>0.2mm</p></div> <p><strong>Infill:</strong></p> <p>70%</p> <p><strong>Filament:</strong></p> Overture PLA <p>black</p> <p><br/> <p class="detail-setting notes"><strong>Notes: </strong></p> </p><div><p>You will need to print with supports enabled everywhere, but they will only print in the small alignment pin hole at the bottom and in the groove at the top. I highly recommend at <strong>least</strong> 1.6mm walls (4 perimeter walls) and 70% triangle infill for stability. The threaded pipe that goes up into the stem will also provide additional structure support for the stem. </p> Print so that the models are standing upright, largest end down. <h3>Post-Printing</h3> <p>To disassemble the original turn signal, follow these steps:</p> <ul> <li>Remove the screws securing the lens and remove the lens.</li> <li>Remove the lamp.</li> <li>Remove the reflector.</li> <li>Pull the clip up away from the lamp socket and the old stem.</li> <li>Cut the wires, remembering to leave enough outside the stem to work with later.</li> <li>Pull the lamp socket out of the stem.</li> <li>Remove the stem from the head - push or pull in which ever direction is easier in your case.</li> </ul> <p>For assembly:</p> <ul> <li>Press the guidePin in the hole on the bottom of the stem, using cement if necessary.</li> <li>Cut a 65mm length of lamp nipple. It helps to have two nuts on the section you cut so you can work those back and forth to restore the threads after you make the cut(s).</li> <li>Thread 50mm of the nipple up into the stem, using the cement of your choice to secure it as you go.</li> <li>Insert the stem into the head.</li> <li>Threading the wires back through the stem, press the lamp socket into the stem from inside the head.</li> <li>Press the clip around the stem, securing both it and the lamp socket into place. If the clip is a bit loose, you can bend the legs slightly to increase tension.</li> <li>Reassemble the lamp, gasket and lamp.</li> <li>Reinsert the wires and stem into the mount, being sure to thread the wires through a washer and a nut, tightening the nut on the stem to secure the whole assembly to the mount.</li> <li>Resolder the wires back to the original harness, using splices if necessary.</li> <li>Pop the top on your favorite beer, rev your motor and head out on the highway :)</li> </ul> </div></p></p> Category: Automotive
With this file you will be able to print Turn Signal Stem Set - 2002 Kawasaki VN1500 and Others with your 3D printer. Click on the button and save the file on your computer to work, edit or customize your design. You can also find more 3D designs for printers on Turn Signal Stem Set - 2002 Kawasaki VN1500 and Others.
