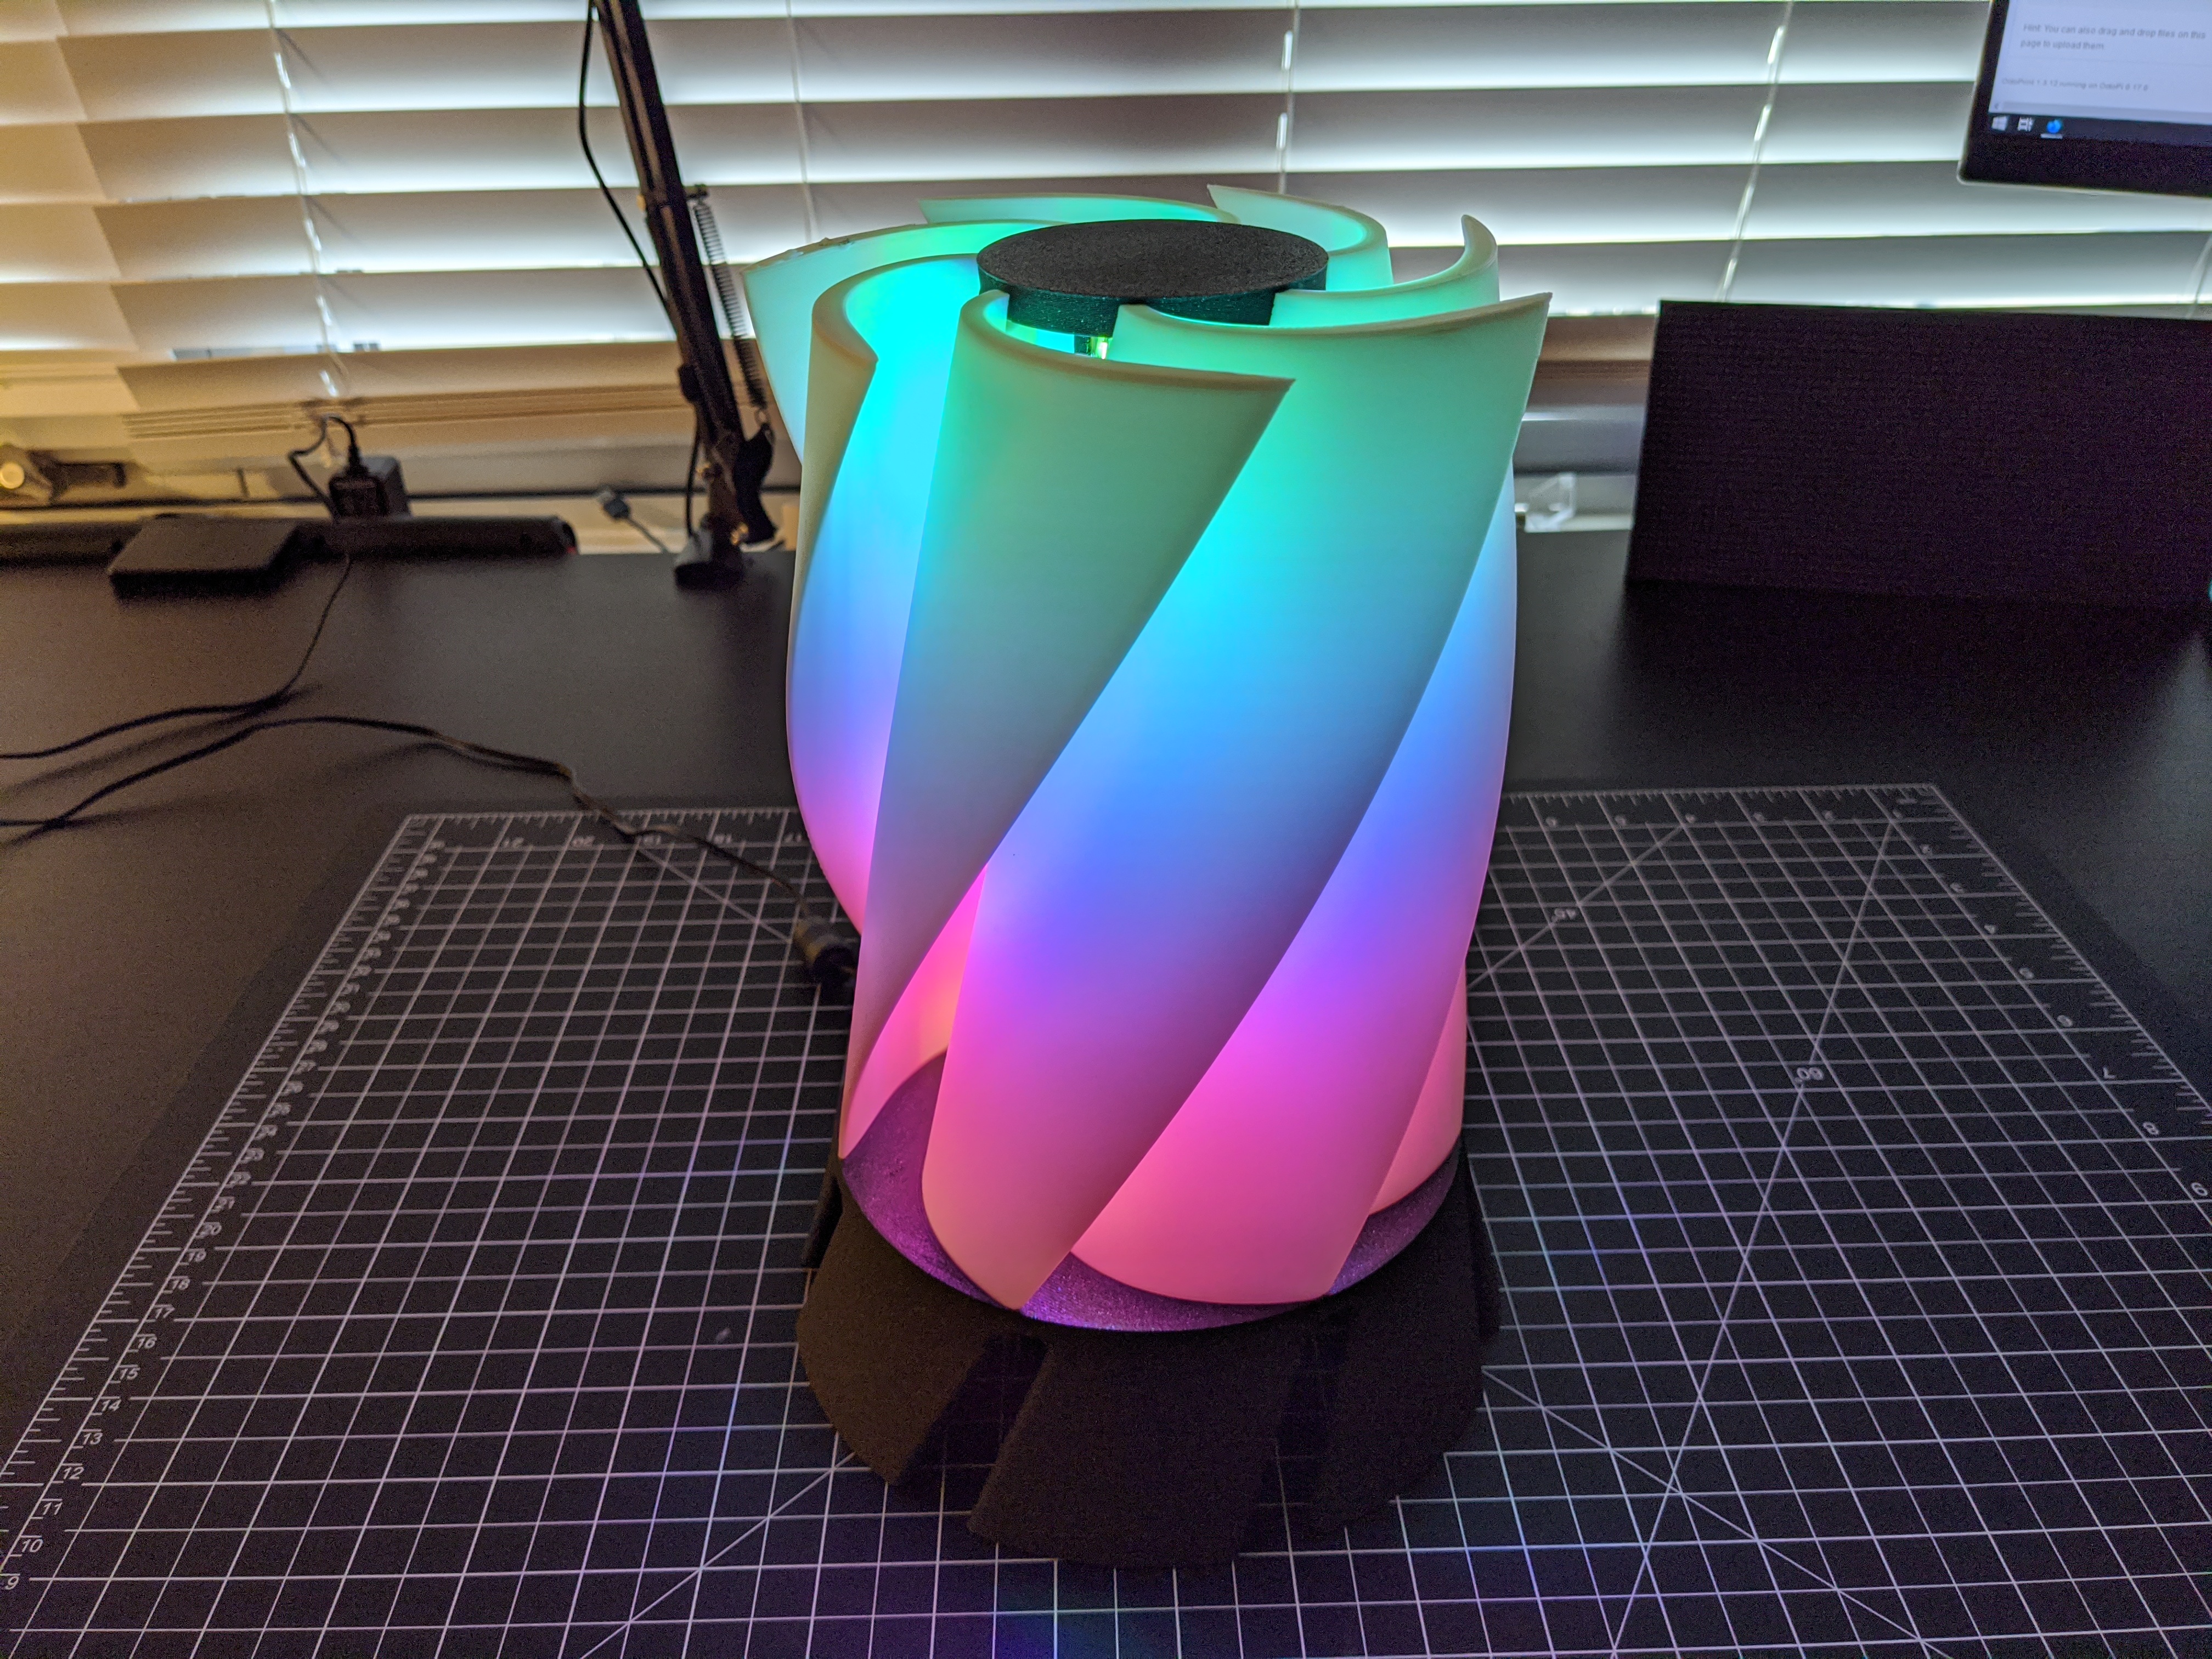
Turbine RGB Lamp
prusaprinters
<p>A Turbine-like lamp with RGB LED lights</p> <p>Video: <a href="https://imgur.com/Qd0Y0tP">https://imgur.com/Qd0Y0tP</a></p> <h3>Print instructions</h3><h3>Print instructions</h3> <h3>Fins</h3> <p>Roughly four hours per fin</p> <ul> <li>0.3mm layer height</li> <li>15mm brim</li> <li>Use a matte white filament, I used Prusament Vanilla White PLA</li> <li>2 perimeters</li> <li><strong>Important:</strong> Disable 'ensure vertical shell thickness' in <code>Printer Settings</code> -> <code>Layers and Perimeters</code><ul> <li>if you don't you'll see a shadow in the middle </li> </ul> </li> </ul> <h3>Base & Center Pole</h3> <p>Ten hours for the base, four hours for the pole.</p> <ul> <li>0.3mm layer height for speed</li> <li>3 perimeters</li> <li>I used Prusament Galaxy Black PLA</li> <li>Otherwise, nothing special</li> </ul> <h3>Assembly</h3> <h3>Required Materials</h3> <ul> <li>M4 Screw</li> <li>M4 Square Nut</li> <li>3x M2 Screw</li> <li>3x M2 Heat-set Knurled Threaded Inserts <strong>OR</strong> 3x M2 Hex Nut</li> <li>5v RGB LED strip</li> <li>Controller (Raspberry Pi, esp8266, etc)</li> <li>Zipties</li> <li>Super glue</li> </ul> <h3>Prepare Base</h3> <ul> <li>Turn upside down, mark locations for microcontroller/raspberry pi</li> <li>If using inserts, do that now</li> <li>Otherwise break through the bridging at the right spots and clean area up. m2 hex nut should be able to move around easily, then remove</li> </ul> <h3>Prepare Center Pole</h3> <ul> <li>Dry fit first, count how many LEDs required to fit whole pole. I needed 63, then cut strip to size.</li> <li><strong>Important:</strong> Insert the M4 nut. Test the fit with the M4 screw.</li> <li>Leaving one LED poking out, wrap LEDs around the center pole from top to bottom, ensuring tight fit. There's a slot on the top cap to help.</li> <li>Zip tie the end of the LED strip to secure it to pole</li> </ul> <h3>Fit fins</h3> <ul> <li>After a quick peel of each fin's brim I was usually left with an extra one or two more perimeters, I left these on to allow a tighter fit with the base.</li> <li>Insert and fit, then superglue fin into base. </li> <li><strong>Important:</strong> Be sure to push each fin into its slot tightly, and then twist it into the slot so the center is flush with the base.</li> <li><strong>Important:</strong> Do this for the first five fins.</li> </ul> <h3>Insert center pole</h3> <ul> <li>With five fins in, there's still plenty room to insert the pole and align it with the center hole in the base.</li> <li>Finish the last two fins</li> </ul> <h3>Final assembly</h3> <ul> <li>Carefully fit the center pole cap inside the slots at the top of the fins. Tighten M4 screw on bottom just until the cap & fins are firm.</li> <li>Fasten your controller onto the base & connect any wires</li> <li>Power up</li> </ul>
With this file you will be able to print Turbine RGB Lamp with your 3D printer. Click on the button and save the file on your computer to work, edit or customize your design. You can also find more 3D designs for printers on Turbine RGB Lamp.
