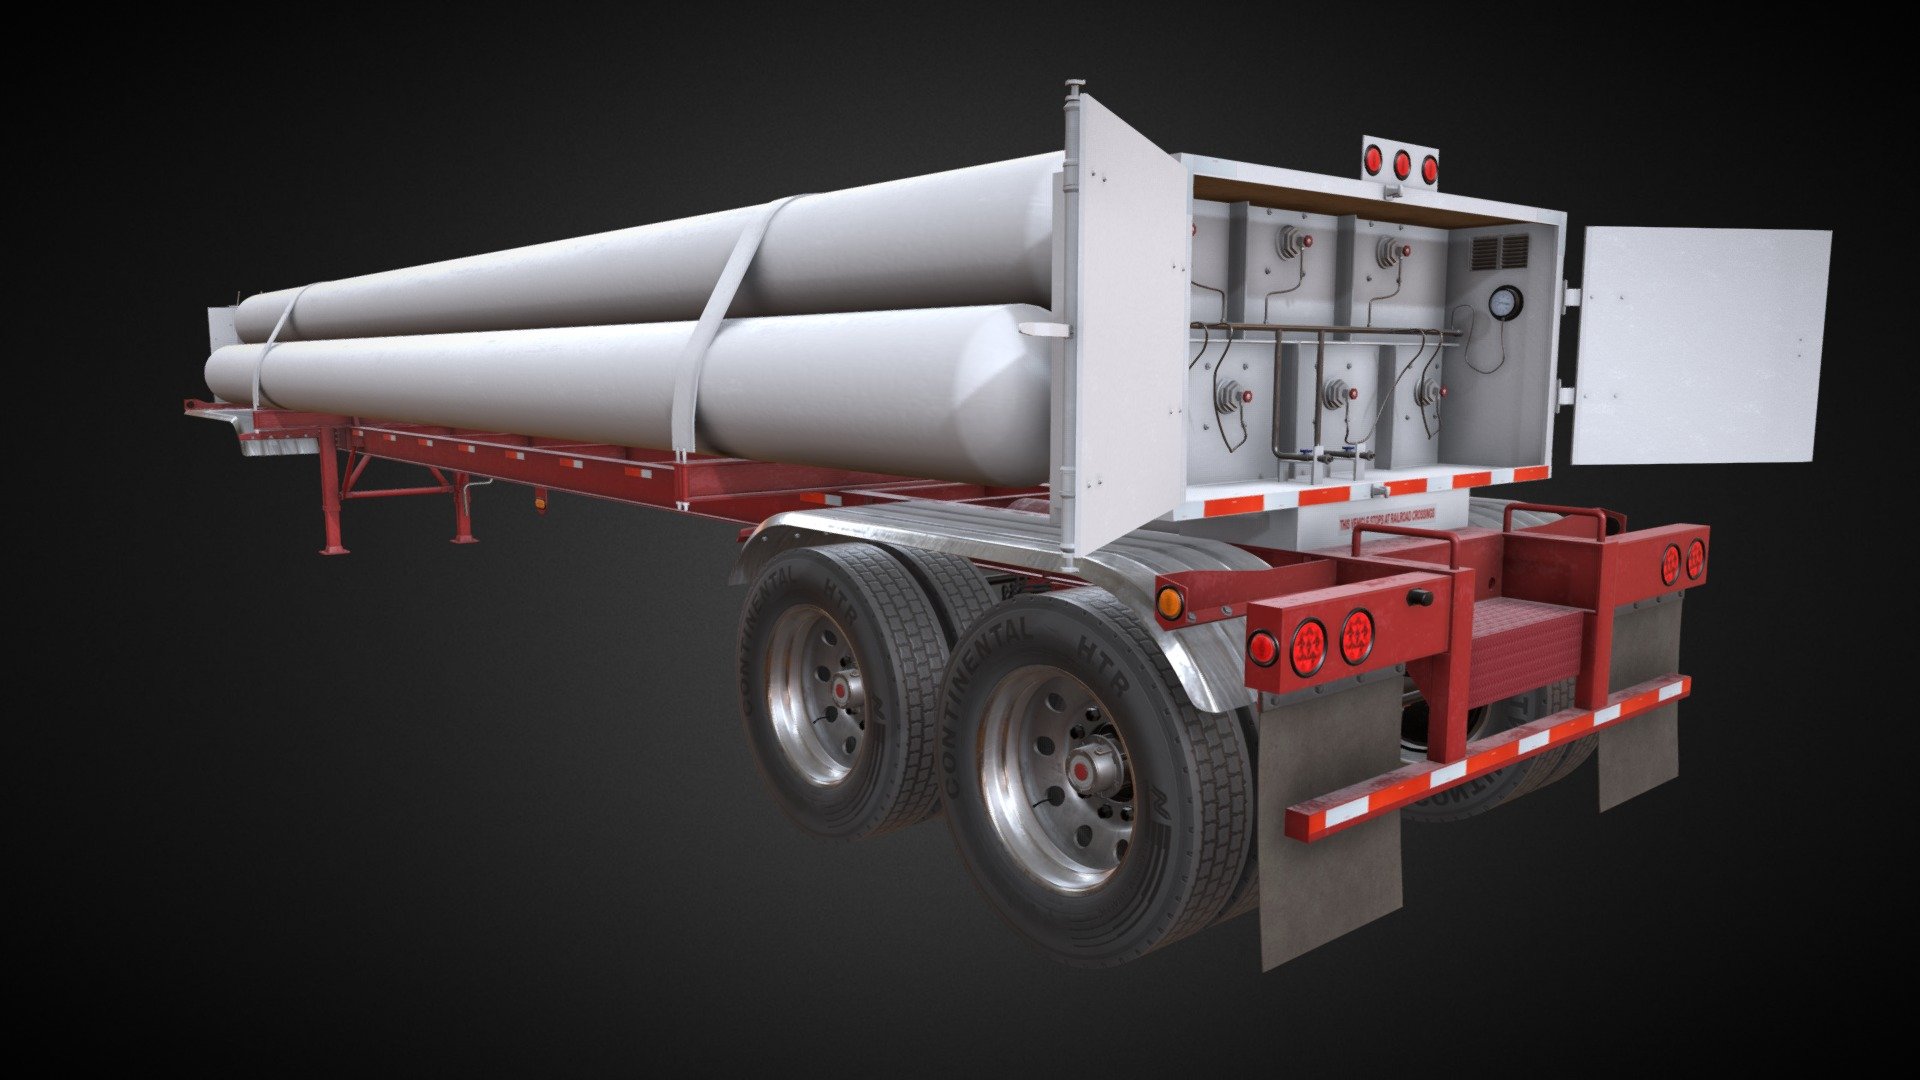
Tube Trailer CMW
sketchfab
Creating a precise replica of a tube trailer's design and movement in Blender requires meticulous attention to detail and a solid understanding of the software's capabilities. By following these steps, you can successfully model a realistic tube trailer in Blender. First, begin by setting up a new project with a suitable unit system and scale. This will ensure that your model is accurately proportioned from the start. Next, create a basic cylinder shape to serve as the base of the trailer's body. Use a combination of extrusions and loop cuts to refine its dimensions and add subtle curvature. Moving on, add wheels and axles to the trailer by creating separate objects for each component. Use simple shapes like spheres or cylinders to represent the wheels, and connect them to the axle using constraints. This will allow you to easily manipulate the wheels' position and rotation in relation to the axle. To achieve a realistic movement, animate the wheels and axles over time using Blender's animation tools. You can use keyframe animations or physics simulations to create smooth motion that closely mimics real-world behavior. Don't forget to add some subtle wobbling or bouncing effects to give your trailer a more authentic feel. Finally, render out your completed model from various angles to showcase its detailed design and movement. Pay attention to lighting and texture details to make the final product look as realistic as possible. With practice and patience, you can create a highly convincing tube trailer model in Blender that's sure to impress.
With this file you will be able to print Tube Trailer CMW with your 3D printer. Click on the button and save the file on your computer to work, edit or customize your design. You can also find more 3D designs for printers on Tube Trailer CMW.