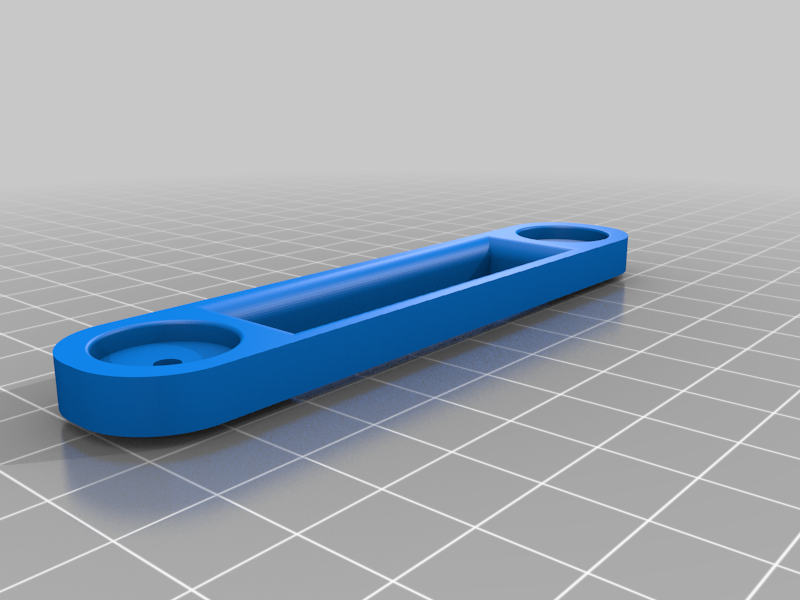
TRX4 Body Magnet Mounting System
thingiverse
You will need 8-15 round neodymium magnets measuring 3 mm in diameter. Place them as close to the center of the body post mounts as possible. Use four M3 x 8 hex flat cap screws, although they can be shorter but not longer. You will also require four M3 washers and four body clips. Alternatively, you may use screws of a different size, but it is uncertain what that would be. Print all parts with the flattest side facing downwards. Lower the body post to its lowest setting, and trim the rear body mount at the bottom of each post if necessary for a low-fitting body. The rock sliders can also be raised using 1/2 shims made from 3D printing. Use the "TRX4 Rock Slider Spacer 1/2" shim. Secure the magnets in place with Super Glue, ensuring that the correct polarity matches up. To determine this, let all the magnets stick together and mark one end with a sharpie. Remove that magnet and continue marking each subsequent magnet until they are all marked. Ensure that all marks on the magnets face upwards from the body posts, while the unmarked sides face downwards or vice versa. These sliders work well for trail crawling but may not hold up to heavy bashing if the magnets become dislodged. As long as the magnets remain connected flush with each other, you can lift the truck by grasping the body rack. Your feedback is appreciated and welcome.
With this file you will be able to print TRX4 Body Magnet Mounting System with your 3D printer. Click on the button and save the file on your computer to work, edit or customize your design. You can also find more 3D designs for printers on TRX4 Body Magnet Mounting System.
