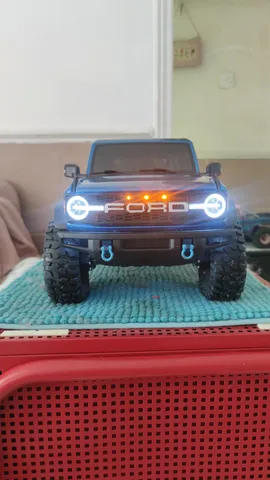
TRX4 2021 Bronco wireless light connectors
prusaprinters
With any DIY or store-bought light kit installed on your RC body, you'd traditionally need to connect the positive and negative wires into the receiver, or a power source on the chassis. Problem is it is easy to forget these wires are connected so when the body is taken off, the wire gets pulled and sometimes even snapped. Here's a simple working solution to eliminate the chassis-to-body wires, and get the lights working at the same time!Check out the .gif for a quick demonstration.How it works:Power source (+ - S) or (+ -) wires from the receiver or BEC connects to 3 (or 2) separate springs to conduct the power to the LEDs. This connector will be mounted to the body post holders. (see pics)The receiving end, i.e. the wires from body's LEDs, soldered and connected to 3 separate tabs mounted to the body's connector, will come into contact with the springs from the power source when the body is mounted. Thus completing the circuit and powering the lights. (see pics) What you'll need:3x M2x5mm screws3x 12x6x1mm metal sheets (I just used a PCB bread board and cut it to size)3x Ordinary pen springs Instructions:Chassis light connectorSecure each of the pen springs onto a M2x5mm screw, with pliers squeeze (crimp) the spring to deform to prevent it from coming loose from the screw.Strip and wrap the power source's wires (+ - S) onto each of the screws.Tighten the screws onto the chassis light connector, effectively crimping the wires with the screw heads.Slot the connector into the body post holder, and secure. Body light connectorSolder each of the 3 LED wires (+ - S) onto the 12x6x1mm tabs.Hot glue or epoxy the tabs into the body connector's slots. Take note of the polarity and positioning when both connectors make contact.Place a piece of strong double sided tape onto the underside of the body connector, where it will be stuck to the body.Rest the body connector onto the chassis connector to ensure there is contact.Carefully mount the body onto the chassis, and press down firmly on outside of the body where the body's connector would be. This is to make sure the body connector sticks well onto the body.Adjust chassis light connector height if necessary.Done. .Step file also included in case if you need to do any modifications for your build.Let me know if any help is needed!
With this file you will be able to print TRX4 2021 Bronco wireless light connectors with your 3D printer. Click on the button and save the file on your computer to work, edit or customize your design. You can also find more 3D designs for printers on TRX4 2021 Bronco wireless light connectors.
