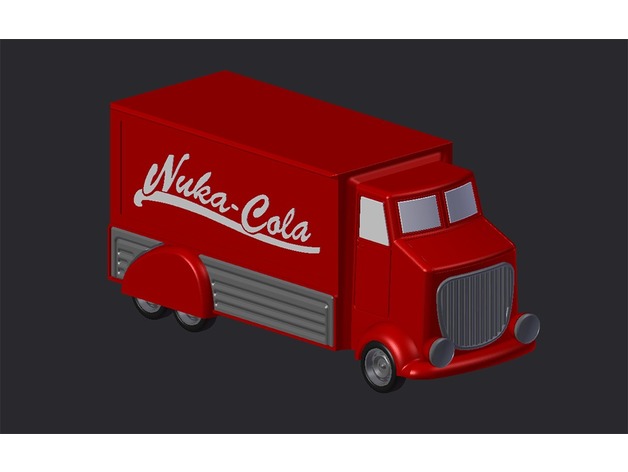
Truck Nuka Cola Fallout 4
thingiverse
I redesigned the Nuka Cola Fallout 4 truck from Lilykill using Simplify 3D. Print Settings Printer: Dagoma Discovery 200 Resolution: 0.1 to 0.2 mm Infill: 3% to 100% Notes: To assemble the truck, scale the parts to 1% for accurate size, as it measures about 15cm once assembled. Print with correct colors and only white paint for logos on the sides of the truck. All pieces are glued except wheel axles which clip onto the chassis. Some supports are required. Post-Printing Print Times Here are my print times for this truck in the format: Part - Time - Resolution - Infill: Bumper - 23 minutes - 0.1 mm - 20% Wheels x6 - 1 hour 15 minutes - 0.1 mm - 100% Headlights x2 - 8 minutes - 0.1 mm - 100% Wheel Supports x6 - 29 minutes - 0.1 mm - 100% Right Decal - 57 minutes - 0.1 mm - 100% Left Decal - 57 minutes - 0.1 mm - 100% Wheel Axles x3 - 32 minutes - 0.15 mm - 100% Tires x6 - 1 hour 17 minutes - 0.15 mm - 100% Front Trailer - 2 hours 29 minutes - 0.2 mm - 6% Rear Trailer - 6 hours 49 minutes - 0.2 mm - 3% Glass - 30 minutes - 0.1 mm - 100% For the front and rear truck parts, infills of 3% and 6% are a bit tight. I recommend printing them with an infill of 10-15%. How I Designed This Software The original truck was reworked in Blender and cut into multiple pieces to fit within a 20x20x20 volume.
With this file you will be able to print Truck Nuka Cola Fallout 4 with your 3D printer. Click on the button and save the file on your computer to work, edit or customize your design. You can also find more 3D designs for printers on Truck Nuka Cola Fallout 4.
