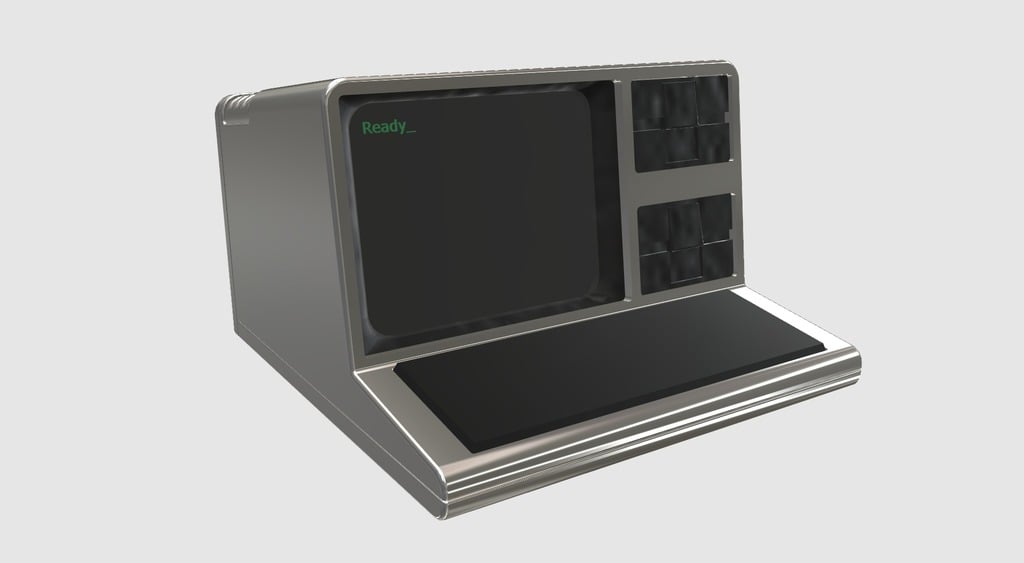
TRS-80 Model 3/4ish
thingiverse
I may have unleashed a technological terror on our household, and I'm not entirely sure if I can contain its wrath. My 14-year-old daughter has suddenly become fascinated with old computers, and she's been eyeing the dusty relics in our house with an unrelenting curiosity. What's more, she's expressed a desire to build her own computer from scratch - a bold move, considering her complete lack of nostalgia for 70s and 80s machines. After some deliberation, we've embarked on building a RC2014 computer together - a rather intriguing, modular, Z80-based machine that offers a plethora of tinkering opportunities. To house our new creation, I designed a TRS-80 Model 3/4ish box that she seems to be thoroughly enthralled with. This will also give me the perfect excuse to finally build that massive volume printer that's been collecting dust for far too long - my Anycubic Kossel Plus will struggle unless I chop it down into an unfeasible number of pieces. Size: The .stl parts included will either produce a compact model or a jumble of components that should fit comfortably on any printer. However, the true intention is to create a case suitable for a nearly full-size mechanical keyboard and a 4:3 8" TFT display. With this in mind, the model can be scaled up to accommodate whatever you desire, but I envisioned the fully scaled case fitting a K552 - a decent mechanical keyboard that should blend in reasonably well with its surroundings. The two colored rectangles visible within the exploded view are the RC2014 back-plane and a Raspberry Pi for scale. As intended, this creation will be rather substantial - approximately 2/3 scale when you apply the x10 multiplier to the .stl files. The Model: This design is not an exact replica of a Model 3 or 4 but rather an "essence of" case intended to serve as either a nice model or the foundation for a computer build. Pi, RC2014, MiniITX - whatever your preference may be. There are no pre-cut slots in the model, as they will depend on its intended use. Either modify the 3D files accordingly or carve out the necessary holes post-printing. The screw points (six underneath and four at the back) are not drilled-out, as their necessity and size will depend on your specific needs. Again, modify the files as needed, drill after printing, or opt for glue instead. I didn't bother to properly model a keyboard, assuming this will either result in a small model where such detail would be lost or a rather larger case into which a real keyboard can be fitted. ...and finally: RC2014.123dx is a full-size 123D Design file complete with fixing holes, stand-offs for the RC2014 itself, and an appropriate opening for I/O. This model is 10x the size of the other files to accommodate a full-size keyboard. I haven't included an .stl file for this one as you'll almost certainly need to cut it up to fit your printer... A much smaller case will do just fine, but you'll need a smaller keyboard and screen in that scenario.
With this file you will be able to print TRS-80 Model 3/4ish with your 3D printer. Click on the button and save the file on your computer to work, edit or customize your design. You can also find more 3D designs for printers on TRS-80 Model 3/4ish.
