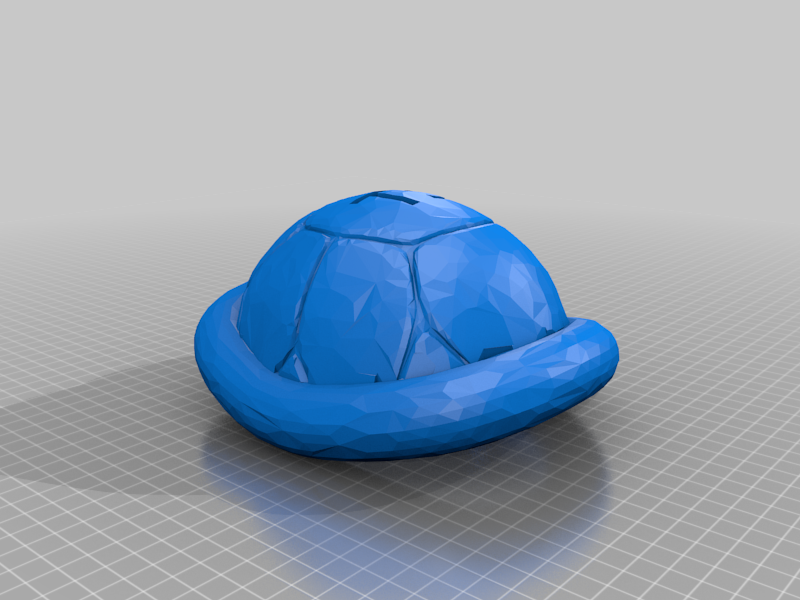
Troopa Shell Pi 4
thingiverse
Troopa Shell By Troopa Shells Case concept by Troopa Shells. Designed/edited by Jimmy Johansson. Case for Raspberry Pi 4. Future projects include the 3b+ and Odroid. This case is designed to be a "retro console" with a larger size than most pi cases. What you need to build: -6 3m screws (4 long, 2 short) -60mm fan (suggested: 5v fan) -2 3mm LEDs -12mm momentary on switch -3 sets of jumper wires for connecting LEDs and power button to gpio board -Some paint (optional) Instructions: 1. Insert the SD card into Pi. 2. Plan where to place GPIO with LEDs, power button, and fan. Connect LEDs and power button to GPIO (optional). 3. Place Pi inside bottom case carefully. 4. Align screws holes. Use short 3m screws. 5. Carefully place power button and LEDs in their spots. Power on left, SD activity on right. 6. Place fan at the top of the shell, securing it with long 3m screws. 7. Connect fan to gpio board. Slide top shell onto bottom. It will click into place. 8. Ensure holes for screws are aligned (located on the bottom of the shell). Adjust if necessary. Install screws. Some specs: -60mm fan for extra cooling -Access to USB, Ethernet, etc. -2 LEDs indicate SD activity and power on/off -To function correctly, tell Pi what you're doing with LEDs and power button. Resources: -12mm power button: https://www.amazon.com/Coolais-Momentary-Button-Waterproof-PBSM-02/dp/B07F9PLSRY/ -60mm fan: https://www.amazon.com/Diffused-Lighting-Electronics-Components-Emitting/dp/B01C3W6NSK -Jumper wires for gpio connection: https://www.amazon.com/GenBasic-Piece-Female-Jumper-Wires/dp/B01L5ULRUA/ -LEDs: https://www.amazon.com/Diffused-Lighting-Electronics-Components-Emitting/dp/B01C3W6NSK Install video will be added here. Index for code to make LEDs and power button will be available here. Tips: -Make fan cord jumper wires long; shorter ones are harder to install. -Designed to print in wood for the bottom of the shell, then add a glow "ring" around the top, with lines painted black. -Front case features power buttons and LEDs. Coming soon: -Smaller version of this case (if possible) -Loading/intro videos for Troopa shells -"Plug n play" case with Pi and everything inside, ready to play -Troopa Shells theme for Retropie -More unique cases for single-board computers, mainly based on retro games Visit us on Facebook: Facebook.com/troopashells
With this file you will be able to print Troopa Shell Pi 4 with your 3D printer. Click on the button and save the file on your computer to work, edit or customize your design. You can also find more 3D designs for printers on Troopa Shell Pi 4 .
