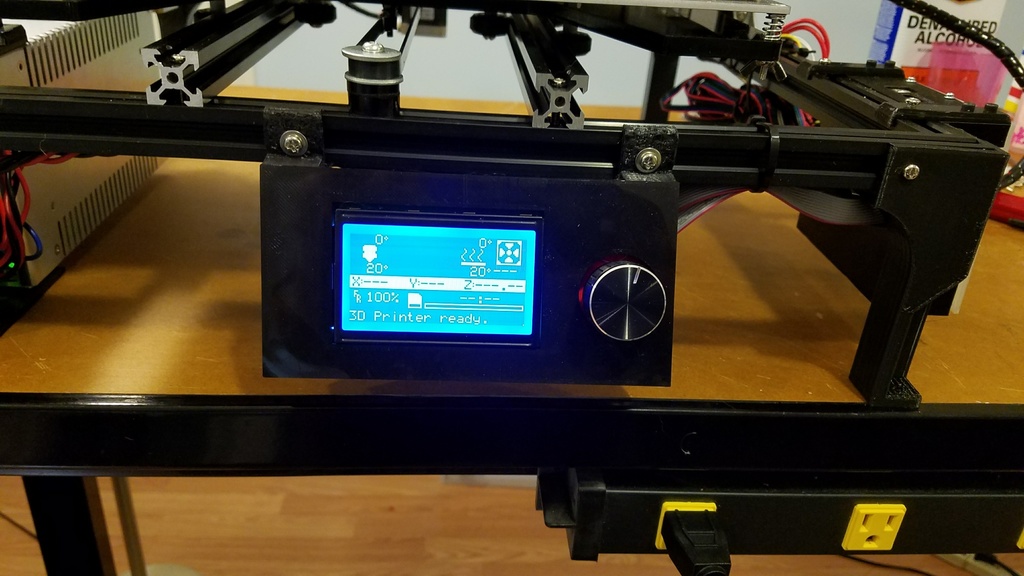
Tronxy X3S NO CONTROLLER BOX!
thingiverse
I completed the Tronxy X3 control box removal and moved on to work with the X3S version. This guide is specifically for the kit version of the X3S, but it may also work with pre-built versions. The main difference between the two is that pre-built versions use identical components in the control box. I have a couple of X3S pre-built printers, and the only noticeable differences are the 20x40 frame instead of the 20x20 frame on the kit printer. There may be other differences, but they shouldn't impact this conversion. Begin by working on the legs to lift the frame off the table so you can mount the components. Secure the legs with 4mm x 10mm screws and "boat" nuts. Start with the bottom of the legs first, then install the side screws. To do this, slide the nuts in from the side. The PC boards and enclosure covers are attached using RC servo screws (#2 or 2mm self-tapping screws). To create the reset switch extension, use a piece of filament that has been flattened at both ends with a soldering iron. You can straighten the filament by placing it on the heat bed while printing, allowing it to relax and return to its original shape. If this doesn't work, heat the filament with a heat gun until you see it start to soften, then lay it flat on your table top or cool heat bed and roll it. It will become perfectly straight. Both a 20A stock power supply mount and a 30A mount are included. The 30A is a great upgrade for the X3S. Another recommended upgrade is the MatterHackers magnetic build plate, which makes removing large prints incredibly easy. Enjoy the added convenience of having your printer as one complete unit to move around and less table space taken up.
With this file you will be able to print Tronxy X3S NO CONTROLLER BOX! with your 3D printer. Click on the button and save the file on your computer to work, edit or customize your design. You can also find more 3D designs for printers on Tronxy X3S NO CONTROLLER BOX!.
