TronXY X3 Z Axis Motor
thingiverse
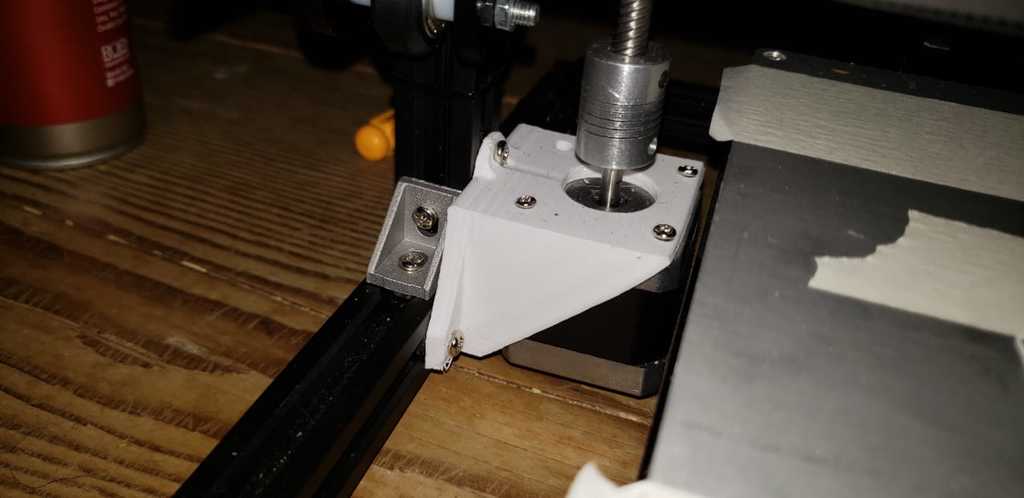
The first time I built my printer, I was frustrated by how much unnecessary time I wasted tightening the Z motors. Everything was loose or not perfectly aligned. Then I discovered Lexa's design and fell in love with it, except for one thing: I had to screw the piece together first and then attach the motor, which caused me trouble. So I created this piece with the screw holes on the outside of the motor case. This way, if you place your t-nut incorrectly, you can fix it easily without much hassle. TL;DR: The screw holes are located outside of the motor case, allowing you to install the motor or screws in any order you prefer. YOU WILL NEED: 3 x M4 screws (I used only 2 from the original set, one on top and one on the side) 3 x M4 nuts (t-nut or alternative) EDIT: V2: Smaller holes for better fitting. (Needs to be tested)
With this file you will be able to print TronXY X3 Z Axis Motor with your 3D printer. Click on the button and save the file on your computer to work, edit or customize your design. You can also find more 3D designs for printers on TronXY X3 Z Axis Motor.