TronXY X3, X3S, X1 Laser Engraving and Quick Connect Tooling
thingiverse
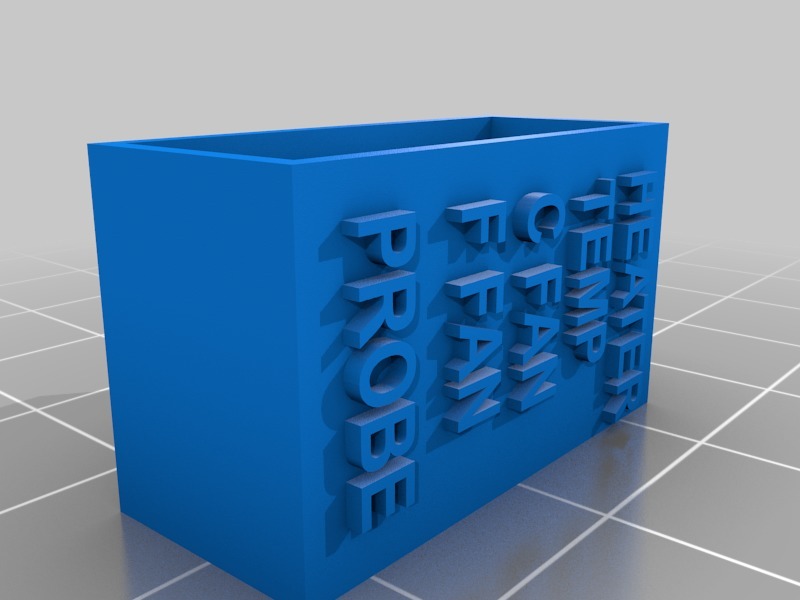
Update: I added variations allowing for cable chain support. I decided to enable the option of quickly changing tooling heads on my X3 and incorporating laser engraving functionality into the printer. These designs make it possible to achieve this. Please refer to the video for a tutorial on laser engraving, as well as the general setup of the components. Please note that for the wiring setup I implemented, you do so at your own risk, as there is a chance of melting the connector on the hot end heater element if not careful. The wiring setup can be done in any number of ways and one example is given in the video. When laser engraving, please do so in a well-ventilated area, as there are quite a bit of fumes generated, and use all necessary precautions such as protective eye wear when dealing with lasers. Check out the video for more information: https://youtu.be/CWTCqT_LUfs Also note that due to the identical Hot end assemblies on the X3, X3S, and X1 3D Printers, it is possible to implement this modification including laser functionality on the X1 and X3S 3D Printer.
With this file you will be able to print TronXY X3, X3S, X1 Laser Engraving and Quick Connect Tooling with your 3D printer. Click on the button and save the file on your computer to work, edit or customize your design. You can also find more 3D designs for printers on TronXY X3, X3S, X1 Laser Engraving and Quick Connect Tooling.
