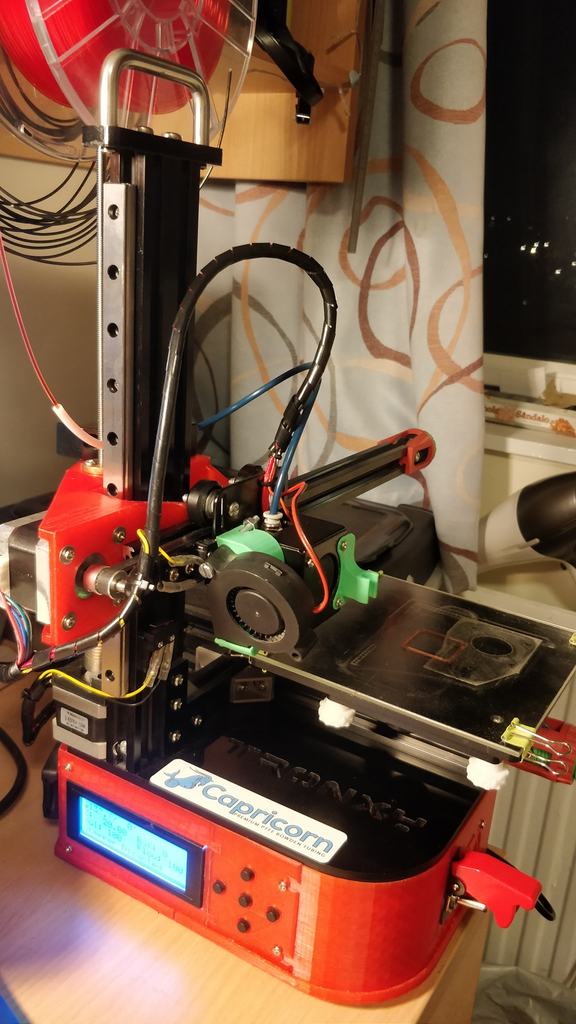
Tronxy X1 Linear Guide Rail Upgrade
thingiverse
Linear rail upgrade for Tronxy X1 Z Axis: Harness the power of a 250 mm linear rail with this straightforward upgrade. Simply print the parts in two sections and attach them to your existing hardware. Just a few extra screws, nuts, and t-nuts are required, no complicated setup involved. Adjust the Z home switch position accordingly. Y Axis: Mount this upgrade using the X1's existing belt system for a seamless integration. Print the part on the X1, but make sure your bed is properly levelled as it utilises nearly the entire surface area.
With this file you will be able to print Tronxy X1 Linear Guide Rail Upgrade with your 3D printer. Click on the button and save the file on your computer to work, edit or customize your design. You can also find more 3D designs for printers on Tronxy X1 Linear Guide Rail Upgrade.
