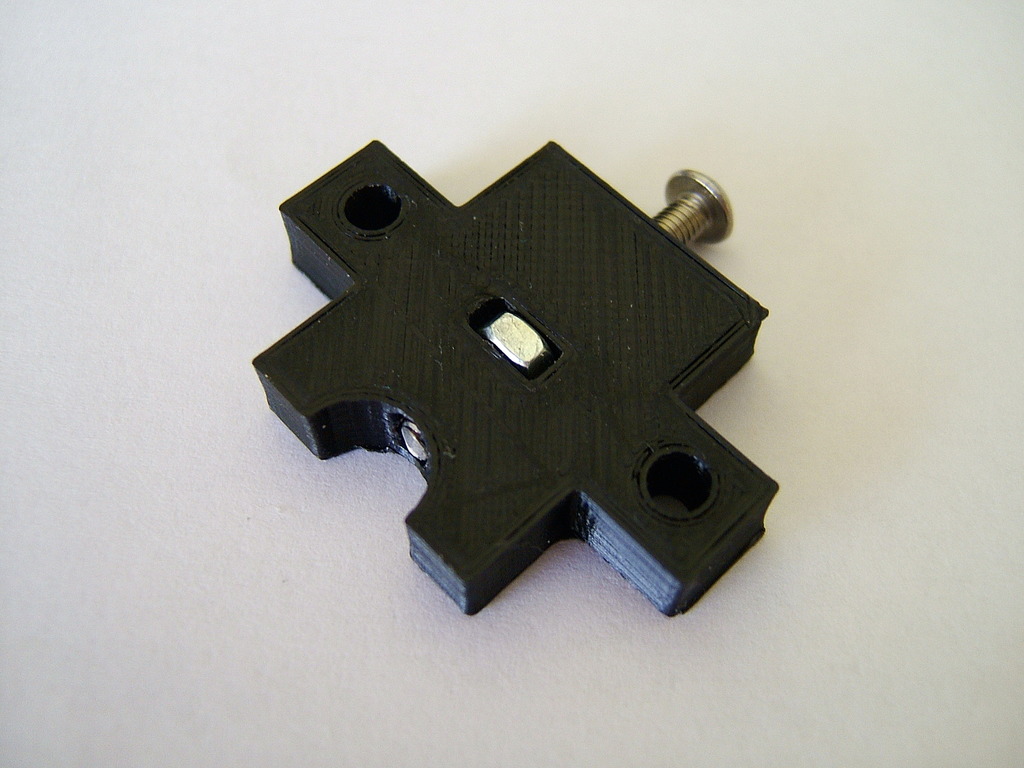
Tronxy X1 Bed Tensioner
thingiverse
This is my customized Tronxy X1 Bed Tensioner that I've designed to tackle a loose bed issue, which often occurs after removing parts, causing the bearing bolts to shift. To stabilize the situation, simply add locking washers on the top bolts as they pass through the bed. The tensioner is then positioned against the nylon spacer with the screw fully extended; once you assemble the bearing and its components, you can apply tension to the nylon spacer by tightening the tensioner screw. It's essential to ensure that the other two bearings are aligned with the bed rails by holding them in place and tightening them to achieve a snug fit close to the rail. So far, this solution has proven effective and is compact in design, requiring only the removal of the bed for installation. When positioning the tensioner against the nylon spacer, two holes will need to be drilled and secured with screws. Be cautious not to over-tighten the tensioner screw; instead, apply it gradually in small increments.
With this file you will be able to print Tronxy X1 Bed Tensioner with your 3D printer. Click on the button and save the file on your computer to work, edit or customize your design. You can also find more 3D designs for printers on Tronxy X1 Bed Tensioner.
