Tronxy P802E X Mounts & Tensioner
prusaprinters
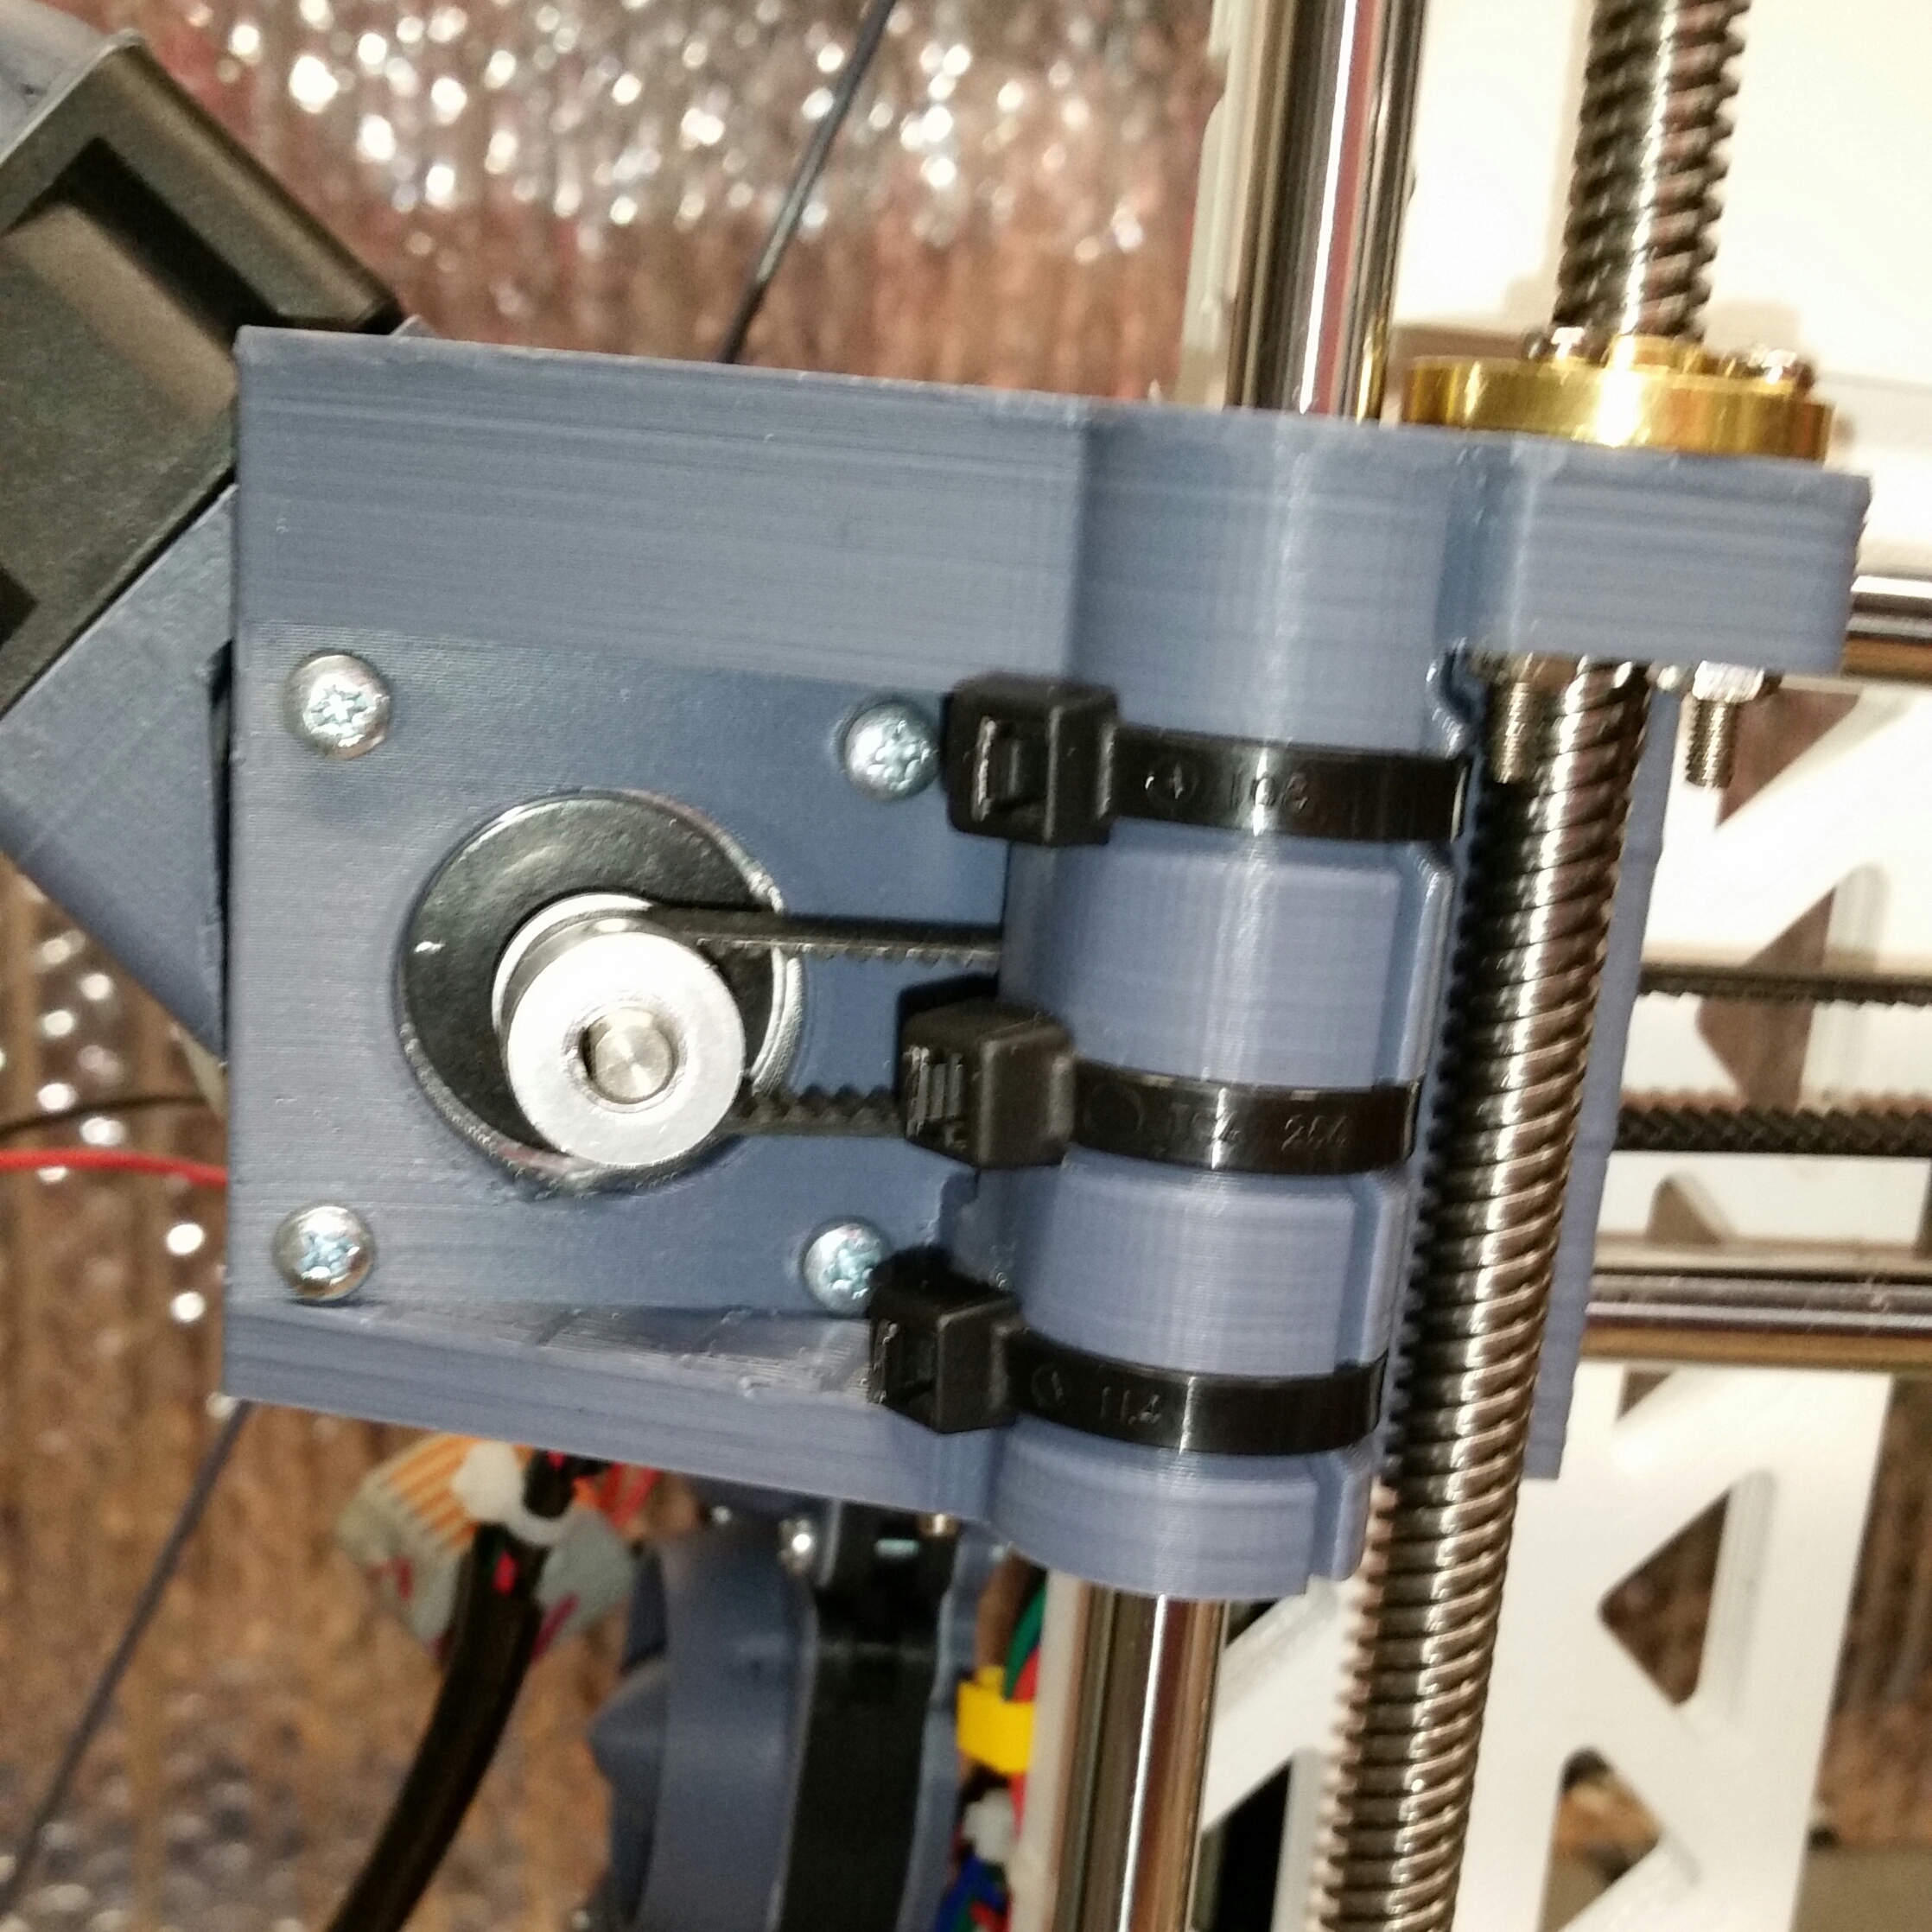
<p>I needed replacements for my mounts that were slowly deforming in my heated enclosure(40C) due to them being made from pla. Also, as is standard for Tronxy, the mounts came with warping by the threaded bushings that required me to shim. I couldn't find much out there for my P802E at the time, so I made my own. I made the motor mount extra beefy while staying within the original dims. I also added cable tie features around the bearings as my old ones had loosened up. I did not spare any plastic when I printed my mounts. I did 4 walls and 70% infill with abs. Yes, that infill was way overkill. Supports are built in. Obviously, you will need to orient them so the anchoring discs are on the bed. I did tweak the motor clearance hole after printing mine to a teardrop shape as it was a little messy there.</p> <p>On the right side I made a belt tensioner that hugs the ouside of the mount and is adjusted via 4 screws. Yeah, a lot of tensioners use just one or two screws, but four is nice and stable and you rarely have to tighten. This will work with the original mounts as well. You reuse all the original hardware plus four m3 screws and nuts. Prints without support though you may need to do a little cleanup in the countersinks. I should have angled those. Maybe I will fix that eventually. 20% infill is plenty for this part. Print with the right end side down. -Not the orientation that it comes in as.</p> <p>UPDATE: 9-16-2017<br/> Added a file for a x-tensioner with a geared idler pulley. Uses a GT2 20 teeth pulley with a 5mm bore. This helps reduce belt vibration.</p> <h3>Print instructions</h3><h3>Category: 3D Printer Parts Print Settings</h3> <p><strong>Printer:</strong> Tronxy p802e</p> <p><strong>Rafts:</strong> No</p> <p><strong>Supports:</strong> No</p> <p><strong>Resolution:</strong> .2mm</p> <p><strong>Infill:</strong> 30 to 40% for mounts, 20% for tensioner</p> <p><strong>Notes:</strong></p> <p>Use a generous brim if using abs.</p> <h3> Post-Printing</h3> <p>Flexing the discs toward the part should crack them off pretty clean. Can clean up with knife, file or instrument of choice if you want after that. Supports on motor mount break away fairly well with just a bit of exacto work needed. The fit around the idler on the tensioner part is supposed to be snug. You may need to file slightly if you have a little extra material. You install the idler parts by putting in the screw a little past the opening and adding the first flat washer - then thread the screw a little past the washer and then stack in the bearing and so on. Its a bit awkward, but very doable with patience and a steady hand.</p>
With this file you will be able to print Tronxy P802E X Mounts & Tensioner with your 3D printer. Click on the button and save the file on your computer to work, edit or customize your design. You can also find more 3D designs for printers on Tronxy P802E X Mounts & Tensioner.
