Tronxy P802 Power Supply Switch Mount
thingiverse
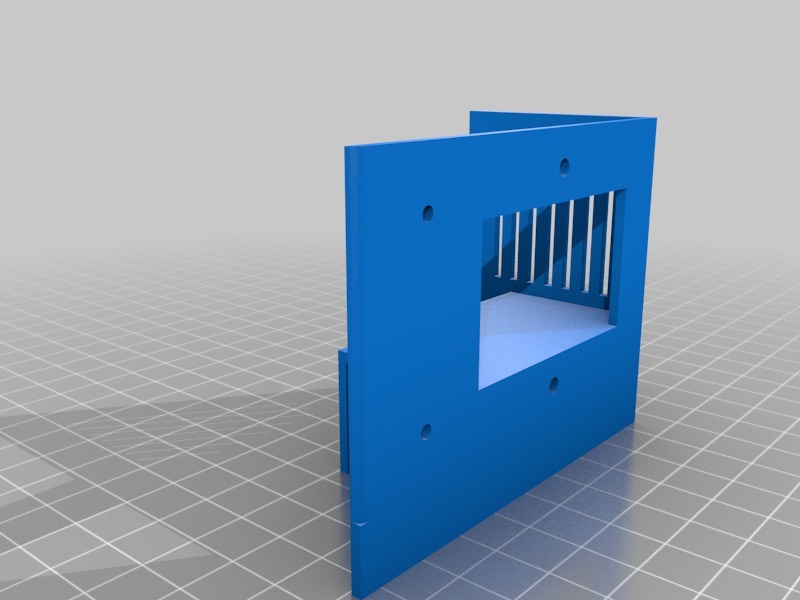
This is a power supply switch cover designed specifically for the Tronxy P802MA. Installation requires just three screws, as clearly shown in the provided picture. One of the best features of this design is that it can be installed without having to remove the original power supply module, saving you time and effort. With a print time of 10-15 minutes, you can have your new cover up and running quickly. To install, simply remove two screws from the back of the frame, mount the printed part, and reapply the screws. The third screw will be secured to the original power supply metal plate inside the lowermost hole. When reviewing the STL file, it's essential to note that the mount appears upside down. To ensure a proper print, orient the model as seen in the STL, with no need to flip or rotate it. An important consideration is that supports are already integrated into the design. As such, when using your slicer software, be sure to select "No" for support generation to avoid any potential issues during printing. For optimal adhesion and a smooth print finish, I recommend selecting an 8mm brim in your printer settings.
With this file you will be able to print Tronxy P802 Power Supply Switch Mount with your 3D printer. Click on the button and save the file on your computer to work, edit or customize your design. You can also find more 3D designs for printers on Tronxy P802 Power Supply Switch Mount.