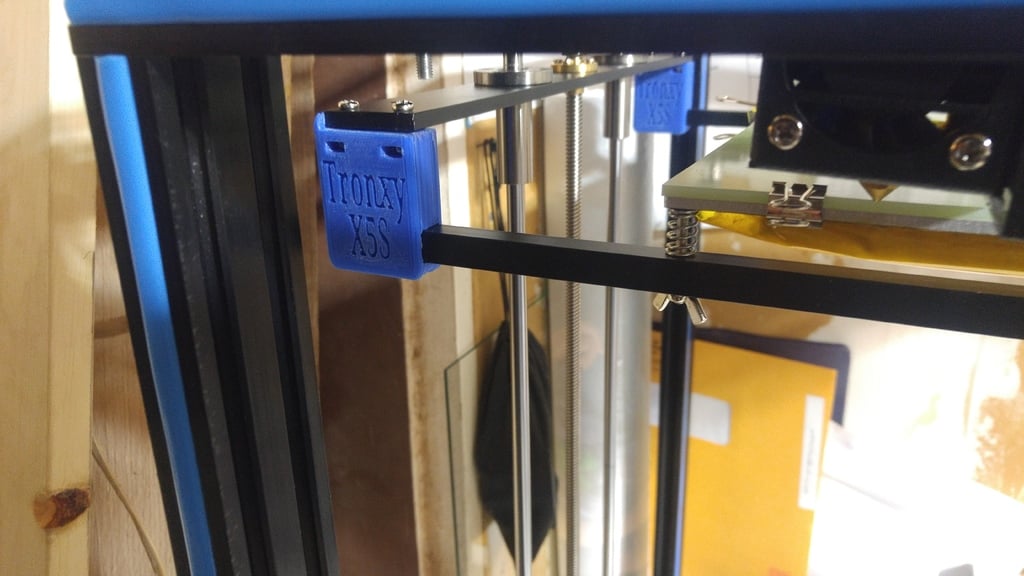
Tronxy bed lowering
thingiverse
I just got my Tronxy X5S in and when I was putting it together, I noticed that the bed would hit the nozzle before the Z-axis system was all the way up. So, I designed some bed lowering spacers upfront and then printed them. After printing, I realized I needed to adjust the Y/Z limit switch mount to lift the switch up about 2mm. To achieve this, I modified the factory switch mount by filing it down and drilling two new holes to secure the switch in place. I might print a new switch mount later, but for now, it's not necessary. With this spacer setup, the new Z printable area is 430mm, which is the maximum allowed by the frame. Next, I designed a new control board mount. You'll need to print three of these mounts, each requiring two M2 bolts to attach them to the new control panel back plate. It's up to you whether or not to print the cover. As for me, I haven't printed any of the control board mount components yet, so if you do decide to print it, please let me know how it turns out. UPDATE: 10/24/17 - I printed just the control board cover and found that the location of the USB and SD card slots was off. I fixed this issue by uploading a new file. UPDATE: 12/24/17 - After installing my E3D on the X5S with a 1/4" thick glass bed, I decided to create a shorter version of the lowering block. This modification is necessary because the E3D and glass bed require maximum Z travel to reach the desired first layer height.
With this file you will be able to print Tronxy bed lowering with your 3D printer. Click on the button and save the file on your computer to work, edit or customize your design. You can also find more 3D designs for printers on Tronxy bed lowering.
