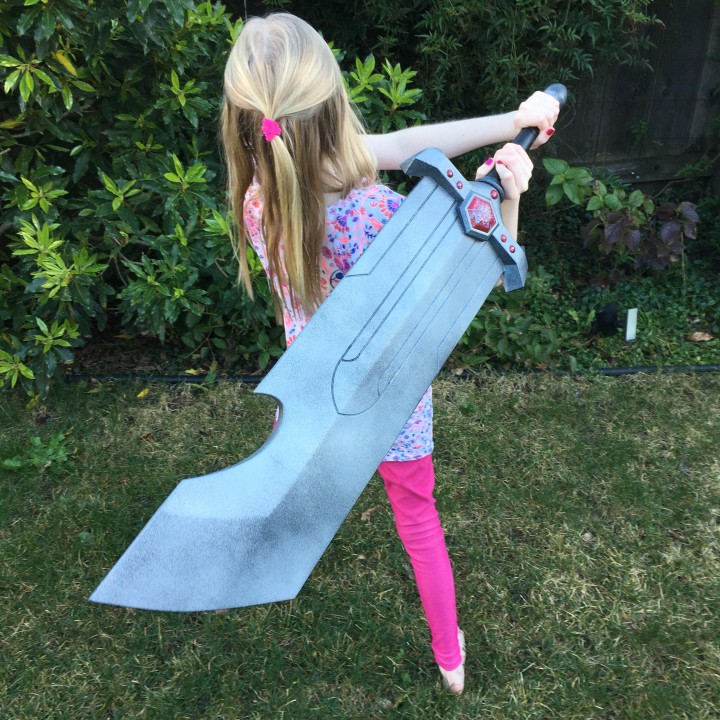
Trollhunters Sword of Daylight
myminifactory
My daughter had her heart set on the Sword of Daylight from Trollhunters, and as a newcomer to 3D printing, I decided to take it on as a learning project. Using Fusion 360, I carefully modeled each piece to fit snugly onto a 5/8 inch wood dowel that's precisely 25.6 inches long. To add extra strength to the seams, I designed small connectors that would help hold everything together. However, when I assembled my sword, not all of the connectors fit perfectly - I suspect it was due to a slight distortion in the base of each print. The seam where both connecting sides were printed on top fit seamlessly, but if I did this again, I'd definitely print the blade pieces on a raft to minimize that issue. I ended up printing six connectors, but only four were needed, and 15% infill proved sufficient for added strength. If I were to reprint this sword, I'd likely opt for a higher infill on the tip piece and the handle. The hilt was the only part that required supports, so I designed the inner holes with 45-degree angles to ensure smooth printing. After gluing all the pieces together, I blended the seams using Bondo and sanded them down to create a seamless finish - though I didn't have time to perfect it as much as I would've liked. This project was a massive undertaking, taking approximately 45 hours to complete on my CR-10 printer. The photo shows how I oriented each print for optimal results.
With this file you will be able to print Trollhunters Sword of Daylight with your 3D printer. Click on the button and save the file on your computer to work, edit or customize your design. You can also find more 3D designs for printers on Trollhunters Sword of Daylight.
