Trimmer to potentiometer adapter/Trimmer with turning knob
thingiverse
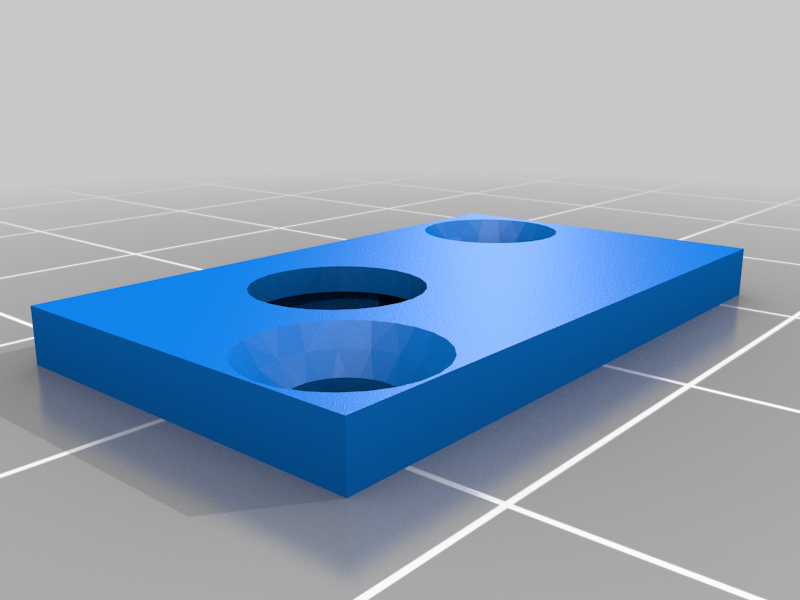
***IF YOU WANT TO USE THIS MODEL COMMERCIALLY, PLEASE CONTACT ME FIRST!*** Some time ago I built a radio with a microcontroller and an FM-IC. I used an ordinary single-turn potentiometer to tune the frequency, but this did not work as intended. It was really difficult to tune in a specific frequency since the slightest turn of the shaft caused a massive frequency jump. The solution would be to use a multi-turn potentiometer which allows a more precise control, but these are bigger and more expensive. But probably every electronics enthusiast has some of those small blue trimmers laying around which are intended for mounting on a PCB and can be adjusted with a screwdriver. These are usually ten-turn trimmers, they are small and can be bought for a few cents. If only they could be turned easily by hand… With the help of this multi-part adapter, you can accomplish just that! Just print the case of your choice (with or without feet), the top, the cap for the potentiometer and the knob with the size you prefer. The only additional things needed are two M3 screws with a countersunk head and a maximum length of 11 mm (total) to close the case. If you print the case with feet, you can use two additional M3 screws for mounting, but you can also enlarge the holes, use smaller screws or simply use glue. If you don't use the provided G-Code, I would recommend the following settings: - 0,1 mm layer height for the cap and the top (especially the cap needs the precision to fit snuggly on the shaft of the trimmer) - 0,15 mm layer height for the case (due to the integrated threads) - For the turning knobs, 0,2 mm layer height is sufficient I printed the case with Generic PLA and it works well. Assembly instructions (see pictures for reference): 1. Insert the trimmer in the case and push the pins through the holes at the bottom. 2. Bend the pins sideways to get them out of the way. 3. Add the cap to the shaft of the trimmer. Check the resistance of the trimmer with a multimer while turning the cap to make sure it sits correctly on the shaft. 4. Screw in the top with the two M3 screws. No need to cut threads, since they are included in the 3D model. 5. Mount the part in the desired location. If required, solder wires to the pins of the trimmer. 6. Add the turning knob. In most cases, the friction is sufficient to hold the knob in place, but if needed you can add some glue. Happy printing! :-)
With this file you will be able to print Trimmer to potentiometer adapter/Trimmer with turning knob with your 3D printer. Click on the button and save the file on your computer to work, edit or customize your design. You can also find more 3D designs for printers on Trimmer to potentiometer adapter/Trimmer with turning knob.
