Treble Clef Headphone Stand
prusaprinters
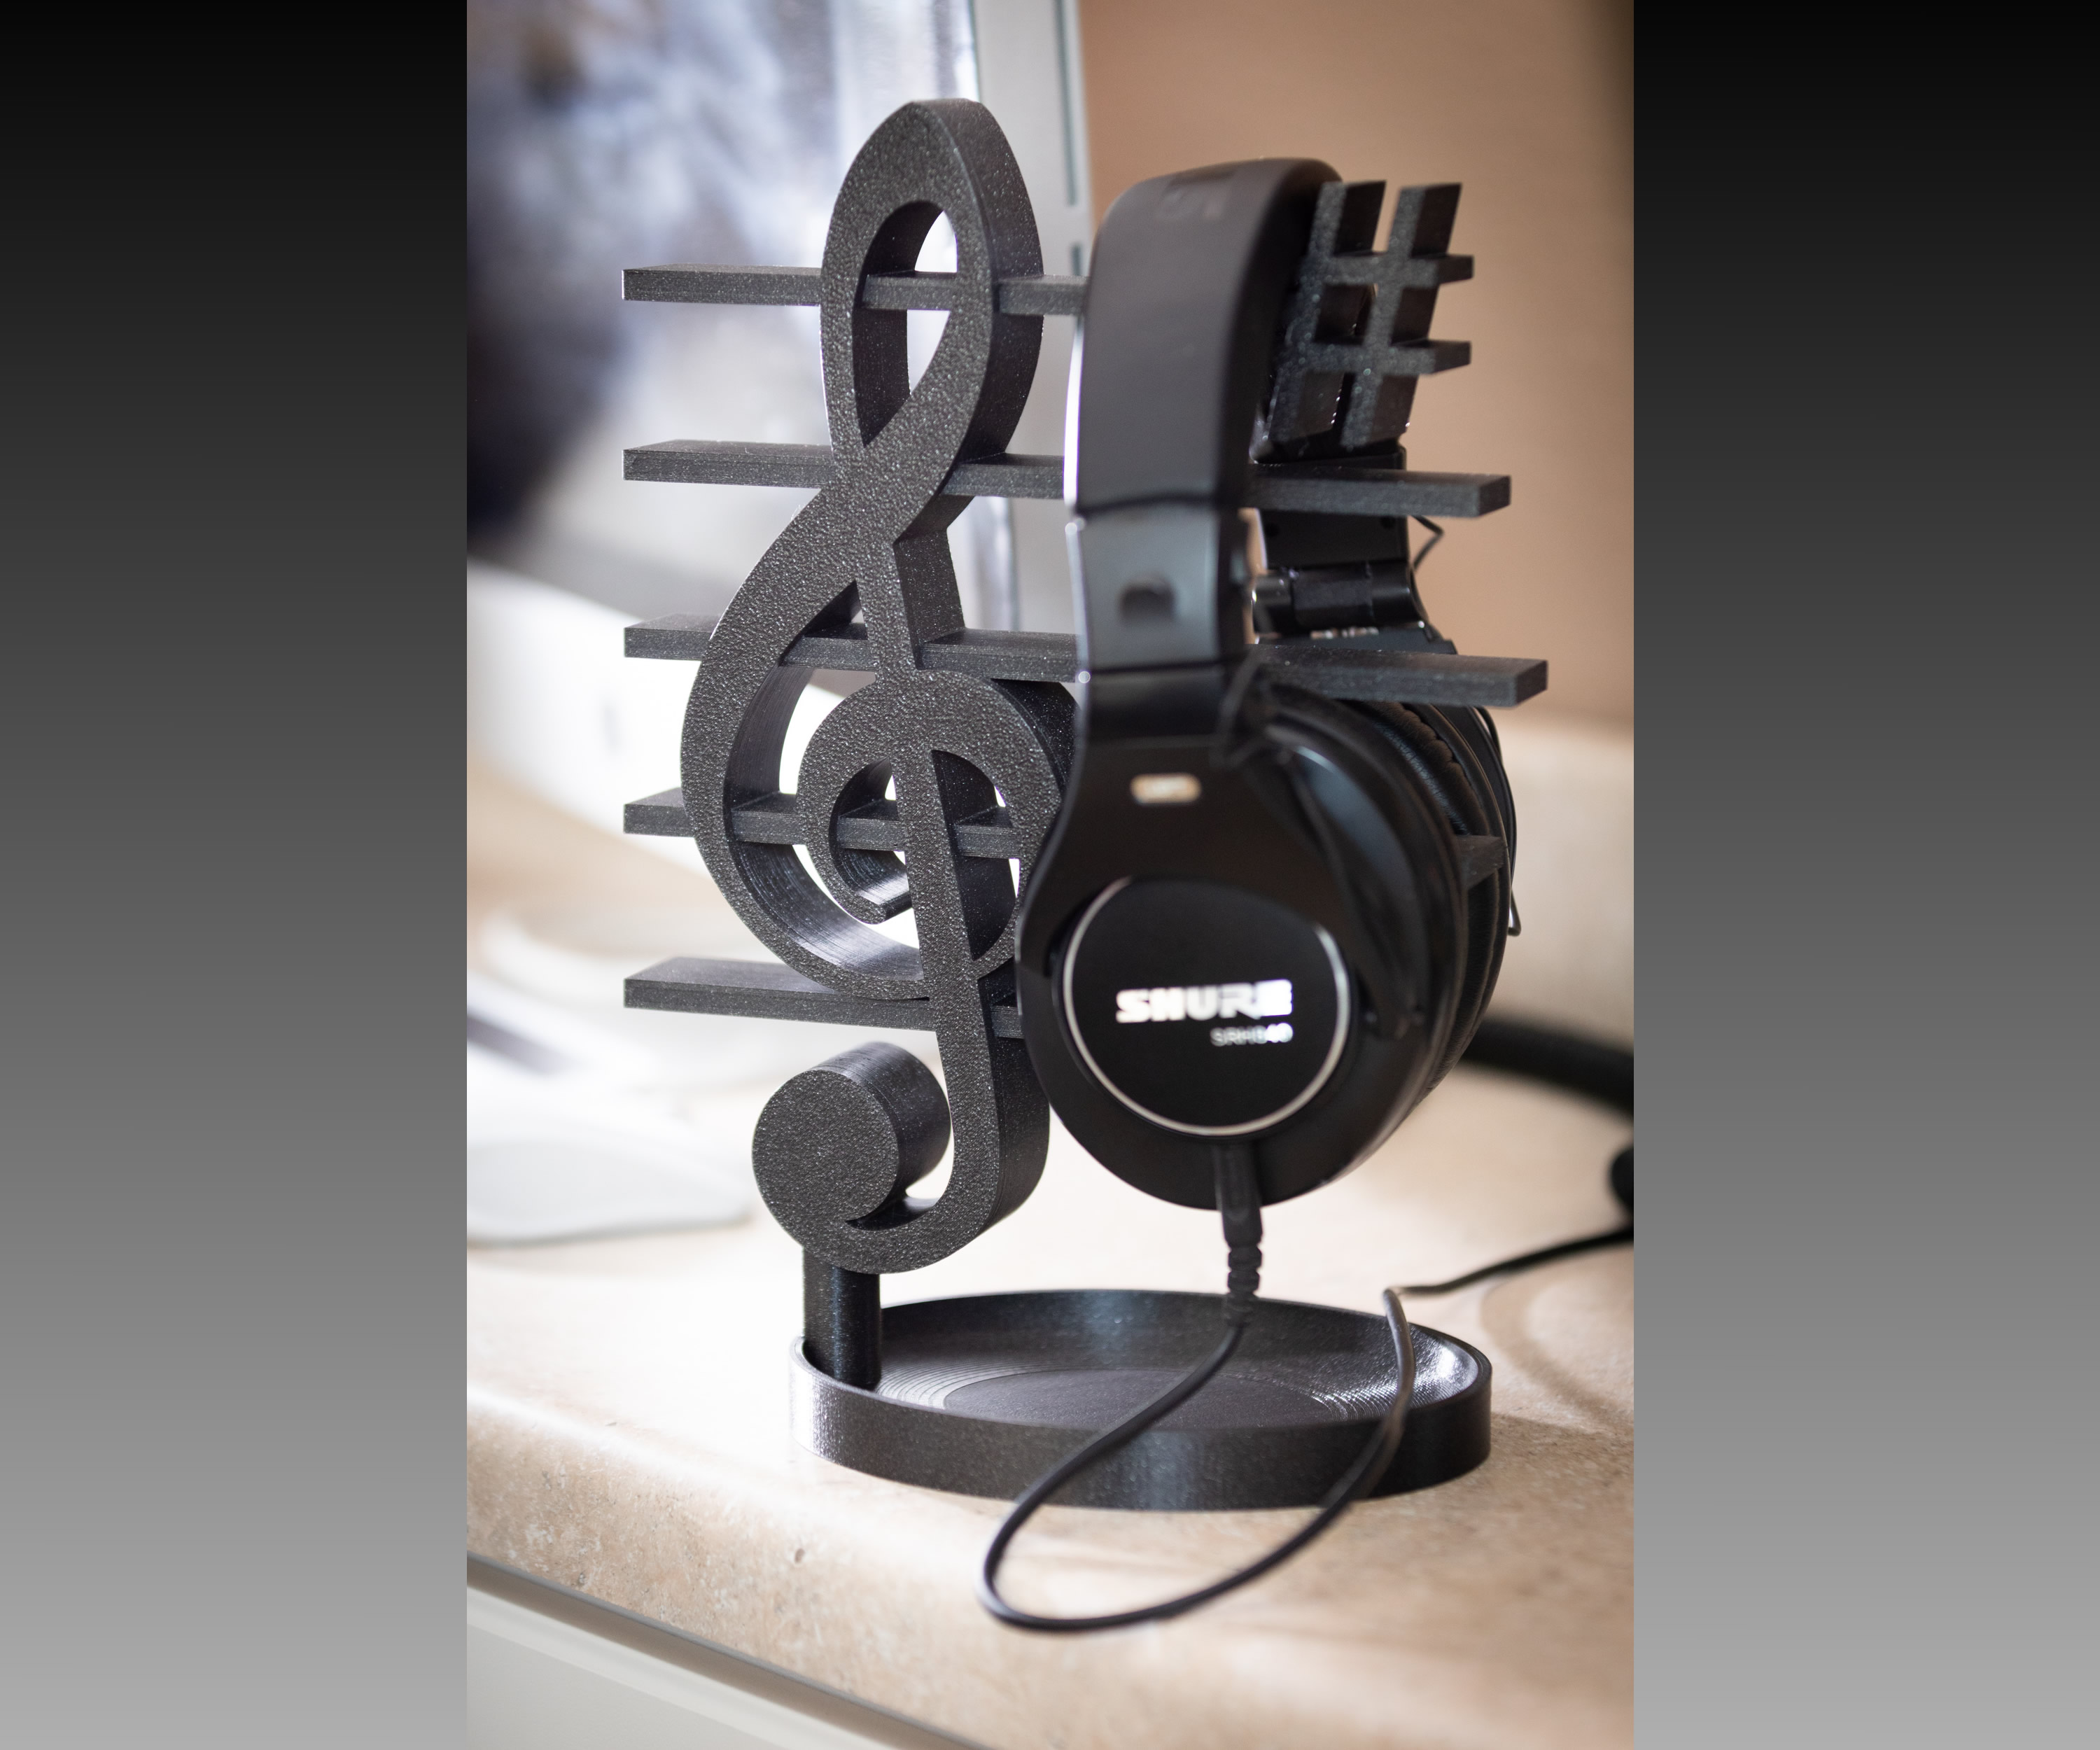
<p>A music-inspired headphone stand (in the key of G major for you music nerds)! Keep your favorite high-quality headphones on display and within reach. You can also use it for jewelry, your keys and change in the dish below, or anything else you feel like hanging on it! Or it can just to sit there looking pretty...</p> <p>This requires a bit of assembly & two bits of hardware from your MK3S spares bag:</p> <ul> <li>one M3 square hex nut</li> <li>one M3x40 bolt</li> </ul> <p>In order to have it looking as nice as possible from both front and back, I printed "faces" with indexing holes that you simply super glue on. I printed both the body and faces on a textured build plate so that once the faces are attached, it has a nice textured finish both front and back that matches.</p> <p>Because this is meant to be a decorative piece as well as a functional one, I used Prusament PLA Galaxy Black for the pictured print because of how good the results are. Make sure you use quality filament and that your printer is well-tuned so the prints turn out as nice and accurate as possible.</p> <p>See assembly instructions below.</p> <h3>Print instructions</h3><p>This will take a little while to print! There are three prints to do: the main body, the clef and sharp faces, and the stand. Refer to the pictures attached to this post for each step.</p> <p>The main body I printed in Prusament PLA with 0.2 layers, 3-4 perimeters, & 20% gyroid infill so it can withstand having large headphones hanging on it. The base I print with 0.15 layer height so that the curve in the tray is cleaner.</p> <p>Step 1 (<strong>you must do this first!</strong>): Insert an M3 square nut as pictured. Make sure it goes all the way in.</p> <p>Step 2: Glue the clef face on, superglue should work perfectly.</p> <p>Step 3: Glue the sharp face on, also with superglue</p> <p>Step 4: insert the M3x40 bolt in the bottom of the base, make sure it goes all the way in. It should stick out the top.</p> <p>Step 5: insert the base into the bottom of the headphone stand. Tighten the bolt with an allen wrench.</p>
With this file you will be able to print Treble Clef Headphone Stand with your 3D printer. Click on the button and save the file on your computer to work, edit or customize your design. You can also find more 3D designs for printers on Treble Clef Headphone Stand.