Treasure Chest Deckbox (MTG)
prusaprinters
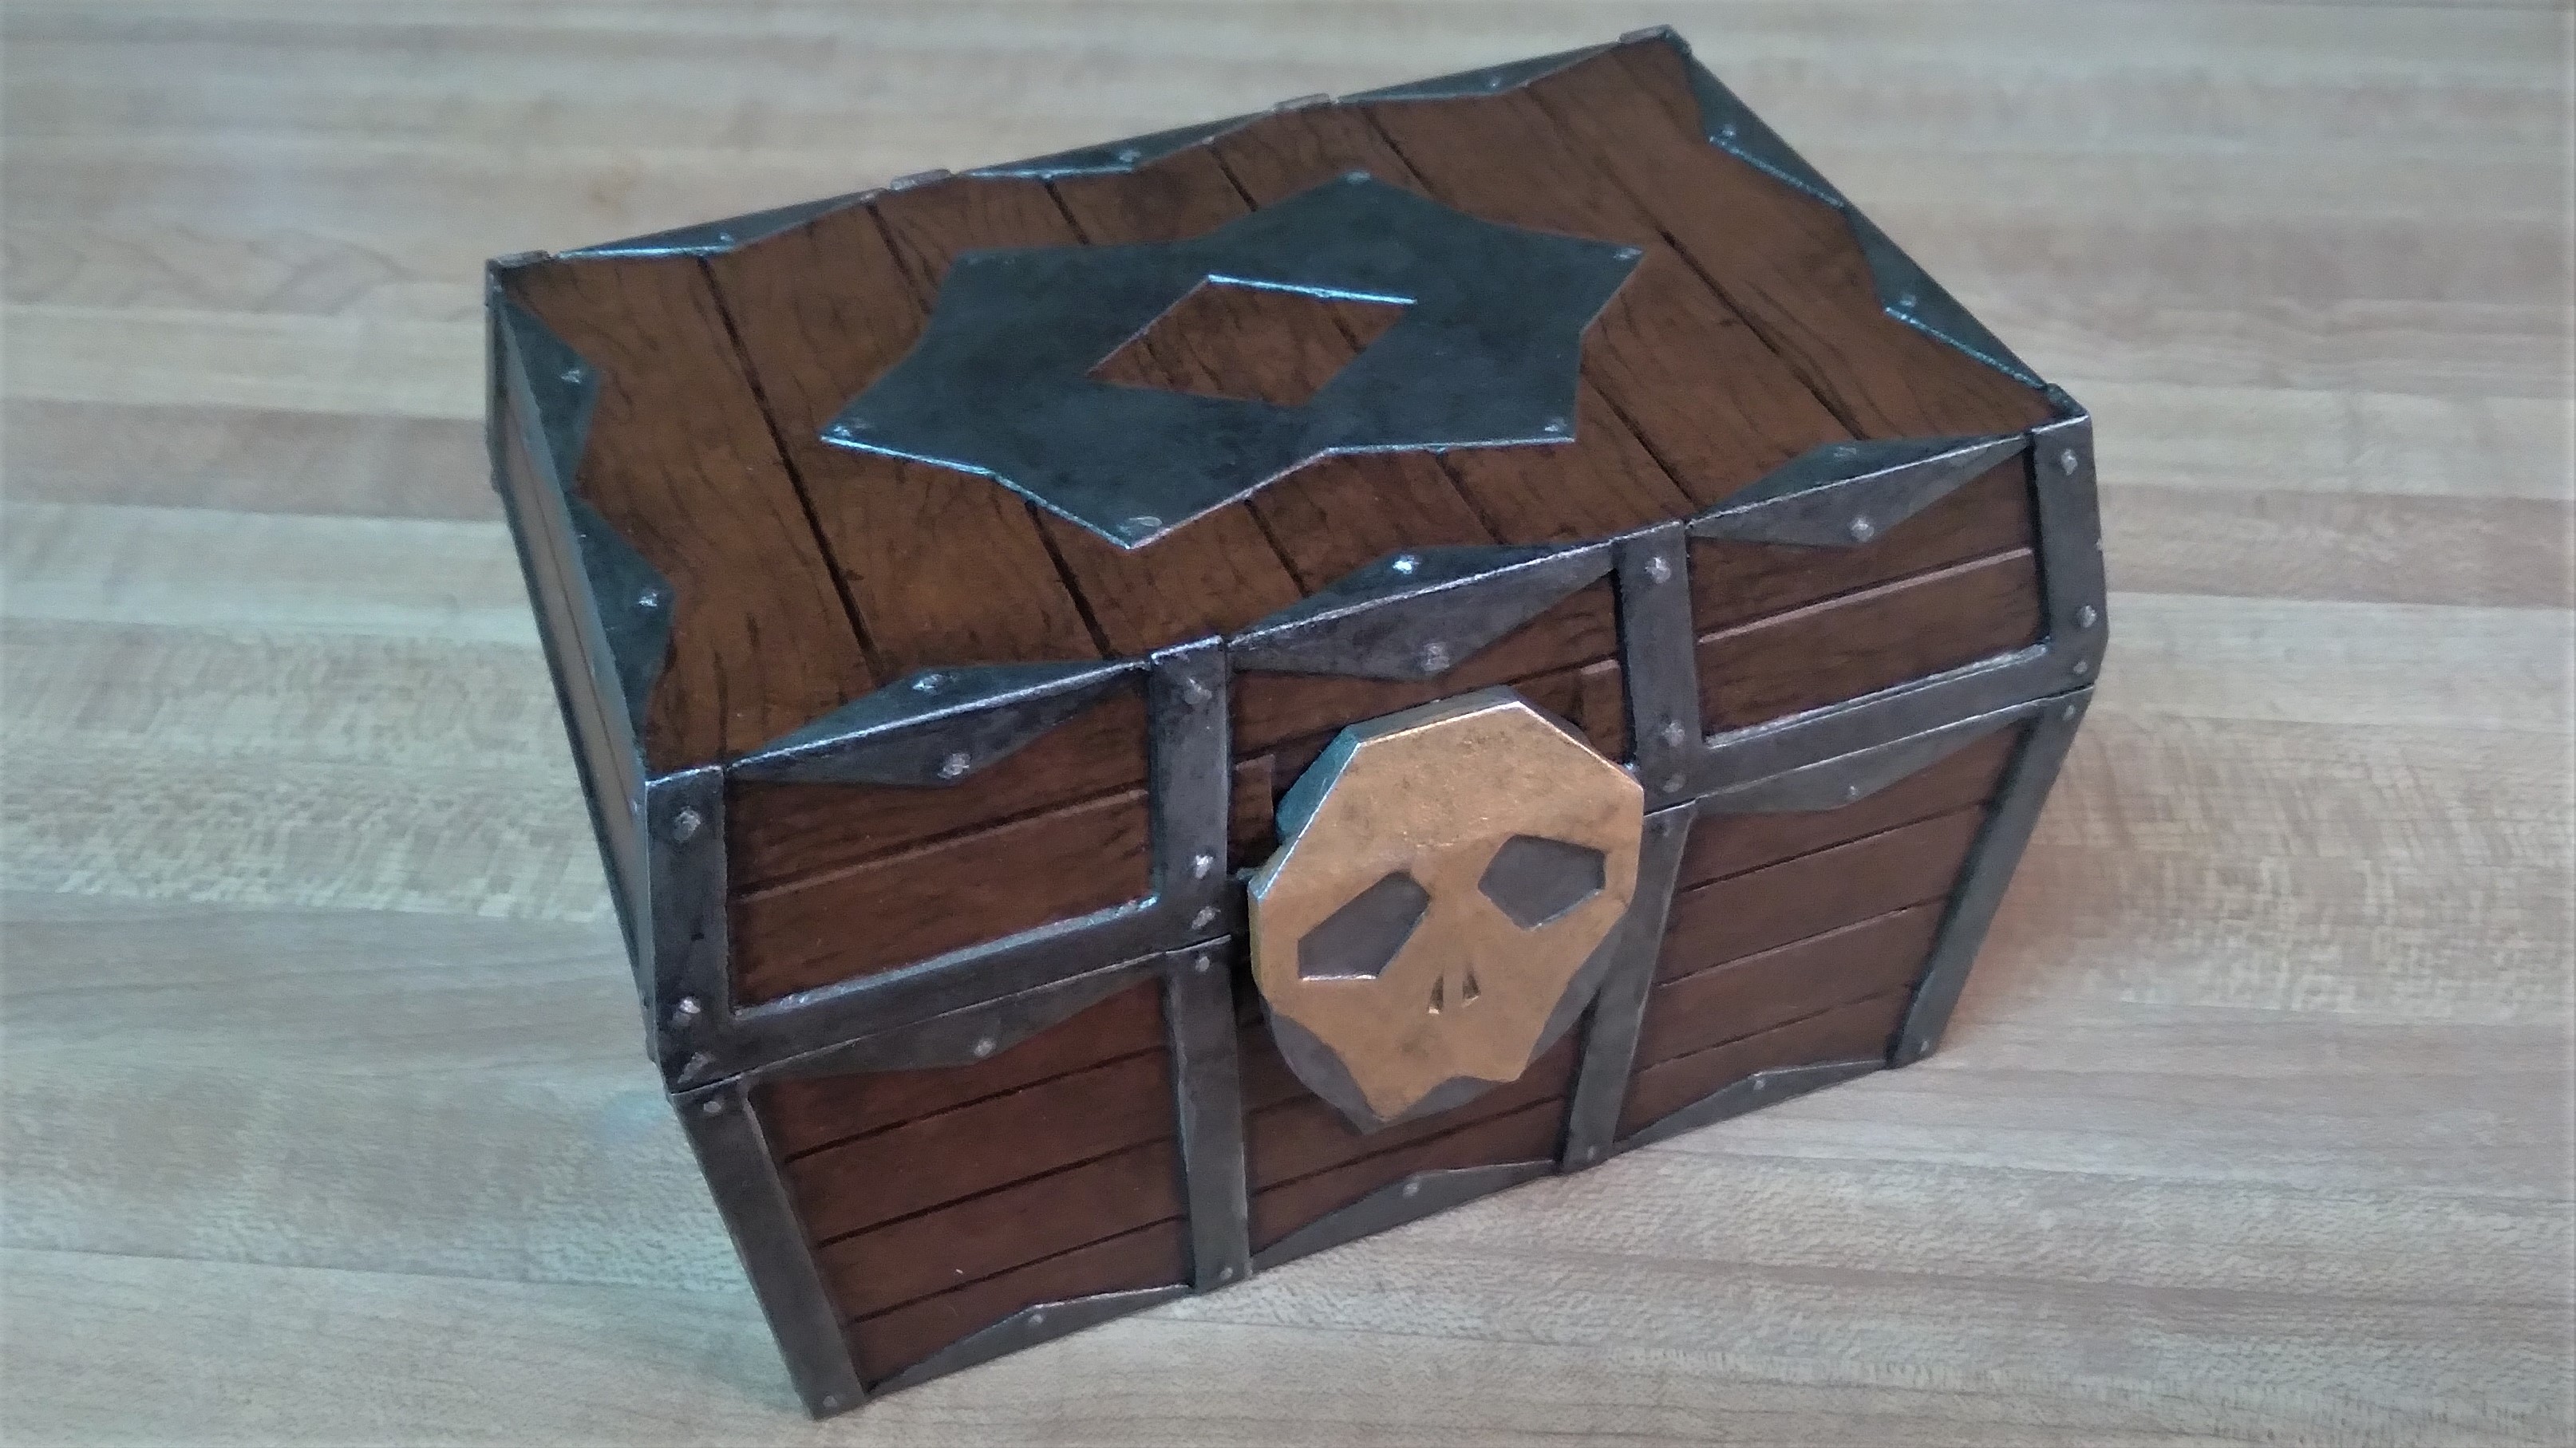
<p>An MTG deck box design shaped like a treasure chest. This deck box will hold 100 double sleeved cards with a little extra space for tokens. There is also a space on one side for dice or other small accessories.</p><p>This box is built with 4 pins in 2 sizes, I used stainless steel but I have also used lengths of 1.75mm filament or 2mm round toothpicks (Source below):</p><ul><li>Two <a href="https://www.amazon.com/dp/B07MKMQBD7?psc=1&ref=ppx_pop_dt_b_asin_title">2.0mm diameter</a> 25mm long.</li><li>Two 2.0mm diameter 30mm long.</li></ul><h5>Notes: </h5><ul><li>These parts have a nominal interlocking clearance of .10mm. This fit is intentionally a little tight. Due to this it is necessary for your printer to be properly calibrated for dimensional accuracy.</li></ul><h5>Assembly</h5><p>Clean out the hinge and latch pin holes with 2mm drill bit. Test fit all the pins before full assembly (make sure not to set them in to far as they can be hard to remove) some re-drilling or sanding may be needed. Check to make sure the lid opens and closes freely then use the two 25mm long pins to attach it. </p><figure class="image image-style-align-right image_resized" style="width:30.42%;"><img src="https://media.printables.com/media/prints/267940/rich_content/a7100d6d-a238-4b88-903a-b63287a86e53/latch_sub_assm2.jpg#%7B%22uuid%22%3A%22a244751d-2c77-443d-a285-df85e00c7a21%22%2C%22w%22%3A2155%2C%22h%22%3A1616%7D"></figure><p>To assemble the latch, you will need two copies of part 3, one copy each of latch part 1 and 2, and two 30mm long pins. Create a sub assembly of these parts (see image) then glue the tabs on the two part 3s into the corresponding hole on the front of part one.</p>
With this file you will be able to print Treasure Chest Deckbox (MTG) with your 3D printer. Click on the button and save the file on your computer to work, edit or customize your design. You can also find more 3D designs for printers on Treasure Chest Deckbox (MTG).